OPERATING INSTRUCTIONS
2.6
STEP 3
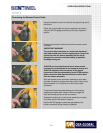
Connecting the Remote Control Cable
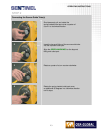
Insert the protective cover into the lock housing during use of
the device.
Check the control cable and source assembly connectors
using the NO GO gauge according to the daily inspection
section.
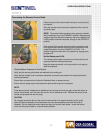
Remove the protective rubber cap from the remote control
connector.
IMPORTANT WARNING
The control cable connector is a made from hardened
steel and should never be left unprotected or forced into
connection with the source assembly as this could
damage the connector overtime leading to possible
breakage during use.
ALWAYS use the protective end-cover when remote
controls are not connected to the exposure device and
ALWAYS manually move the sleeve of the female
connector of the source assembly to the OPEN position
when connecting and disconnecting the control cable
from the source assembly.
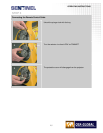
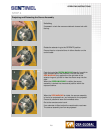
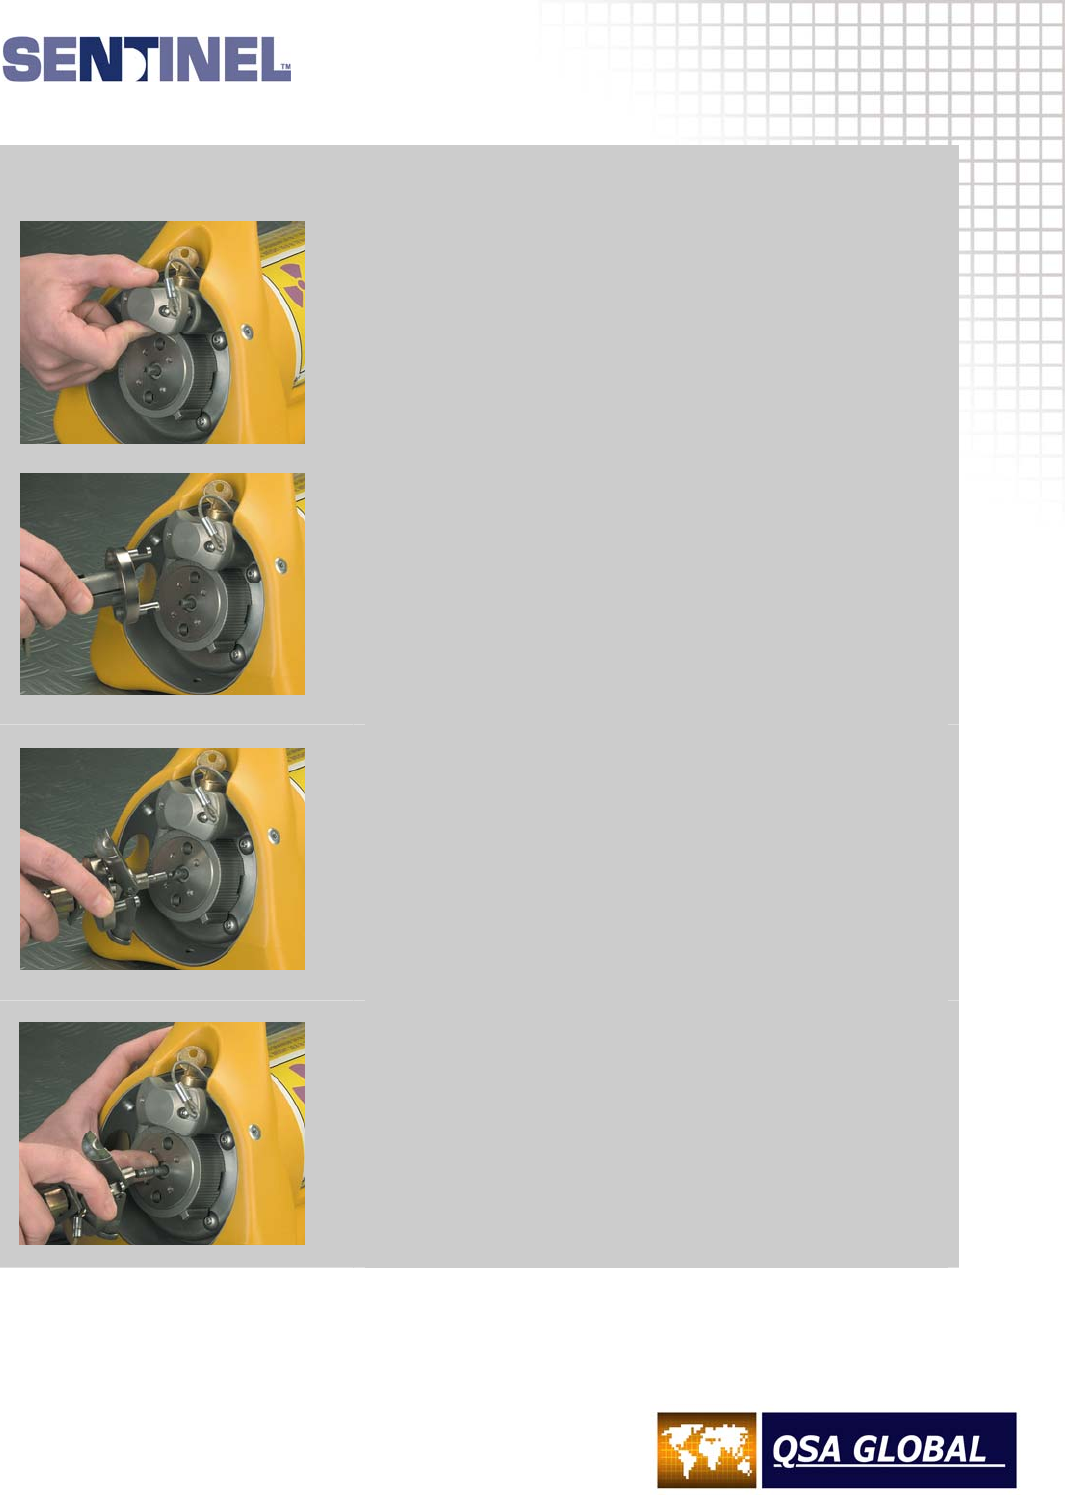
Slide the remote control connector assembly’s collar back
and open the jaws to expose the male portion of the control
cable connector (i.e. the ball-end on the control cable
connector).
Press back the spring-loaded locking pin of the source
assembly connector with a thumb-nail and engage the
male and female portions of the connectors.
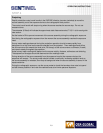
Release the locking pin of the source assembly connector
and check that the connection is secure.
Use the NO GO gauge to check the gap between the
joined connectors during the daily inspection.
4
5
6
7


