OPERATING INSTRUCTIONS
2.7
STEP 3
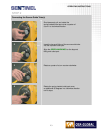
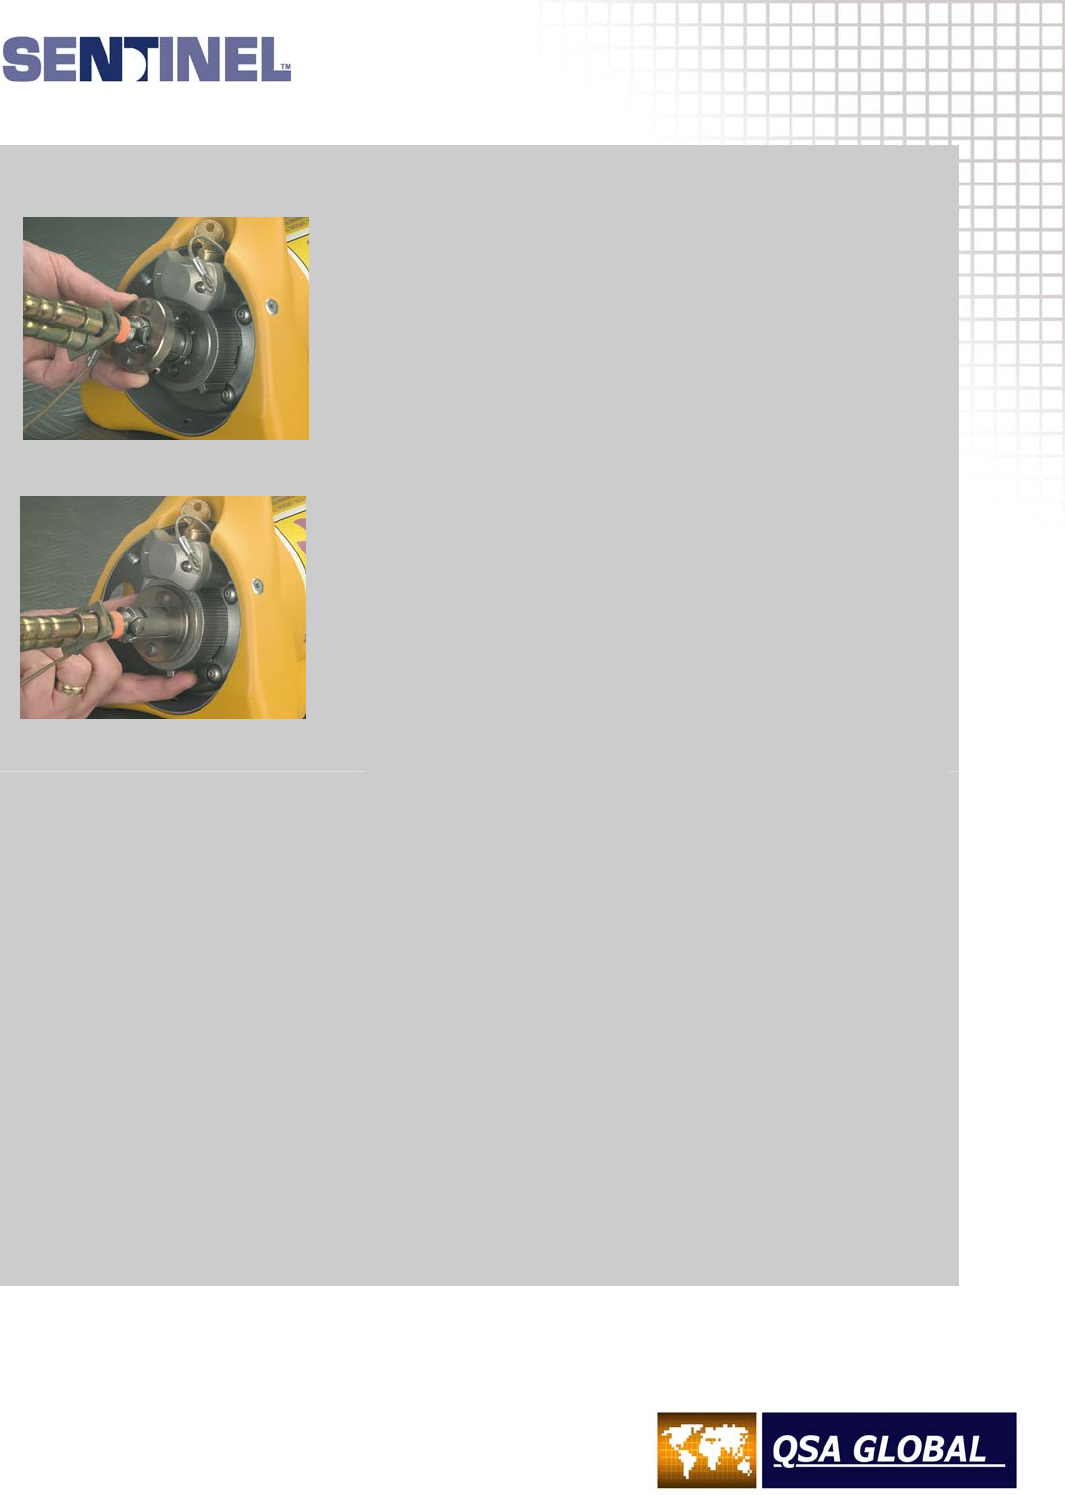
Connecting the Remote Control Cable
Close the jaws of the control cable connector over the joined
connectors.
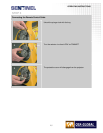
Slide the remote control connector assembly collar over the
connector jaws.
NOTE: The control cable connector, when properly installed
with the selector ring in the CONNECT position, displaces anti-
rotation lugs which allows the selector ring to be rotated to the
LOCK position and when required, through to the OPERATE
position.
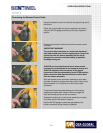
Push and hold the remote control connector assembly collar
flush against the exposure device’s locking mechanism and
rotate the selector ring from CONNECT to LOCK. The
selector ring can be secured in this position by engaging the
plunger lock.
Do Not Rotate past LOCK.
The remote control cable connector is now secured into the
exposure device’s locking mechanism.
Keep the exposure device in the lock position until ready to
start the exposure.
Checks Before Exposure of the Source
Verify that the source guide tubes are attached to the outlet port.
Verify that the remote control connector assembly is correctly connected to the exposure device’s
locking mechanism.
Ensure that no personnel are inside the Restricted Area or exposure room.
Ensure that the proper signs are posted and required warnings are in operation.
NOTE
If the remote control is fitted with an additional lock, release this lock and apply a forward motion to
control crank handle, as if exposing the source, until a resistance is felt. Release the control crank
handle and proceed with the next step.
CAUTION
Do not apply excessive force to the control crank handle in the expose direction as this could
cause the source assembly to move forward out of the stored position when the lock slide is
released. Do not retract the control cable and apply the control crank brake. Leave the control
crank and the control cable in a neutral tension position.
8
9


