


ENGLISH
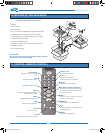
C3X Lumis HOST
9
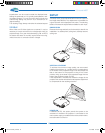
Standby
Status
HOST
Blue Led
HOST
Red Led
On
Cooling
Overtemperature
Optical Fibre Error
: Off
: On
: Flashing
Fan Error
Lamp Failure
Optical Link Error
C3X Lumis Led C3X Lumis Display
Red Color
Green Color
Red/Green Color
Red Color
Red Color
Red Color
Red Color
Red Color
6A
60
21
22
40
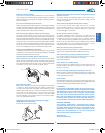
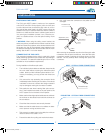
7 SWITCHING ON AND OFF
The C3X Lumis HOST system consists of two units (HOST
system and Projector) of which the former is also the sys-
tem control centre.
The system can be controlled from either the remote con-
trol (via the infrared sensors on the HOST system and on
the Projector) or the keypad located on the back of the Pro-
jector or touch sensitive front panel on Host unit.
However, the power supply to the two units is separate.
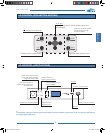
After interconnecting the units via the fibre optic cable, con-
nect them to the electrical mains supply:
Set the Projector power switch on the rear panel onto 1.
“I” (ON).
Press the Power button on the HOST system on to 2.
ON position.
After a few seconds (system initialisation interval), the
HOST system and the Projector assume stand-by
mode.
Switching on the system:3.
- with the remote control ( “0-9” keys)
- with the Projector keypad (
key)
LED SIGNALS FOR THE TWO UNITS
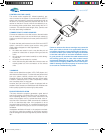
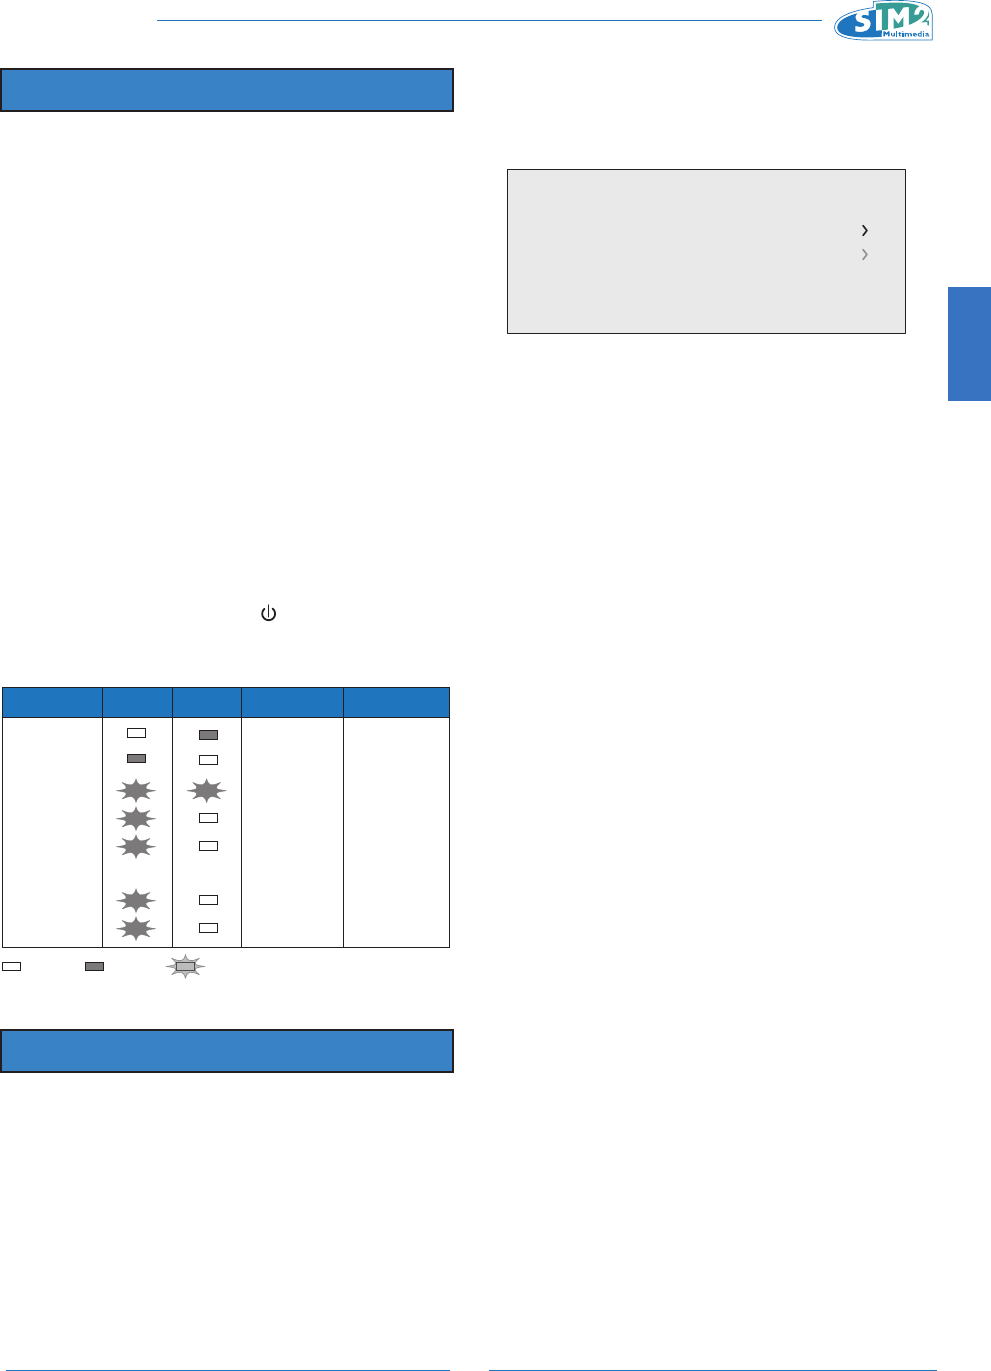
8 NETWORK FUNCTIONS
NETWORK FUNCTIONS (RJ45 connector)
The C3X Lumis HOST system has a 10/100 Mbit Ethernet
interface located on the HOST system connector panel to
connect the projector to a LAN network or to the Internet.
The network connection can be used to remotely control
the projector from any workstation with access to the net-
work by sending TCP/IP protocol commands.
Additionally, by suitably configuring the network specifica-
tions, you can receive e-mail notifications on the operating
status of the C3X Lumis HOST system.
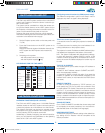
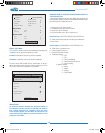
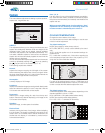
Configuring network functions by OSD (network setup):
The “Network configuration” option in the “Setup” menu is
displayed only when no signal is being displayed.
This menu screen permits you to:
1. access the menu for setting the projector’s network ad-
dress;
2. access the menu for entering the e-mail address for re-
ceiving notifications on the projector status.
The projector’s current IP address and MAC address (phys-
ical address) are displayed at the bottom of the screen.
N.B. The system is delivered with default factory settings,
in which the dynamic IP address (DHCP) is active. If the
network to which the projector is connected has no DHCP
server, the current IP address displayed on screen may not
be valid.
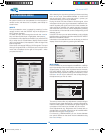
TYPE OF IP ADDRESS
This screen permits you to select the type of IP address to
be assigned:
1. Static IP: the IP address, network SUBNET and GATE-
WAY must be entered manually.
2. Dynamic IP (DHCP): choose this option if you want the
projector IP address to be automatically assigned by the
network DHCP server (in most networks the DHCP server
is a router).
REMOTE CONTROL
In order to control the projector by TCP/IP protocol, you
must specify the TCP port to which the connection must
be made (called TCP socket). Choose the port number and
set “Port 1”. If you want to establish a connection with the
projector via the Internet, the port chosen for remote con-
nection must be accessible from outside (usually a Virtual
Server is created in the network router to make the projec-
tor’s IP address accessible from a Personal Computer con-
nected to the Internet).
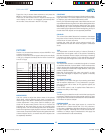
SAVING SETTINGS
Go to “SAVE CHANGES” to enable the chosen setup (wait
for completion of the save procedure). You must also dis-
able the Mail Server in this table (in all languages).
RESTORING SETTINGS
To restore the projector’s network setting to the default fac-
tory setting click on “Restore”. Wait for completion of the
restore procedure.
Network Setting
IP Configuration
IP: 172.031.127.045 MAC: 00:00:00:00:00:00
Email Configuration
--
-
-
-
C3X Lumis HOST_ EN.indd 9 11-02-2009 14:40:31