Chapter 9 System Settings
189Other Settings
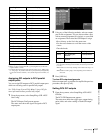
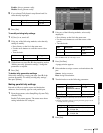
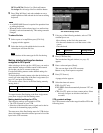
DEV1 to DEV6: [Device1] to [Device6] buttons
No Assign: Do not assign a device selection button
5
Press [Plug In Editor], and select whether or not to
enable operation of the selected device from an editing
keyboard.
Notes
• A valid BZS-8050 license is required for operation from
an editing keyboard.
• When the device on the selected port is an audio mixer,
[Enable] is selected automatically. This setting cannot be
changed.
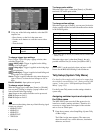
To share file lists
1
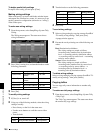
Select a port as in step 2, then press [File List].
A popup window appears.
2
Select the devices with which the device on the
selected port will share file lists.
Note
Select devices of the same type for file list sharing.
Making detailed settings for devices
assigned to DCU ports
After selecting a device type for a DCU port, you need to
make detailed settings to enable control of the external
device that you plan to connect to that port.
Use the Port Setting menu to make detailed settings for
specific devices.
To display the Port setting menu, select the device that you
want to set in the status area of the Port Assign menu (see
page 187) and press [Port Setting].
You can also select a device in the Port Setting menu by
turning knob 1.
To return from the Port Setting to the Port Assign menu,
press [Port Assign] in the Port Setting menu.
Making detailed settings for VTRs
The following settings are required for VTRs.
• The VTR constants of your VTR
• Selection of the timecode source (signal used to derive
timecode for determining tape position)
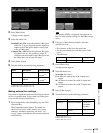
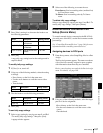
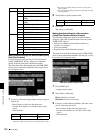
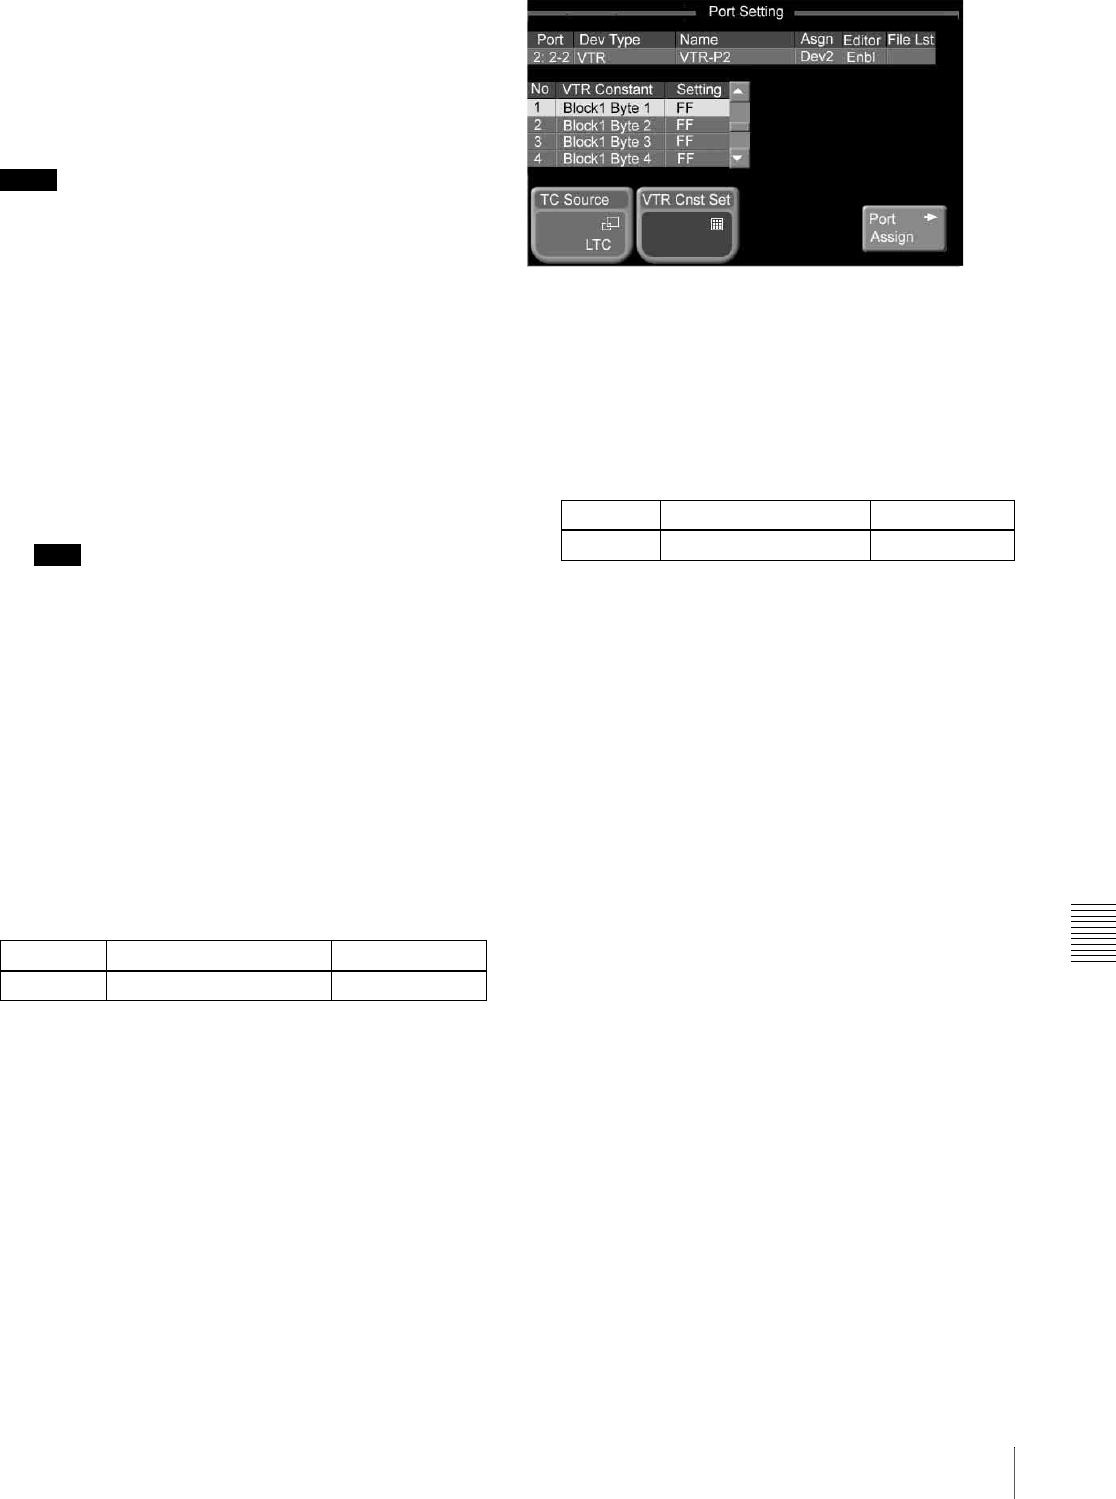
The status area of the Port Setting menu for VTR devices
shows information about the selected port and a list of the
bytes in the VTR constants.
VTR detailed settings screen
1
Using any of the following methods, select a VTR
constant byte to set.
• Press directry on the list in the status area.
• Use the arrow buttons to scroll the reverse video
cursor.
• Turn the knob.
2
Press [VTR Cnst Set].
The hexadecimal keypad window (see page 35)
appears.
3
Enter a value and press [Enter].
This sets one byte of the VTR constants.
Return to step 1 and repeat as required.
4
Press [TC Source].
A popup window appears.
5
Select the timecode source.
LTC: Use LTC only.
LTC:VITC: Switch automatically between LTC and
VITC.
CTL: Use CTL pulses or timer counter pulses. Select
this only for tapes on which no timecode is
recorded.
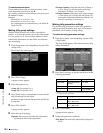
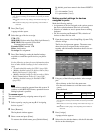
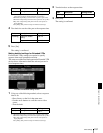
VTR constant settings
Set VTR constant values in the range from 00 to FF for the
following items.
Knob Description Setting values
1 (Port) Port selection 1 and upwards
Knob Description Setting values
3 (No) VTR constant selection 1 to 16


