Using Your Notebook Computer
Using PC Cards
Sony Notebook Computer User Guide
42
nN
To remove a PC card (on Windows
®
98 systems)
Follow the steps below to remove a PC card while your computer is on. If the PC card
is not properly removed, your system may malfunction. When your computer is off,
skip the steps 1 to 4.
1 Click the Start button on the Windows
®
taskbar, point to Settings, then click
Control Panel.
2 Double-click PC card.
3 Select the name of the appropriate PC card in the list, then click Stop.
4 Click OK.
5 Press the PC card release button.
6 Gently grasp the card and pull it out.
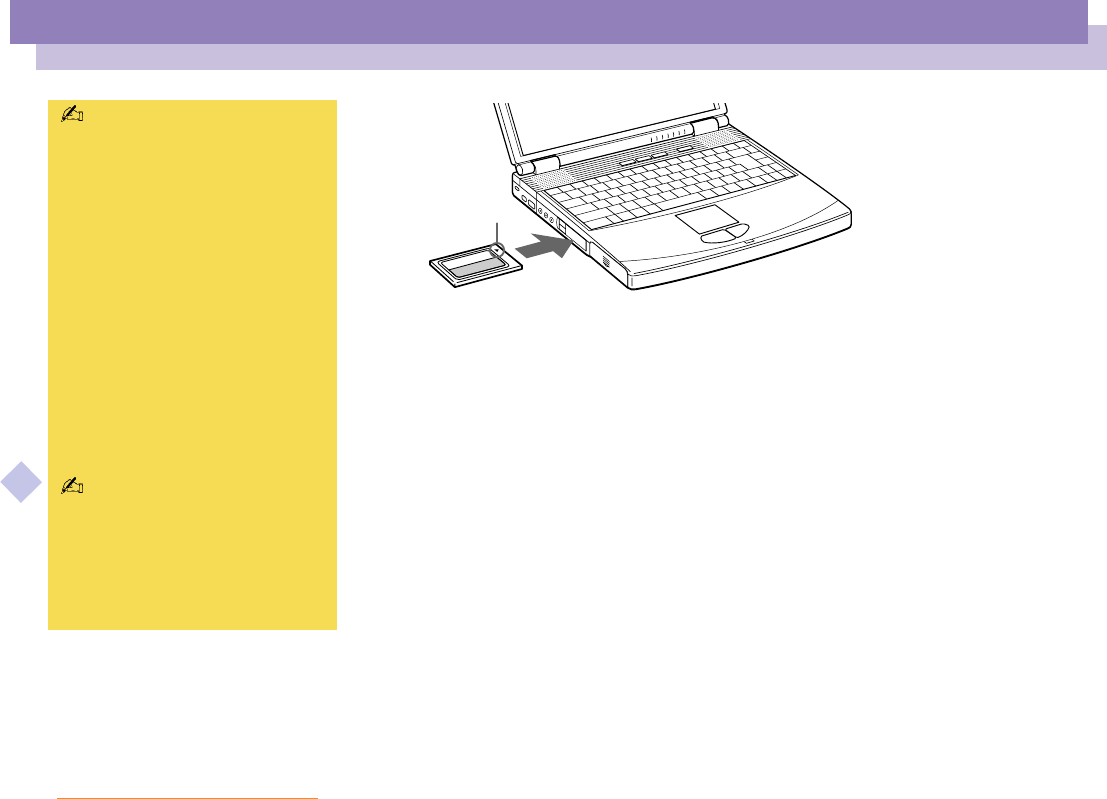
Insert in the direction of
the arrow
Do not force a card into the slot. It
may damage the connector pins. If
you have difficulty inserting a card,
check that you are inserting the card
with the correct orientation. See the
manual supplied with your PC card
for more information on use.
For some PC cards, if you alternate
between normal power operation
and the system suspend or system
hibernation power management
modes while the card is inserted, you
may find that a device connected to
your system is not recognized.
Reboot your system to correct the
problem.
Before you remove the PC card, click
the PC card icon in the tasktray and
close the card.
Close any applications that use the
PC card before removing the card.
Otherwise, data may be lost.


