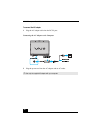
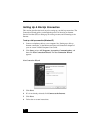
Using the VAIO Recovery Wizard
53
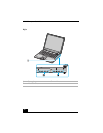
To perform a complete hard disk drive recovery
You must use the Recovery Media Kit to perform a complete hard disk drive
recovery.
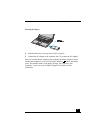
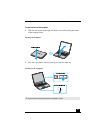
1 Press the power switch on the computer to turn on the power.
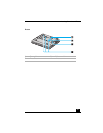
2 Open the optical drive, and place the Startup Recovery Disc in the optical
drive.
3 Close the drive.
4 Turn off your computer.
5 Wait for approximately 30 seconds, and then turn on the computer.
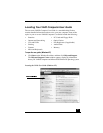
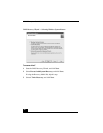
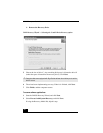
6 When prompted, insert the Recovery Disk 1 into the optical drive, and then
click OK.
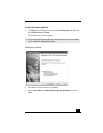
The VAIO Recovery Wizard appears.
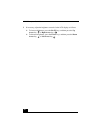
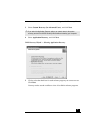
7 Click Next.
8 Select Custom Recovery (for Advanced Users), and click Next.
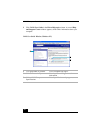
9 Select Complete Recovery, and click Next.
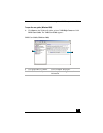
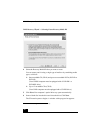
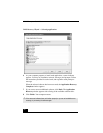
10 You may see installation wizards, messages, and prompts. Follow the
instructions provided in each wizard, and respond to each prompt or
message. Your computer may restart.
11 When the optical drive ejects, remove the disc. Close the drive, and click
Next. Your computer may restart several times.
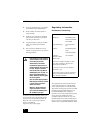
Additional Information
❑ Certain software, such as DVgate™ Plus software, automatically saves data
to drive D. If you choose not to have a drive D partition, you must change
the software settings to enable file saving to drive C.
❑ Resizing your hard disk drive partitions with third-party software programs
can result in the loss of the VAIO® Recovery Wizard.
❑ Giga Pocket™ software requires a drive D in order to operate. For VAIO®
computers with Giga Pocket software preinstalled, you cannot set the drive
D size to zero.