


9
Installation, connection and setup procedures
1 Perform the necessary preparations and confirmations for connection.
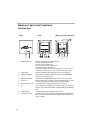
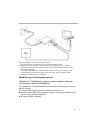
2 Connect the Access Point.
3 Establish a communication session between the computer and
the Access Point.
4 Install the Utility Software.
5 Configure the Access Point settings.
6 Configure the computer settings.
7 Install the Access Point.
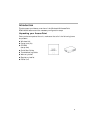
Procedure 1 - Preparing and confirming the connections
The procedure in this guide describes the connection process using the factory
default settings.
The factory default settings of the Access Point function are:
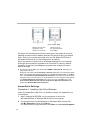
● Network Name (SSID) : the 6-character identifier printed on the label inside
the rear cover of the Wireless Unit.
● Encryption (WEP) : disabled.
Before setting up the Access Point, do the following:
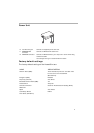
1 Set up the Wireless LAN PC Card or Wireless LAN Converter.
Perform the required software installation and settings according to
the instructions provided with your Wireless LAN PC Card or Wireless
LAN Converter to make it operational. Refer to the manuals provided
with your Wireless LAN PC Card or Wireless LAN Converter.
2 Prepare a communication device that can function as a router
(such as a broadband router or an ADSL modem router).
3 Configure the computer firewall settings.
If you are using the Windows XP Internet Connection Firewall or another
personal firewall, you may need to change the security level setting.
Carefully read the Computer Firewall Functions section in this manual.
Computer Firewall Functions
When using the Windows XP Internet Connection Firewall function:
enabling the Windows XP Internet Connection Firewall function may prevent
the computer from being accessed externally (this function is disabled by
default). This function can prevent connection to your network when you
change your Access Point settings. If this happens, disable the Internet
Connection Firewall function, connect to the network and then re-enable
the function. Refer to the Windows XP Help for details.