12 Overview
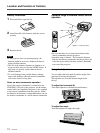
Battery installation
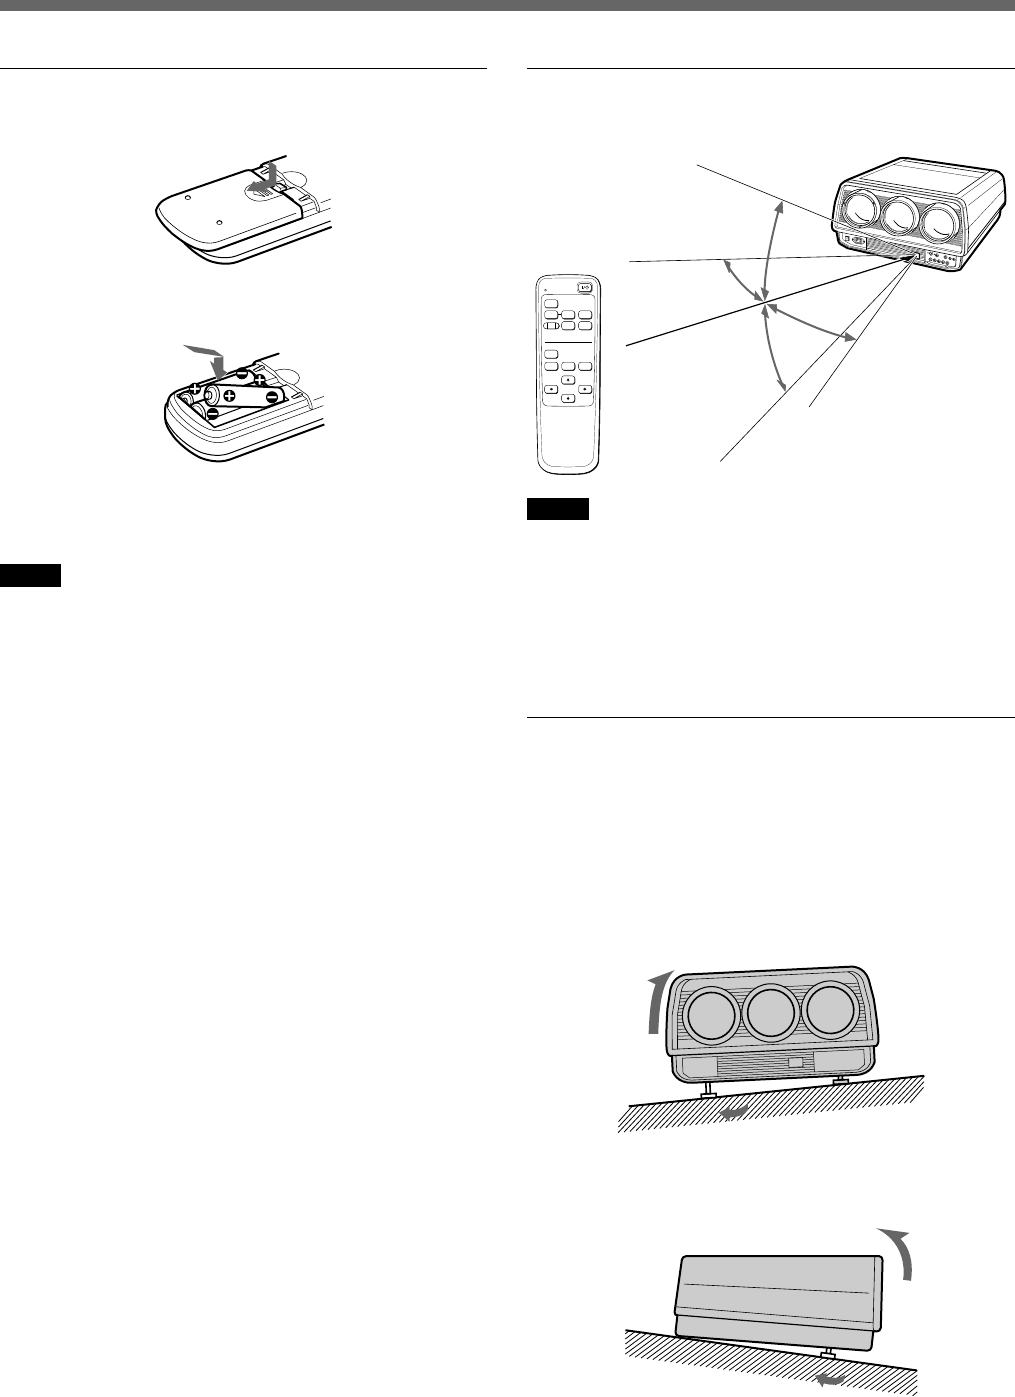
1 Push and slide to open the lid.
2 Install three R6 (AA) batteries with the correct
polarity.
3 Replace the lid.
Notes
• If the projector does not operate properly, the
batteries might be worn out. Replace all three of
them with new batteries.
• The life of the batteries depends on frequency of
usage and how often you use the LIGHT button. If
they wear out quickly, replace them with new
alkaline batteries.
• To avoid damage from possible battery leakage,
remove the batteries when the remote commander
will not be used for a long time.
Notes on wired commander operation
Even if the remote commander is connected to the
CONTROL S IN jack of the projector via the remote
control cable (not supplied), the power is not supplied
to the remote commander from the projector. Install
the batteries in the battery compartment when you use
the remote commander as a wired remote commander.
Location and Function of Controls
Operable range of wireless remote control
operation
MUTING
INPUT SELECT
PIC
VIDEO
S VIDEO INPUT A
TEST
R CENT B CENT
PAGE
M SEL
ASPECT
RESET
Notes
• Be sure that there are no obstructions between the
remote commander and the projector.
• Operable range is limited. The shorter the distance
between the remote commander and the projector, the
wider the angle within which the remote commander
can control the projector.
Using the Adjusters
You can adjust the horizontal tilt and the angle of the
projector by turning the adjusters.
The adjusters are set to the shortest length at the
factory.
To adjust the horizontal tilt
Turn either adjuster to obtain horizontal balance.
To adjust the angle
Turn both adjusters to adjust the angle.
Approx. 7 m (23 feet) (max.)
30°
30°
30°
30°


