27
Projecting
Projecting the Picture
To operate with the Control Panel
or the Remote Commander of
VPL-CX100/CX120/CX150
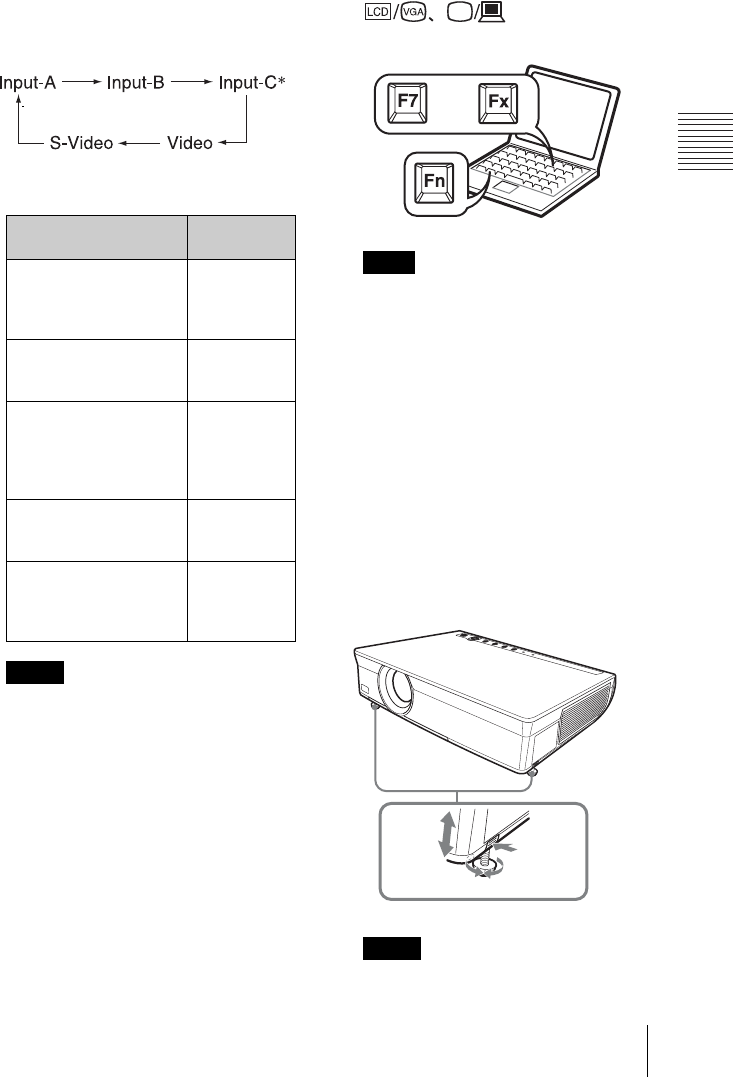
Each time you press the INPUT key, the
input signal switches as follows:
• If “Auto Input Search” is set to “On,” the
projector searches for the signals from
the connected equipment and displays
the input channel where the input signals
are found.
• When the no signal is input to the VPL-
CX125/CX155/CW125, “Input-C” is
selected.
For details, see “Auto Input Search” in
the Function Menu on page 39.
5 Switch the equipment connected to
output to the projector.
Depending on the type of your
computer, for example a notebook, or an
all-in-one LCD type, you may have to
switch the computer to output to the
projector by pressing certain keys (e.g.,
, etc.), or by
changing your computer’s settings.
The key used for switching the computer to
output to the projector varies depending on
the type of computer.
6 Adjust the upper or lower position of
the picture.
Use the adjuster to adjust the picture
position.
Using the adjuster
1 Lift the projector while pressing the
Adjuster adjustment button.
2 Adjust the tilt of the projector.
3 Release the Adjuster adjustment
button.
4 When fine-tuning is necessary, turn
the Adjuster right and left.
• When you adjust the tilt of the projector
with the adjuster, the V keystone
To input from Press INPUT
to display
Computer, Component,
Video GBR etc.
connected to the
INPUTA connector
Input-A
Computer, etc.
connected to the
INPUT B connector
Input-B
Computer connected to
LAN to use the network
presentation function
Input-C
(VPL-
CX125/
CX155/
CW125 only)
Video equipment
connected to the VIDEO
input connector
Video
Video equipment
connected to the
S VIDEO input
connector
S-Video
Notes
* VPL-CX125/CX155/CW125 only
Note
Notes
or
and
13
2
4
