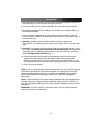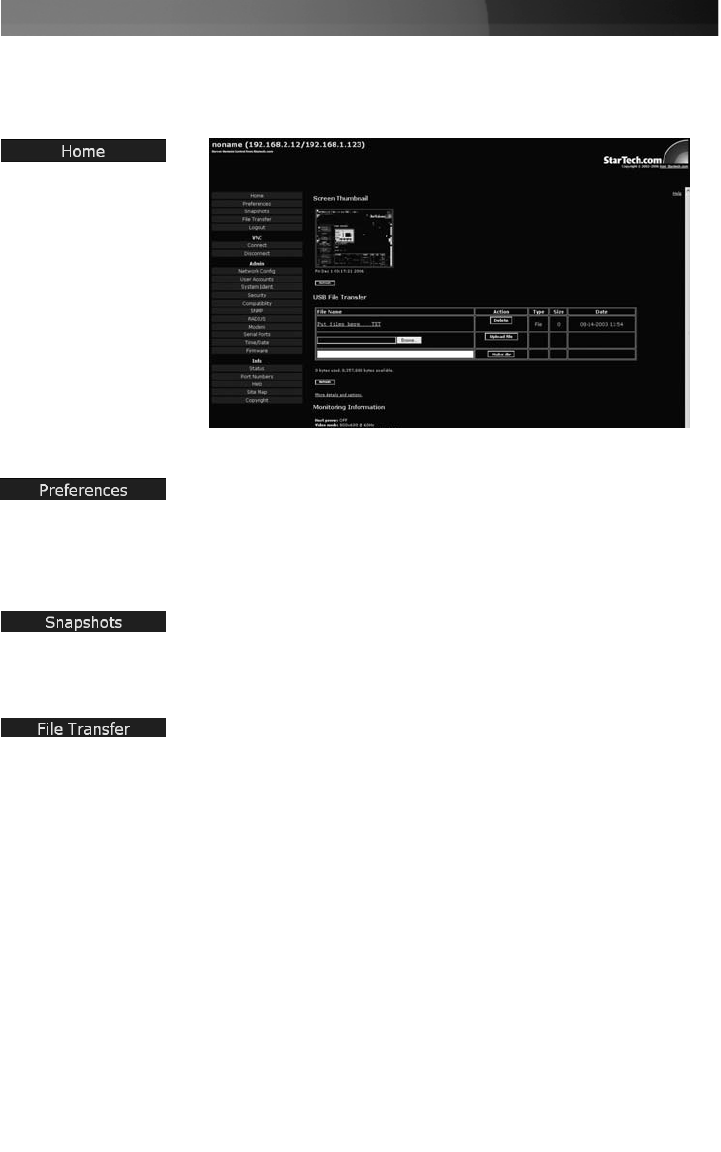
Main Menu selections
Please note: Some of the following items may not be present, based on assigned user
privileges (i.e. non-admin users will not see any items under the Admin category.)
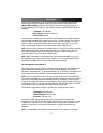
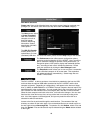
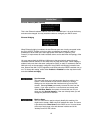
The Home screen offers
a Screen Thumbnail
view of the controlled
computer, as well as
basic file transfer
functions, Monitoring
Information, System
Identification and VNC
Client options.
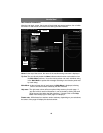
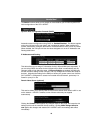
The USB File Transfer
function allows you to
upload files to a virtual
(emulated) USB drive. For more information, please view the Help listing for this section.
The SV1115IPEXT is able to emulate a virtual disk drive attached to the host via USB,
and must have the optional USB cable connected to the SV1115IPEXT and the host
computer to function. Depending on configuration, it will appear to the host as a floppy
drive (1.44MB), an 8MB RAMdisk or a CD-ROM. The host computer does not require any
special drivers or other configuration. You can transfer files to the virtual disk at any time.
SV1115IPEXT will wait until the host is not using the disk, and add or remove the files.
When the host computer next looks at the drive, it will notice the changes. You can read
files from the virtual disk at any time, as long as the host is not actively writing to the
disk. All of this happens in the background, and you may treat the virtual disk as a
shared drive without restrictions.
Access to the files is performed through the web interface. The contents of the root
directory are shown on the home page. You can download files as you would any file on
the web (right-click and Save target as). To upload a file, click Browse, select a file, and
then click Upload. Files and directories may be deleted using the Delete button situated
to their right.
Instruction Manual
13
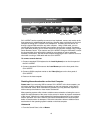
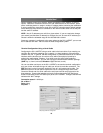
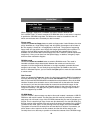
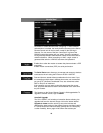
The Preferences screen offers several configuration options,
pertaining to the functionality of SV1115IPEXT. Here, you will be
able to customize settings to optimize overall performance, (i.e.
Encryption options, VNC options, display and bandwidth options
etc.), according to each user’s individual preferences. Please
save your selections by clicking the Save Changes button.
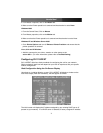
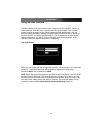
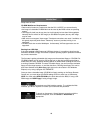
The Snapshots screen allows you to view and save a screenshot
of the controlled computer in its current state. This screenshot
will update periodically (automatically). Saved image files are
stored in .PNG format.


