Getting Set Up
2
User Manual
2-5
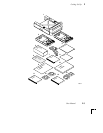
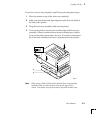
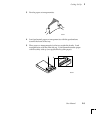
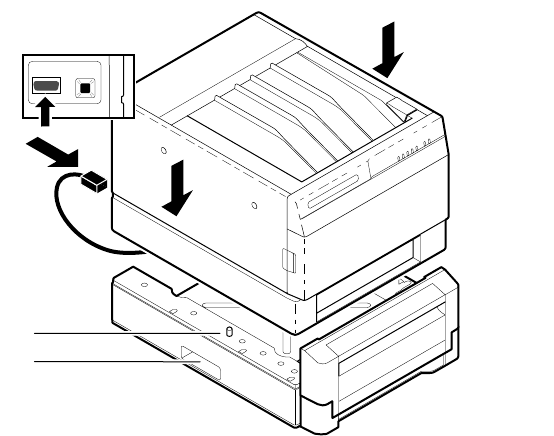
If you have a lower tray assembly, install it by performing these steps:
1.
Place the printer on top of the lower tray assembly.
2.
Make sure that the left and right alignment pins fit in the holes in
the base of the printer.
3.
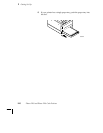
Plug the lower tray assembly cable into the printer.
4.
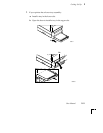
To move the printer, use the slots on either side of the lower tray
assembly. Observe standard precautions for lifting heavy objects.
To move the printer more than a few feet, it is easier to disconnect
the lower tray assembly and move it separately from the printer.
Note
When using a Phaser 220 with the optional lower tray assembly
installed, make sure that the door covering the upper slot is
closed. You cannot print from the lower tray with the door open.
8869-18
1
2
3
1
...
..
...
.
SECOND
FEEDER
TEST
SWITCH
4


