6.INTERNET FAX
Sending Internet Faxes 107
6 INTERNET FAX
3
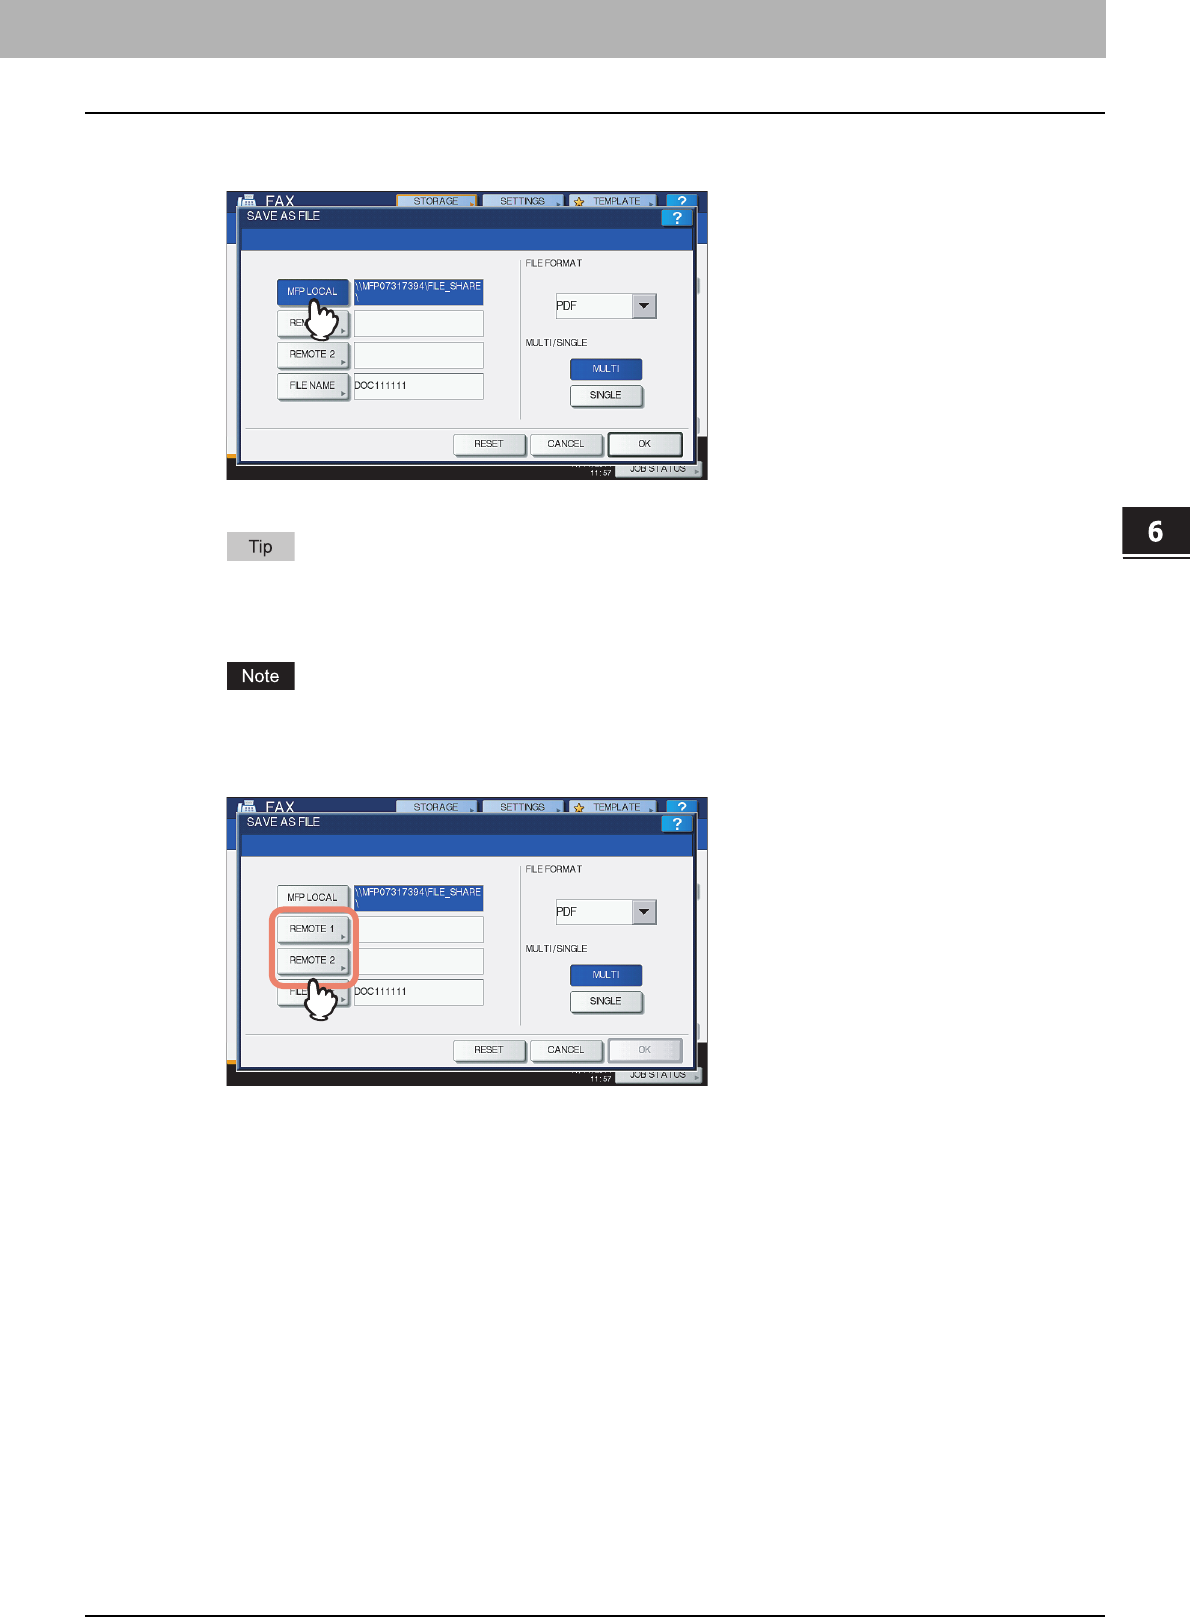
If you want to store the data in the equipment’s shared folder, select [MFP LOCAL] and
make sure that the button is highlighted.
Proceed to step 6.
If saving data in a network folder is enabled by the administrator, you can select 2 file destinations from [MFP
LOCAL], [REMOTE 1] and [REMOTE 2]. If you want to select [REMOTE 1] and/or [REMOTE 2], proceed to
step 4.
For equipment with no hard disk installed, only either [REMOTE 1] or [REMOTE 2] can be specified as a file
destination. [MFP LOCAL] and more than one destination cannot be specified.
4
To store the data in a network folder, press [REMOTE 1] or [REMOTE 2].
y If the selected remote destination (REMOTE 1 or 2) is configured by the administrator so that you can specify a
desired network folder, the screen for setting up the remote destination is displayed. Proceed to step 5.
y If the selected remote destination (REMOTE 1 or 2) is already defined by the administrator so that your scans
are saved in a specified network folder, pressing the button does not display the screen for specifying the file
destination. In this case, you cannot change the file destination. Proceed to step 6. If you need to change set
remote destinations, ask your network administrator for help.


