


2. PRINTER SETUP
ENGLISH VERSION EO1-33062
2.2 Procedure before Operation
E2- 2
2.2 Procedure before
Operation
2.3 Turning the Printer
ON/OFF
2.3.1 Turning ON the Printer
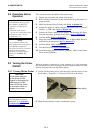
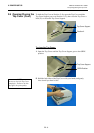
This section describes the outline of the printer setup.
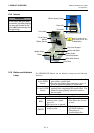
1. Unpack the accessories and printer from the box.
2. Refer to Safety Precautions in this manual and set up the printer at a
proper location.
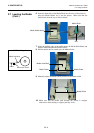
3. Make sure that the Power Switch is off. (Refer to Section 2.3.)
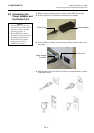
4. Connect the printer to a host computer with an RS-232C, Centronics
interface, or USB cable. (Refer to Section 2.4.)
5. Connect the Power Adapter to the printer, and then plug the Power
Cord into a properly grounded power outlet. (Refer to Section 2.5)
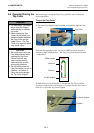
6. Load the media. (Refer to Section 2.7.)
7. Adjust the position of the Feed Gap Sensor or Black Mark Sensor to
match the media being used. (Refer to Section 2.7.)
8. Load the ribbon. (Refer to Section 2.8)
9. Turn the Power ON. (Refer to Section 2.3.)
10. Install the Printer Drivers in the host computer. (Refer to the Printer
Driver in the CD-ROM.)
When the printer is connected to a host computer it is good practice to
turn the printer ON before turning on the host computer and to turn OFF
the host computer before turning off the printer.
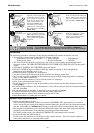
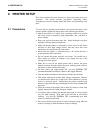
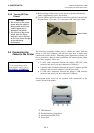
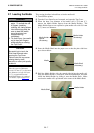
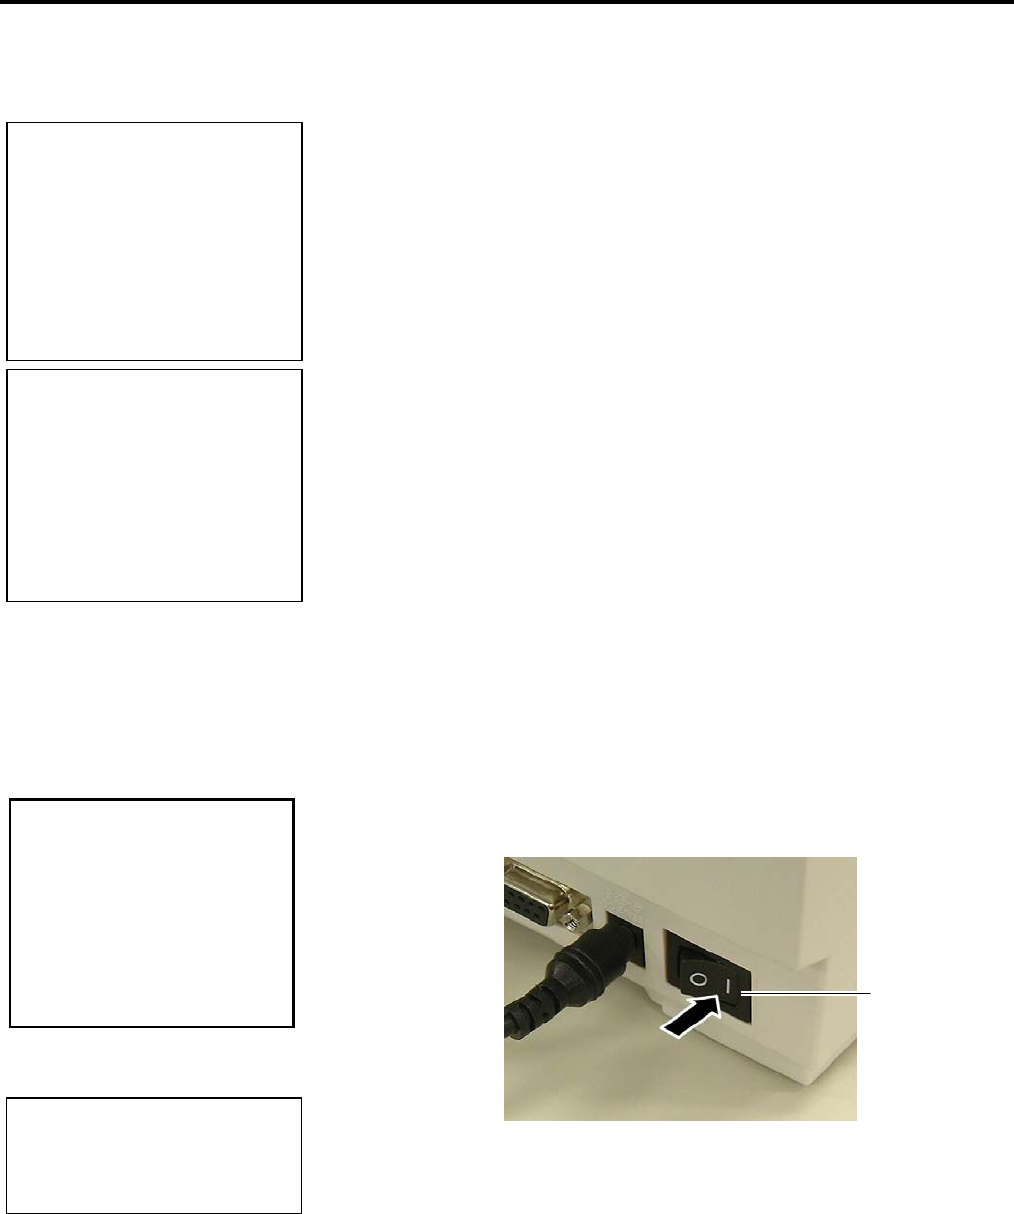
1. To turn ON the printer power, press the power switch as shown in the
picture below. Note that ( | ) is the power ON side of the switch.
2. Check that the Indicator Lamp is illuminated in green.
NOTE:
Use of a Windows Driver will
allow issuing media on the printer
f
rom a Windows application.
The printer can also be controlled
with its own programming
commands. For details, please
contact your TOSHIBA TEC
reseller.
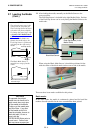
NOTE:
To communicate directly with a
host computer, an RS-232C,
Centronics, or USB cable is
required.
(1) RS-232C cable: 9 pins
(do not use a null modem cable)
(2) Centronics cable: 36 pins
(3) USB cable: V1.1
CAUTION!
Use the power switch to
turn the printer On/Off.
Plugging or unplugging the
p
ower cord to turn the
p
rinter On/Off may cause
fire, an electric shock, or
damage to the printer.
NOTE:
I
f the Red Indicator Lamp is
illuminated, go to Section 4.1,
Troubleshooting Guide.
Power Switch