


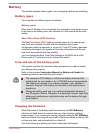

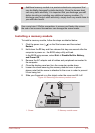
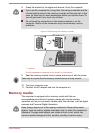
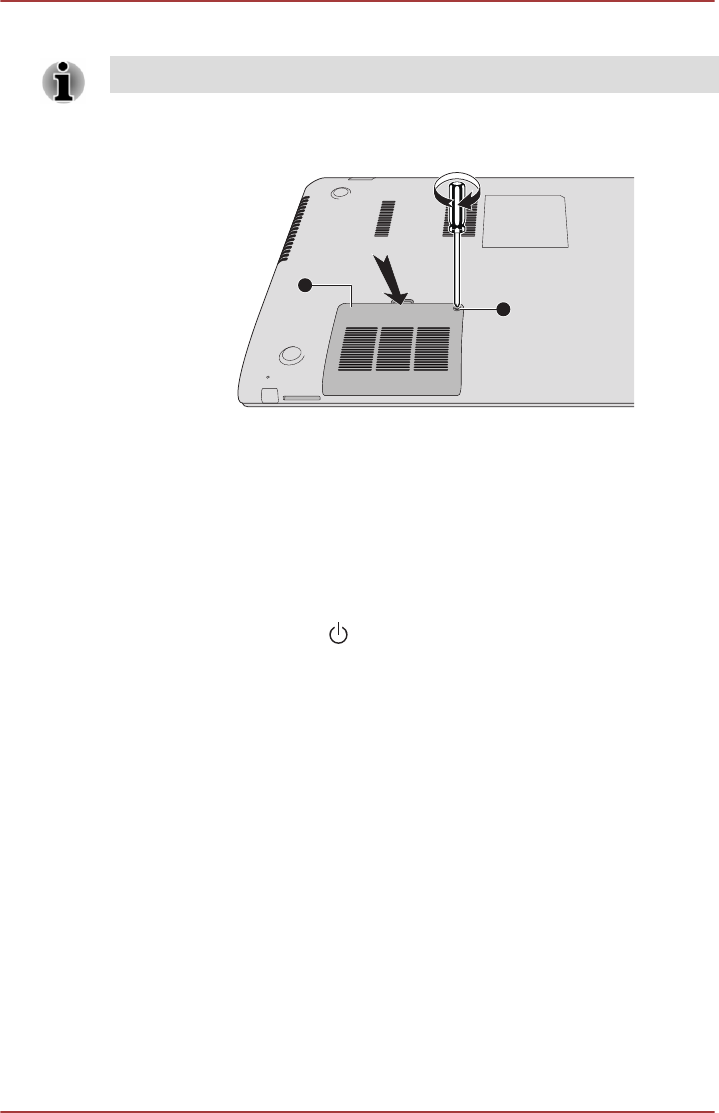
8. Seat the memory module cover in place and secure it with the screw.
Take care to ensure that the memory module cover is firmly closed.
Figure 4-8 Seating the memory module cover
1
2
1. Memory module cover 2. Screw
9. Turn your computer over.
10. Connect the AC adaptor and turn the computer on. Make sure the
added memory is recognized - to confirmed it, click Desktop Assist ->
Control Panel -> System and Security -> System on the desktop.
Removing a memory module
To remove the memory module, follow the steps as detailed below:
1.
Click the power icon ( ) on the Start screen and then select
Restart.
2. Hold down the F2 key and then release this key one second after the
computer is power on - the BIOS setup utility will load.
In the BIOS setup screen, select Exit -> Disable Built-in Battery,
and Power Off.
3. Remove the AC adaptor and all cables and peripherals connected to
the computer.
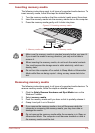
4. Close the display panel and turn the computer upside down.
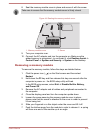
5. Loosen the screw securing the memory module cover in place -
please note that the screw is attached to the cover in order to prevent
it from being lost.
6. Slide your fingernail or a thin object under the cover and lift it off.
7. Push the latches away from the module in order to release it - a spring
will force one end of the module up at an angle.
User's Manual
4-32