


2. PRINTER SETUP
ENGLISH VERSION EO1-33034
2.2 Procedure before Operation
E2- 2
2.2 Procedure before
Operation
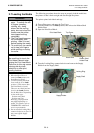
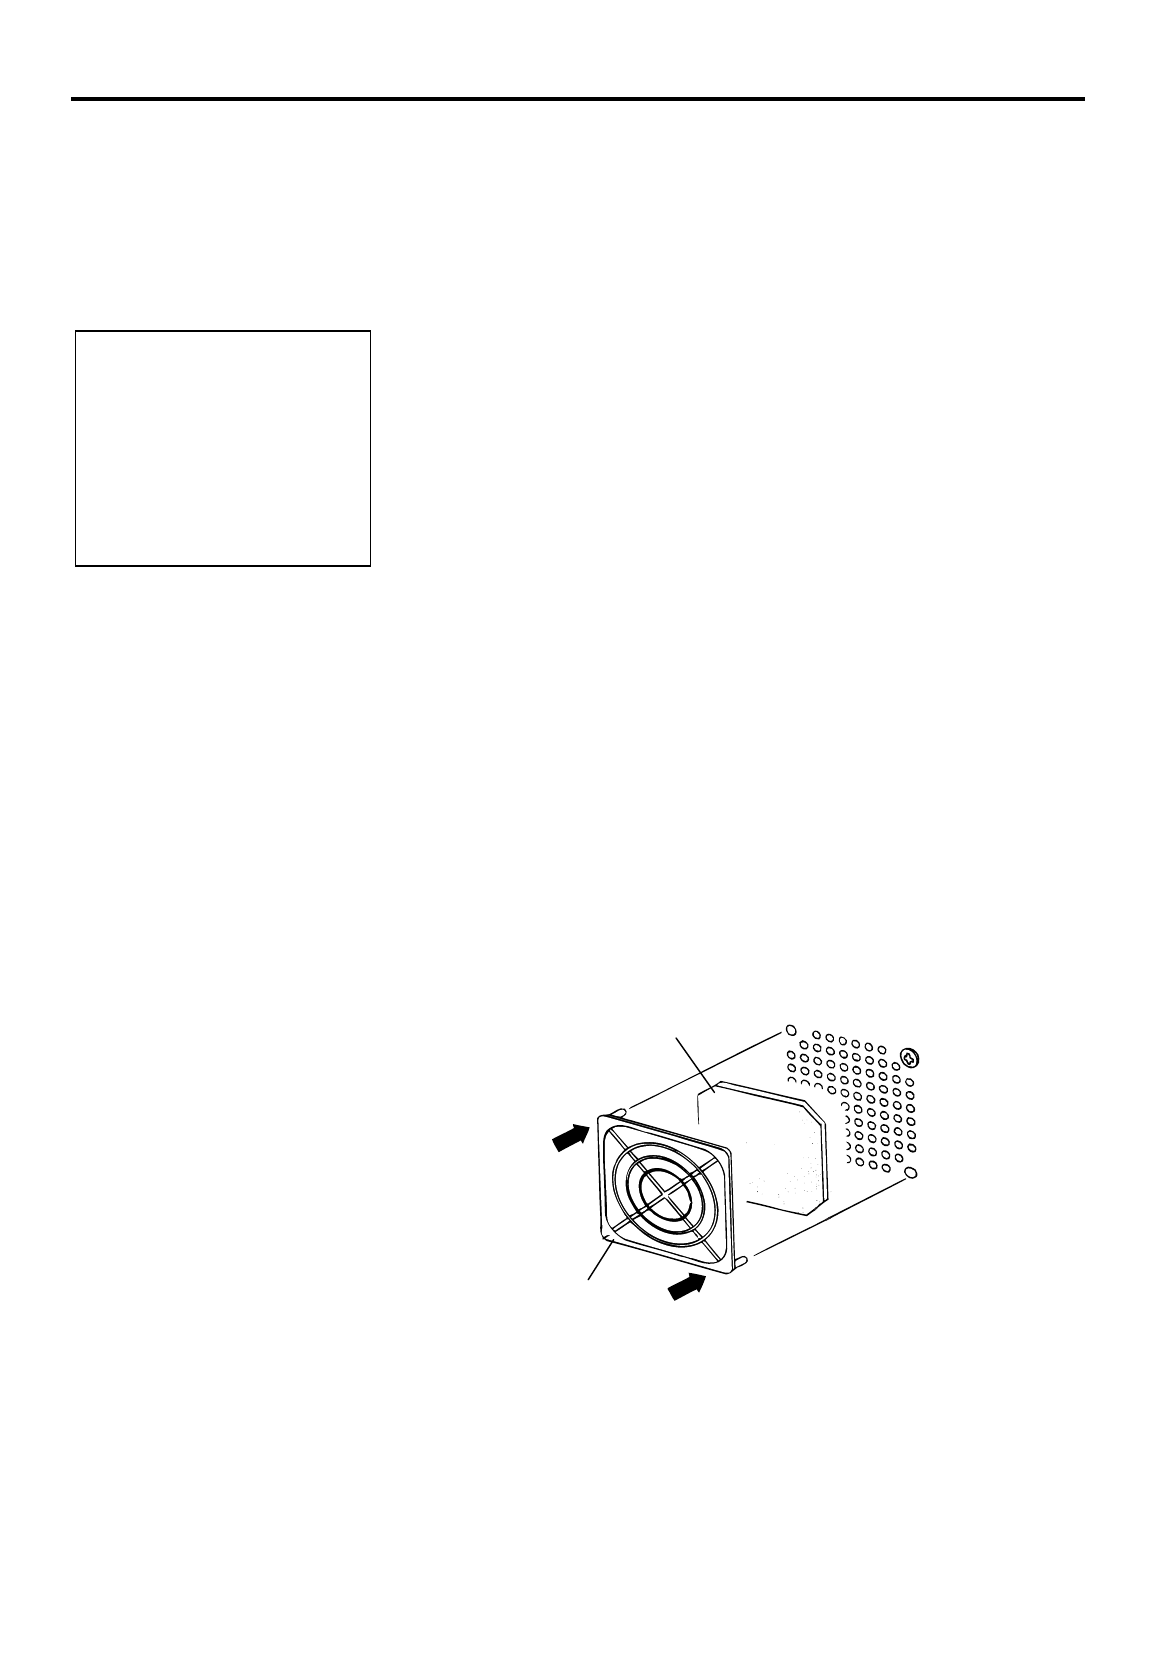
2.3 Fitting the Fan Filter
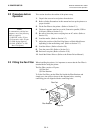
This section describes the outline of the printer setup.
1.
Unpack the accessories and printer from the box.
2.
Refer to Safety Precautions in this manual and set up the printer at a
proper location.
3.
Fit the Fan Filter to the printer. (Refer to Section 2.3.)
4.
The host computer must have a serial, Centronics parallel, USB or
LAN port. (Refer to Section 2.4.)
5.
Be sure to insert the power cord plug into an AC outlet. (Refer to
Section 2.5.)
6.
Load the media. (Refer to Section 2.7.)
7.
Adjust the position of the Feed Gap Sensor or Black Mark Sensor
depending on the media being used. (Refer to Section 2.7.)
8.
Load the ribbon. (Refer to Section 2.8.)
9.
Turn the power ON. (Refer to Section 2.6.)
10.
Perform a test print. (Refer to Section 2.10.)
11.
Install the Printer Drivers. (Refer to the Printer Driver Manual.)
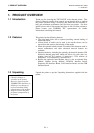
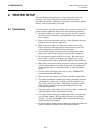
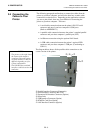
When installing the printer, it is important to ensure that the Fan Filter is
attached before using the printer.
The Fan Filter consists of 2 parts:
(1) Filter Pad
(2) Filter Retainer
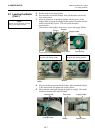
To fit the Fan Filter, put the Filter Pad inside the Filter Retainer and
simply press into place as shown in the diagram below, ensuring
connecting pins are aligned with the connecting holes.
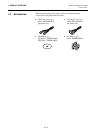
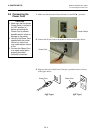
NOTE:
To communicate with the host
computer, one of the following
cables is required.
(1) RS-232C cable: 25 pins
(2) Centronics cable: 36 pins
(3) USB: B plug (Option)
(4) LAN: 10 Base-T or 100
Base-TX (Option)
Filter Pad
Filter Retainer
Snap On
Snap On