


61
CONTENTS
Document
imaging camera
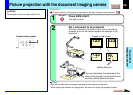
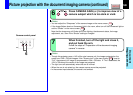
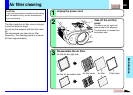
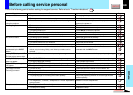
With the document camera operating, fully
cover the camera lens with a piece of black
paper or cloth.
1
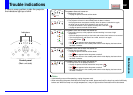
Correcting illuminated defects
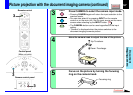
Note
Do not press ARM LIGHT and EXIT buttons simultaneously if the camera lens is not
covered. Doing so will not only erase the white spot correction data already set but also
result in parts ot the image that are properly displayed being corrected. Also be careful if
the camera input mode is not selected.
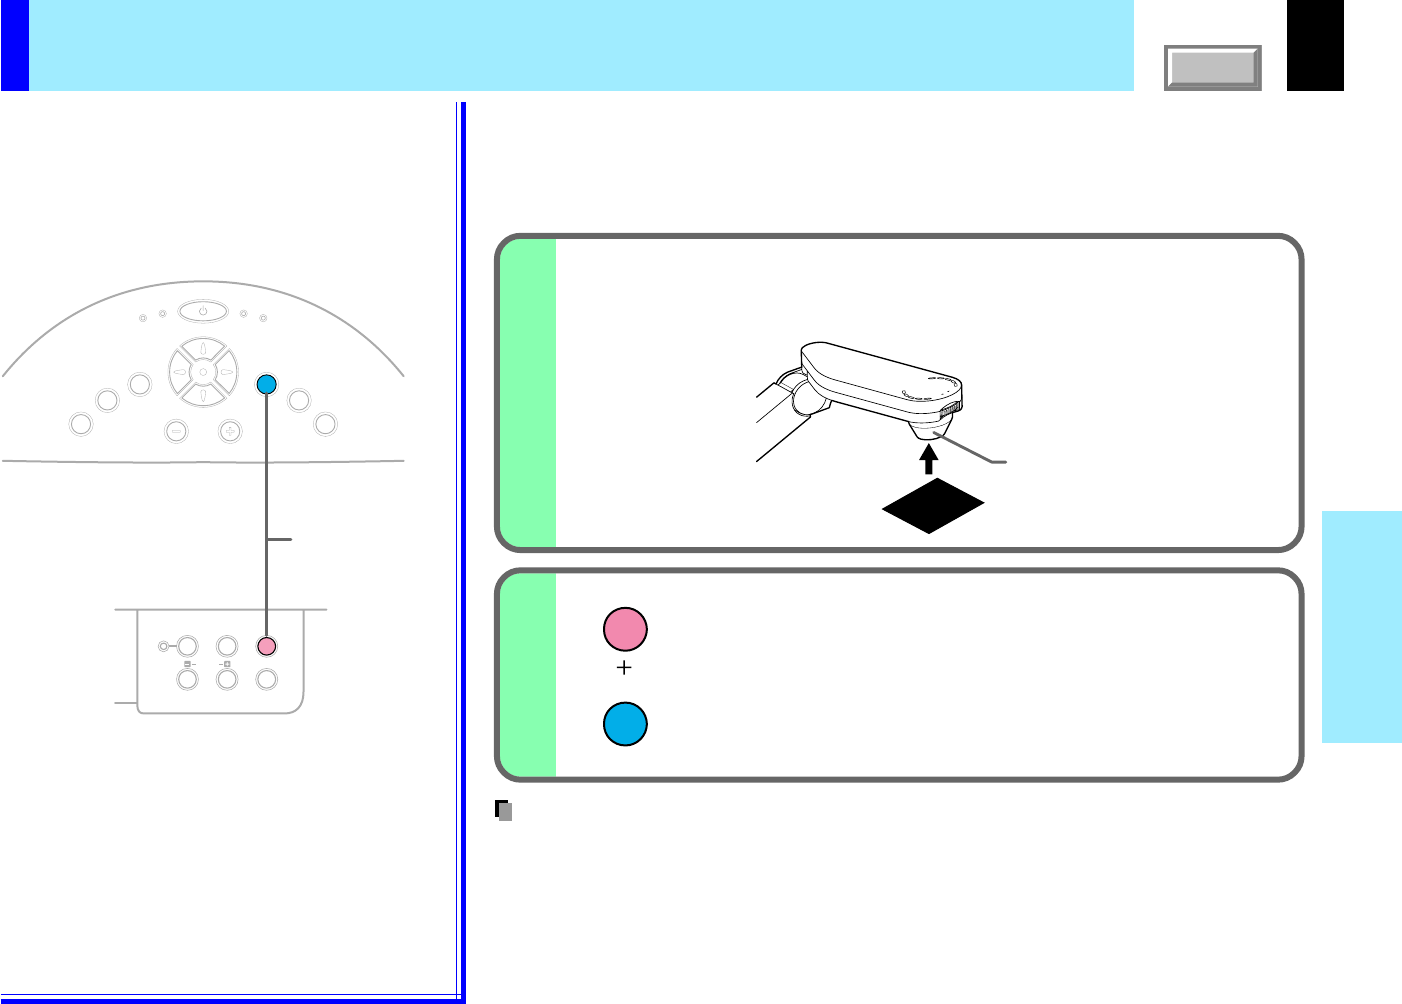
ARM LIGHT
EXIT
K
E
Y
S
T
O
N
E
A
U
T
O
S
E
T
E
X
I
T
ON / STANDBY
VOL / ADJ
E
N
T
E
R
M
E
N
U
I
N
P
U
T
F
A
N
T
E
M
P
L
A
M
P
O
N
2
OVERLAY
CAMERA
ARM LIGHT
LOCK
W.BALANCE
CAMERA
GAIN
F
O
C
U
S
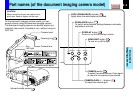
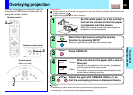
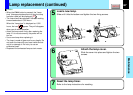
Press ARM LIGHT on the camera control panel
and EXIT on the projector’s control panel
simultaneously.
You can not use the remote control buttons.
2
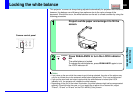
Camera control panel
Control panel
(Main unit side)
Press both sides
Camera lens
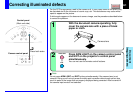
For the CCD image sensor used in the camera unit, in rare cases some of the pixels may
be disturbed due to the influence of cosmic rays, etc. This disturbance may cause white
spots to appear on the picture.
If white spots appear on the document camera image, use the procedure described below
to correct the problem.