WFS709TP ProSafe Smart Wireless Switch Hardware Installation Guide
Installing the Chassis 2-5
v1.0, May 2007
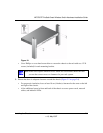
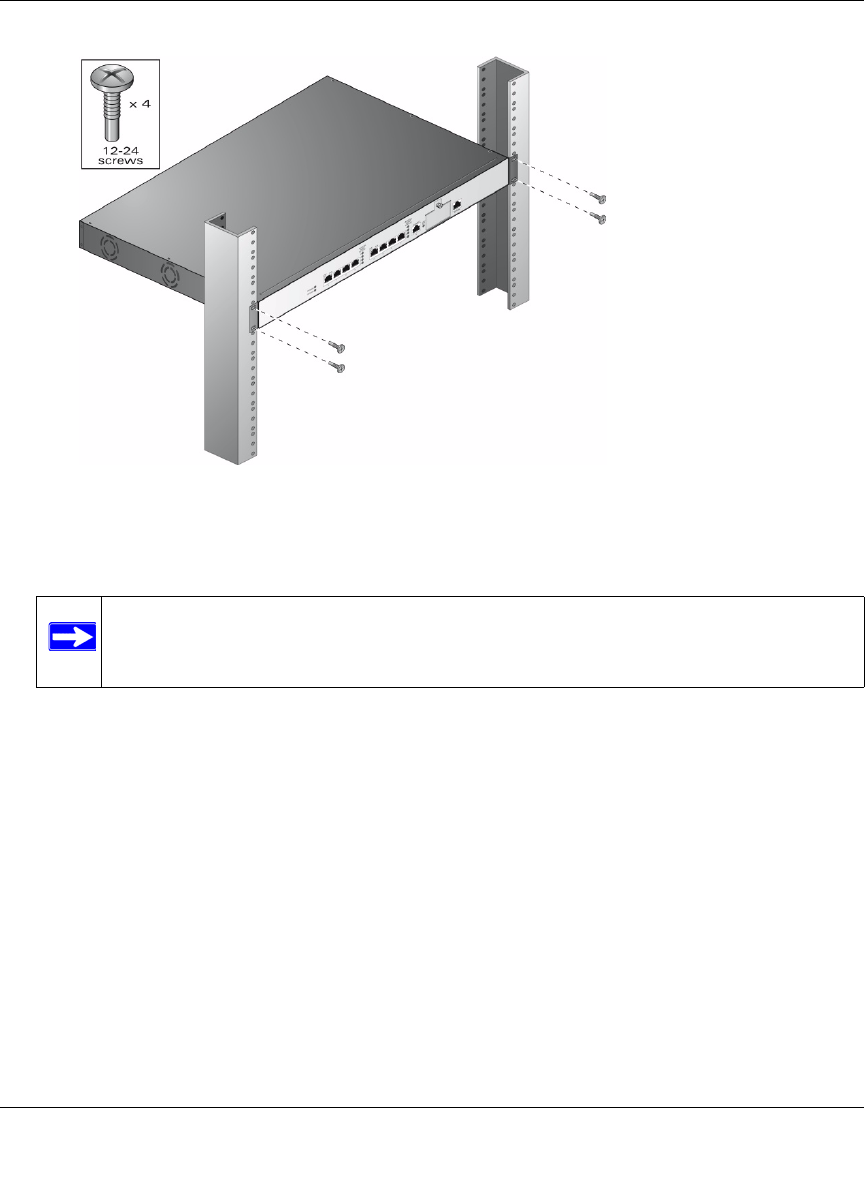
• Use a Phillips or cross-head screwdriver to secure the chassis to the rack with two 12-24
screws (included) for each mounting bracket.
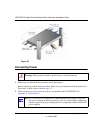
3. Ensure that there is adequate clearance around the chassis (Figure 2-2 on page 2-6).
• For proper air circulation, leave at least 10 cm (4 inches) clearance for the vents on the left
and right of the chassis.
• Allow additional space in front and back of the chassis to access power cords, network
cables, and indicator LEDs.
Figure 2-1
Note: Some racks require different screws which are not included. Make sure that
you use the correct screws or fasteners for your rack system.


