INSTALLING TO A PARALLEL PORT 13
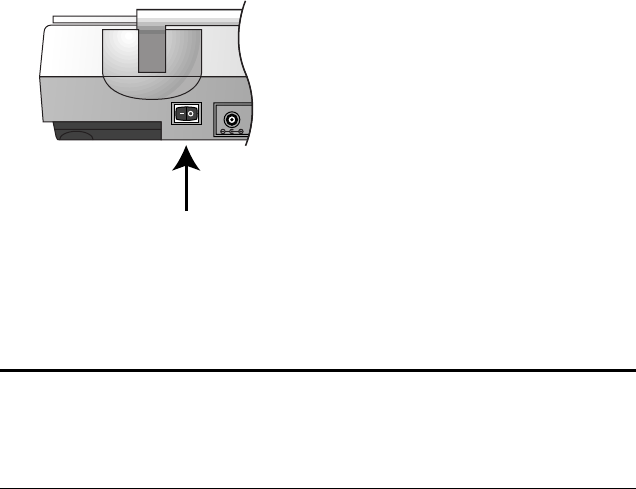
10. Turn on the power to the scanner.
The amber light comes on indicating the scanner is receiving power.
11. Turn on your computer. You’re now ready to install the software.
STEP 2: INSTALLING THE PAPERPORT SOFTWARE
The PaperPort CD contains the PaperPort software files, all the
necessary installation files, and files for other applications as well.
The CD also includes the PaperPort User’s Guide. You can read the guide
from the CD, or print a copy from the CD.
To install the PaperPort software:
1. Start Microsoft Windows and make sure that no other applications
are running.
2. Insert the PaperPort CD into your computer’s CD-ROM drive.
The CD automatically starts.
Note: The locking tab protects the scanner’s scan head by holding it
securely in position. Lock the scanner when transporting it from one
location to another, but always remember to unlock it before
scanning. The scanner will not scan when locked.
Power On/Off switch
