MANAGING STORAGE ON THE WD SENTINEL SERVER
48
WD SENTINEL DS5100/DS6100
ADMINISTRATOR AND MAINTENANCE GUIDE
Recovering from a Failed Drive
Use the following steps to recover from a failed drive.
1. Replace the drive (the one with the red LED over the drive) with an approved drive for
the WD Sentinel server (see “Find compatible hard drives” on page 36).
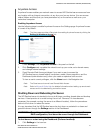
2. Once replaced, access the device Dashboard Monitor page.
3. Click the Configure link, located on the Health tab in the Internal Storage area.
4. Complete the steps outlined in “Setting up Storage Spaces” on page 44 or “Setting
Up RAID Storage” on page 45 to integrates the new drive into the RAID array.
Using USB Storage
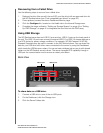
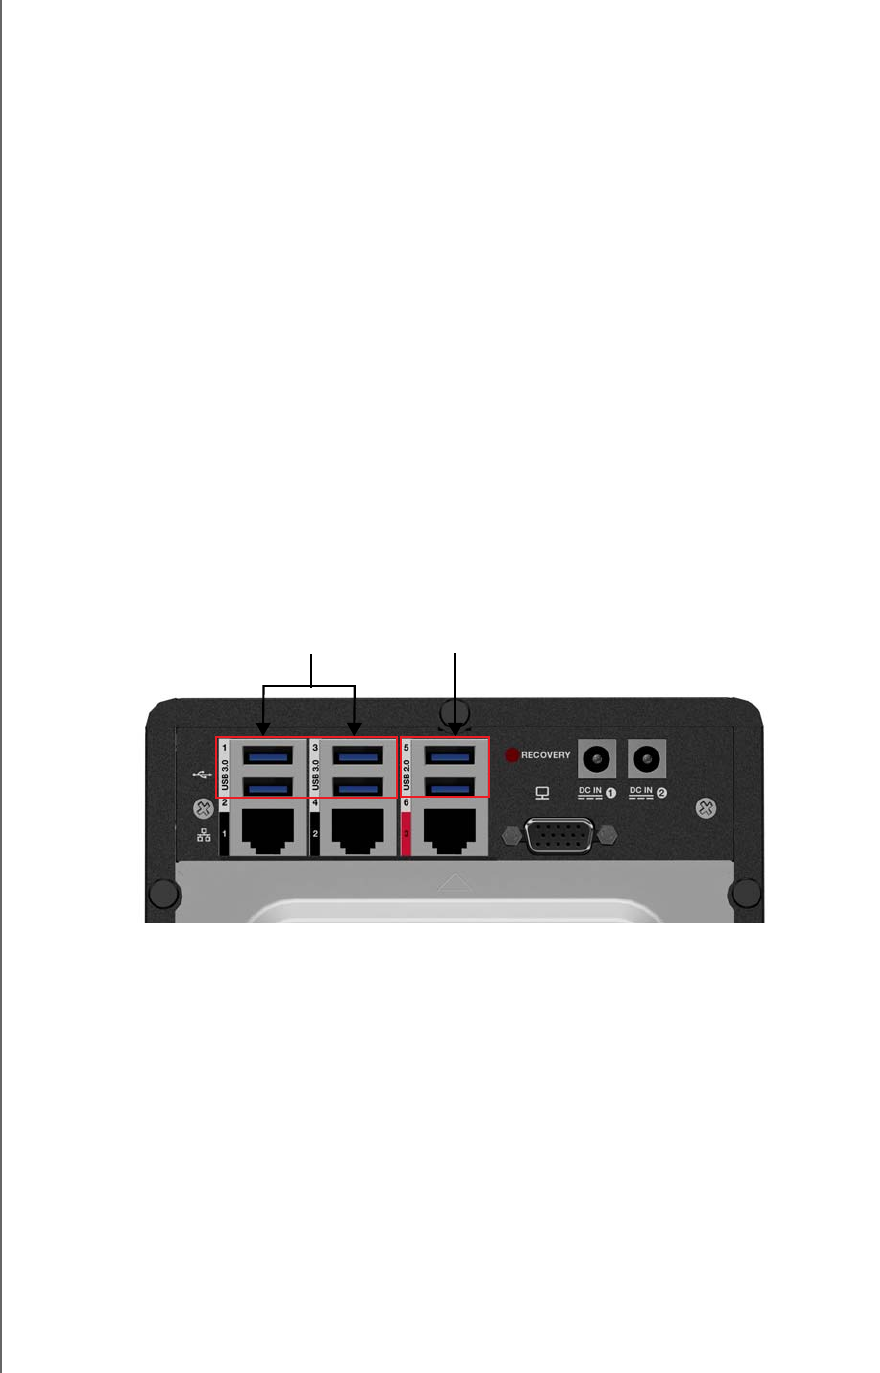
The WD Sentinel server has two USB 2.0 port and four USB 3.0 ports on the back panel of
the unit. The USB 3.0 ports can connect to external USB 2.0 or USB 3.0 storage devices or
to a UPS device for power outage conditions. For example, WD My Passport or WD My
Passport Essentials may be used to connect to the WD Sentinel server. You can share this
data on your USB drive with other users connected to the server by using the Dashboard,
which treats the USB drive as a share. You can set user privileges just as you do with shared
folders on the WD Sentinel server’s drives. The server manages UPS capability through a
USB port for communication and to ensure an orderly shut down.
Back View
USB 3.0 ports USB 2.0 ports
To share data on a USB drive:
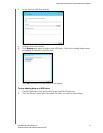
1. Connect a USB drive to one of the six USB ports.
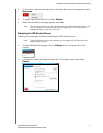
2. On the Dashboard, click the Storage icon.
3. Click the Server Folders tab.


