


B2500
6 - PC Features
B2500 MFP User’s Guide
31
Connections
Make sure that your multifunction machine is
powered off.
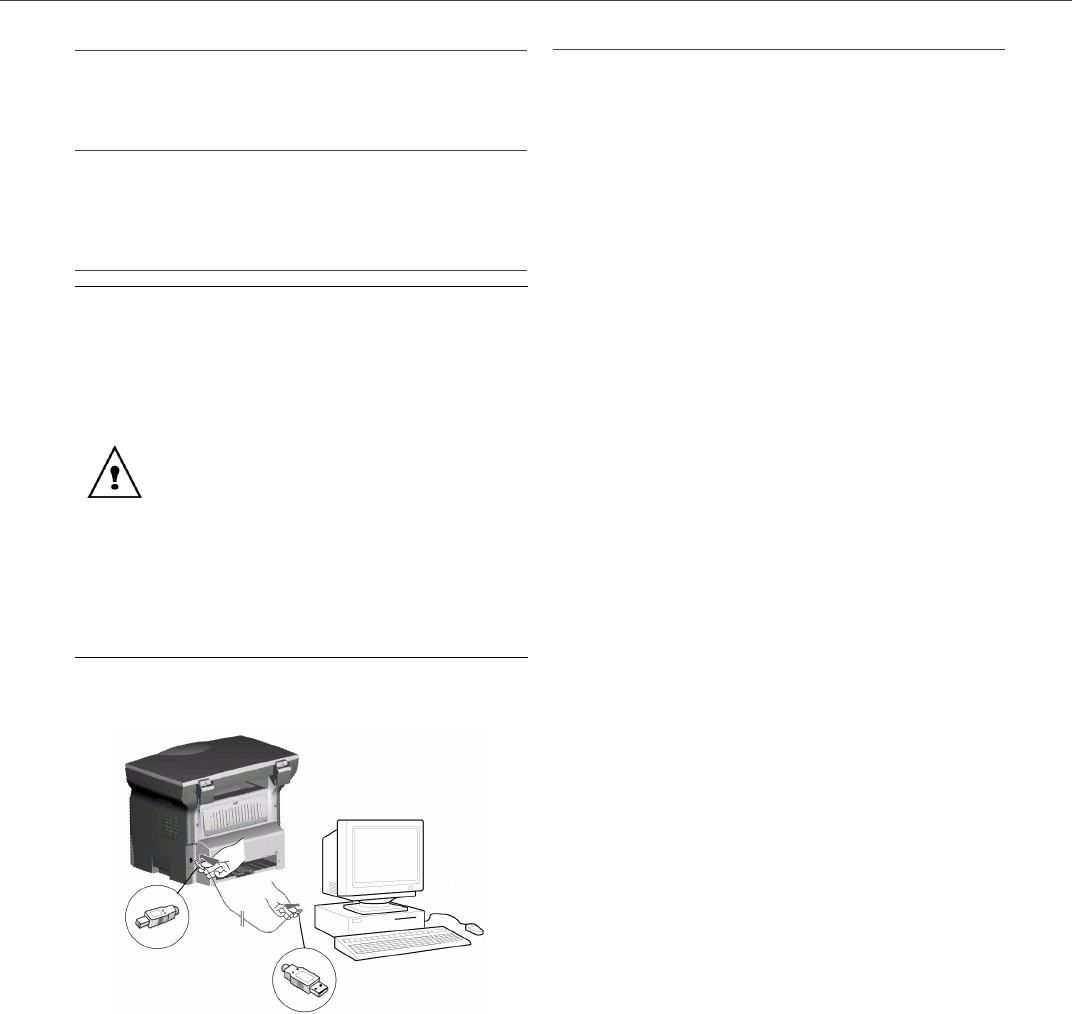
USB Connection
The connection between the PC and the machine
requires a USB 2.0 shielded cable no more than 3
meters long.
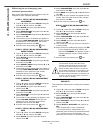
If USB cable is Installed Before Software
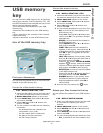
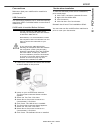
1 Locate your USB cable connectors and connect
as shown below on the picture.
2 Power on your multifunction machine.
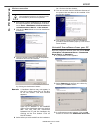
The F
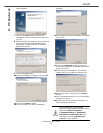
OUND NEW HARDWARE WIZARD window
appears.
3 Select YES THIS TIME. Click NEXT.
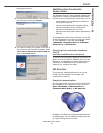
4 Select INSTALL SOFTWARE AUTOMATICALLY
(
RECOMMENDED). Click NEXT.
5 Click FINISH. The USB driver is installed.
6 The FOUND NEW HARDWARE Wizard appears.
7 Select YES THIS TIME. Click NEXT.
8 Select INSTALL SOFTWARE AUTOMATICALLY
(
RECOMMENDED). Click NEXT.
9 Click FINISH. The Software driver is installed.
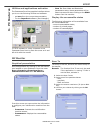
Test the driver installation.
To test the USB and printer driver installation,
print a test page:
1
Click START >SETTINGS >PRINTERS & FAXES.
2
Right click OKI B2500 MFP.
3 Click PROPERTIES.
4 Click the PRINT TEST PAGE button.
Reinstall the drivers if the installation failed.
You can now use the multifunction machine to
print or scan your documents.
You can connect the USB cable before
installing the Companion Suite Pro software
on Windows 2000 and XP.
Nevertheless, it is recommended to install
the Companion Suite Pro software first and
then to connect the USB cable to your
machine.
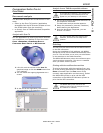
If you connect the USB cable before
installing the Companion Suite Pro software
the recognition system (plug and play)
identifies automatically that new hardware
has been added. To start your machine
driver’s installation, follow the instructions
on screen. If a window asking about the
location of the drivers pops up, then
indicate the installation CD-ROM.