


B2500
B2500 MFP User’s Guide
32
6 - PC Features
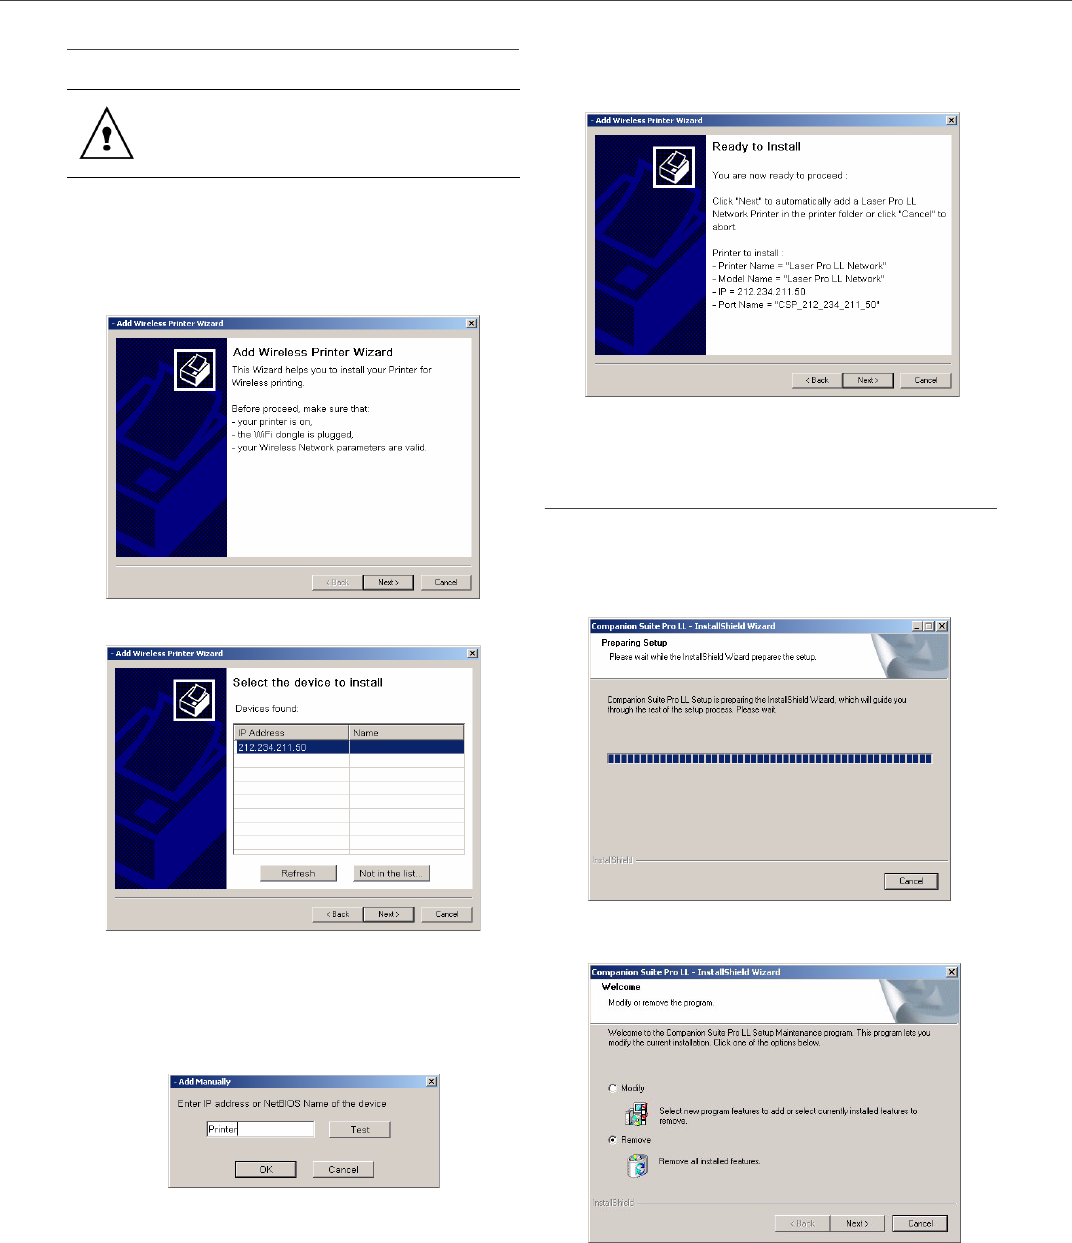
Wireless connection
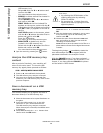
1 Run the MF Director application by clicking on
the icon located on your desktop or from the
menu
START >PROGRAMS >COMPANION SUITE
>C
OMPANION SUITE PRO LL > ADD PRINTER.
2 Click on the NEXT button to run the installation
procedure.
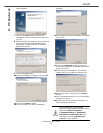
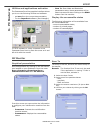
3 The next screen shows the list of compatible
hardware found on the network.
You can make another search on the network
by clicking on the R
EFRESH button.
Remark: A hardware device may not appear in
the list in which case click on the NOT
IN THE LIST button. The next window
appears.
Type the IP address or the NetBIOS
name of the hardware that you wish to
add. You can test the connection
between the PC and the hardware by
clicking on the T
EST button. Click on
the OK button.
4
Select what you wish to add from the hardware
list. Click on the N
EXT button.
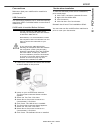
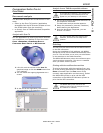
5 The next window lists the different features of
the printer that are about to be installed. Click
on the N
EXT button.
6 The window indicating that the installation
procedure was successful pops up. Click on the
F
INISH button.
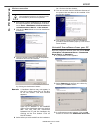
Uninstall the software from your PC
Run the programs removal from the menu START
>PROGRAMS >COMPANION SUITE > COMPANION
SUITE PRO LL > UNINSTALL.
1
A preparation screen appears.
2 Select REMOVE and confirm your choice by
clicking on the N
EXT button.
3 A confirmation screen appears. Click on OK
button to continue the C
OMPANION SUITE PRO
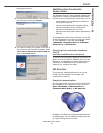
The Companion Suite Pro LL software must
be installed to perform this operation.