


25
Projection
8
English
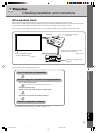
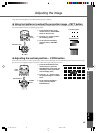
Carry out the following adjustments to obtain optimal projection conditions.
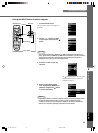
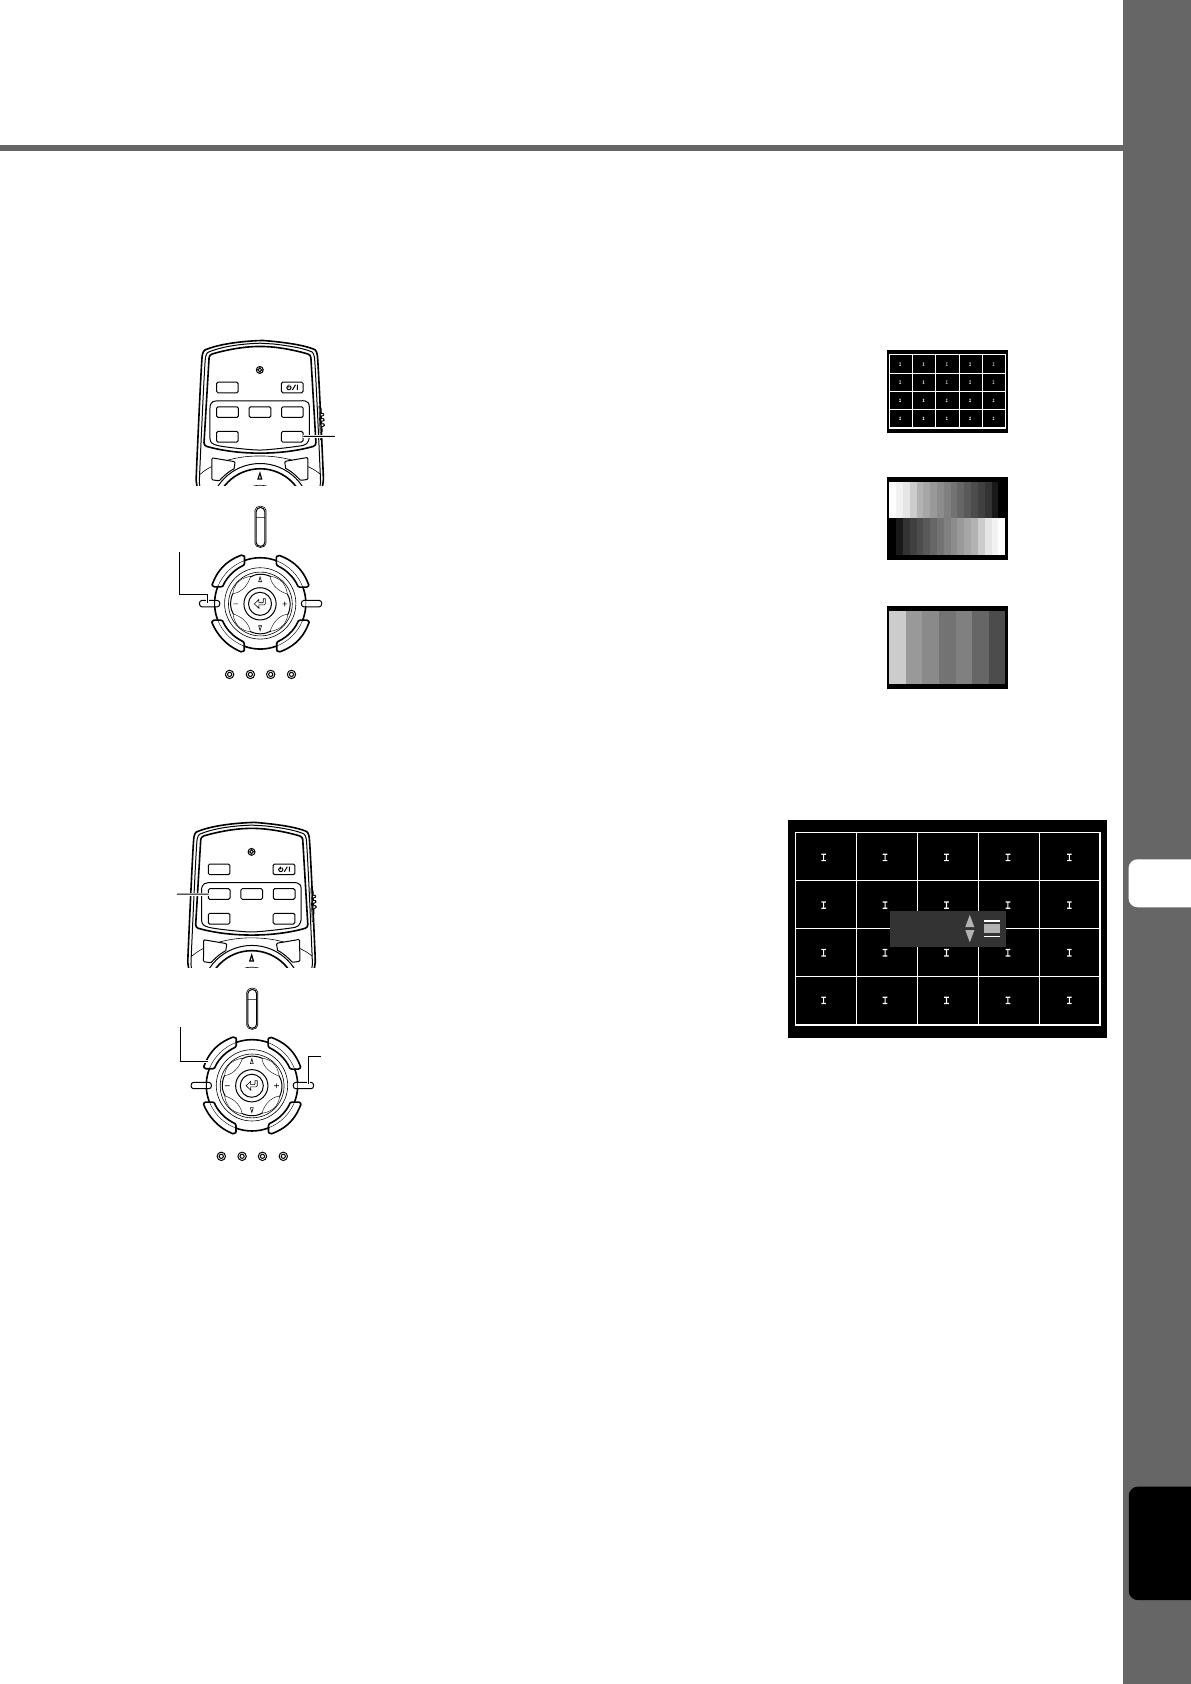
◆ Adjusting the vertical position – V.POS button
If the center of the screen is not in line with the center of the lens of the DPX-1300, use the V.POS button to adjust the position of the image
up or down. You can adjust the image to a maximum of half of the height of the projection screen.
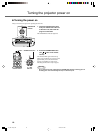
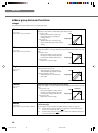
1. Press the V.POS button on the
remote control, or press the
SETTING button on the main unit
repeatedly to select [Lens Shift]
from the display menu.
2. Press the h or g button to move
the projected image to a suitable
place.
3. To exit from the adjustment
mode, press the V.POS or
ESCAPE button.
◆
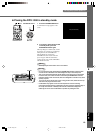
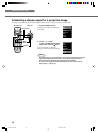
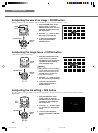
Using test patterns to adjust the projection image – PATT button
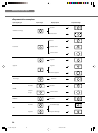
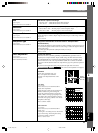
The DPX-1300 is equipped with three test patterns, the crosshatch pattern necessary for focus and keystone adjustment, and the grayscale
and color bar patterns necessary for adjusting image quality.
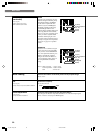
1. Press the PATT button on the
remote control, or the PATTERN
button on the main unit.
2. Press the + or - button to select
the necessary pattern.
3. To exit from the test display,
press the PATT or PATTERN
button.
MENU
AUTO
SETTING
ESCAPE
PATTIRIS
ZOOM FOCUSV. POS
STANDBY
/
ON
SETTING
LAMP COVER TEMP FAN
PATTERN
ESCAPE
MENU
INPUT
ASPECT
MENU
AUTO
SETTING
ESCAPE
PATTIRIS
ZOOM FOCUSV. POS
STANDBY
/
ON
SETTING
LAMP COVER TEMP FAN
PATTERN
ESCAPE
MENU
INPUT
ASPECT
Crosshatch pattern
Grayscale pattern
Color bar pattern
Adjusting the image
V.POS
button
ESCAPE button
Lens Shift
PATTERN button
SETTING
button
PATT
button
12_DPX-1300_E.p65 9/20/05, 5:07 PM25