


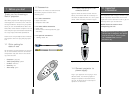
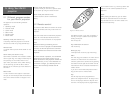

1.3 Insert batteries in the
remote control
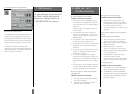
Figure 5 shows the remote control with the
battery lid removed. Slide off the battery lid
and insert the batteries with the + and - poles
correct. Slide the battery lid back on again.
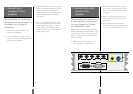
1.4 Connect projector to
power supply
Plug in your projector. Do not plug it into a
switched outlet. Your Zenith projector is
designed to operate on standard current,
120-volt, 60 Hertz AC. Do not attempt to
operate it on DC current.
The registration card or copy of invoice is your
proof of purchase. Please make sure that the
registration card is returned in order to get the
warranty service you are entitled to.
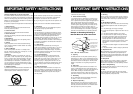
NOTE! Please use caution when
transporting the unit.
WARNING! Tampering with or opening
the unit can be dangerous. For replace-
ment of the lamp or service, please
call 1-888-865-3026, toll free,
24 hours a day.
Figure 5 Inserting batteries in remote control
2. Important
information
8
1. Before you start
Thank you for choosing a
Zenith projector
Your Zenith projector will display high bright-
ness images with vivid colors, even under nor-
mal light conditions. As input for your presen-
tation you can use CD-ROM, Photo CDs, Laser
Disks, DVD, normal VCRs or computers. You can
have multiple inputs connected simultaneously
for a high impact multimedia presentation.
Thanks to the unique Graphical User Interface,
the projector offers true plug-and-play opera-
tion.
1.1 Color coding for
ease of use
All connectors, plugs and buttons on the prod-
uct are color coded to make the connections
and operation easy and intuitive. The follow-
ing colors are used:
• Computer -gray (PC)
• Video (Composite) -yellow
• S-video -dark blue
• Stand by -red
• Auto setup -green
1.2 Accessories
Please take a few minutes to make sure that
your Zenith projector contains all the
necessary parts:
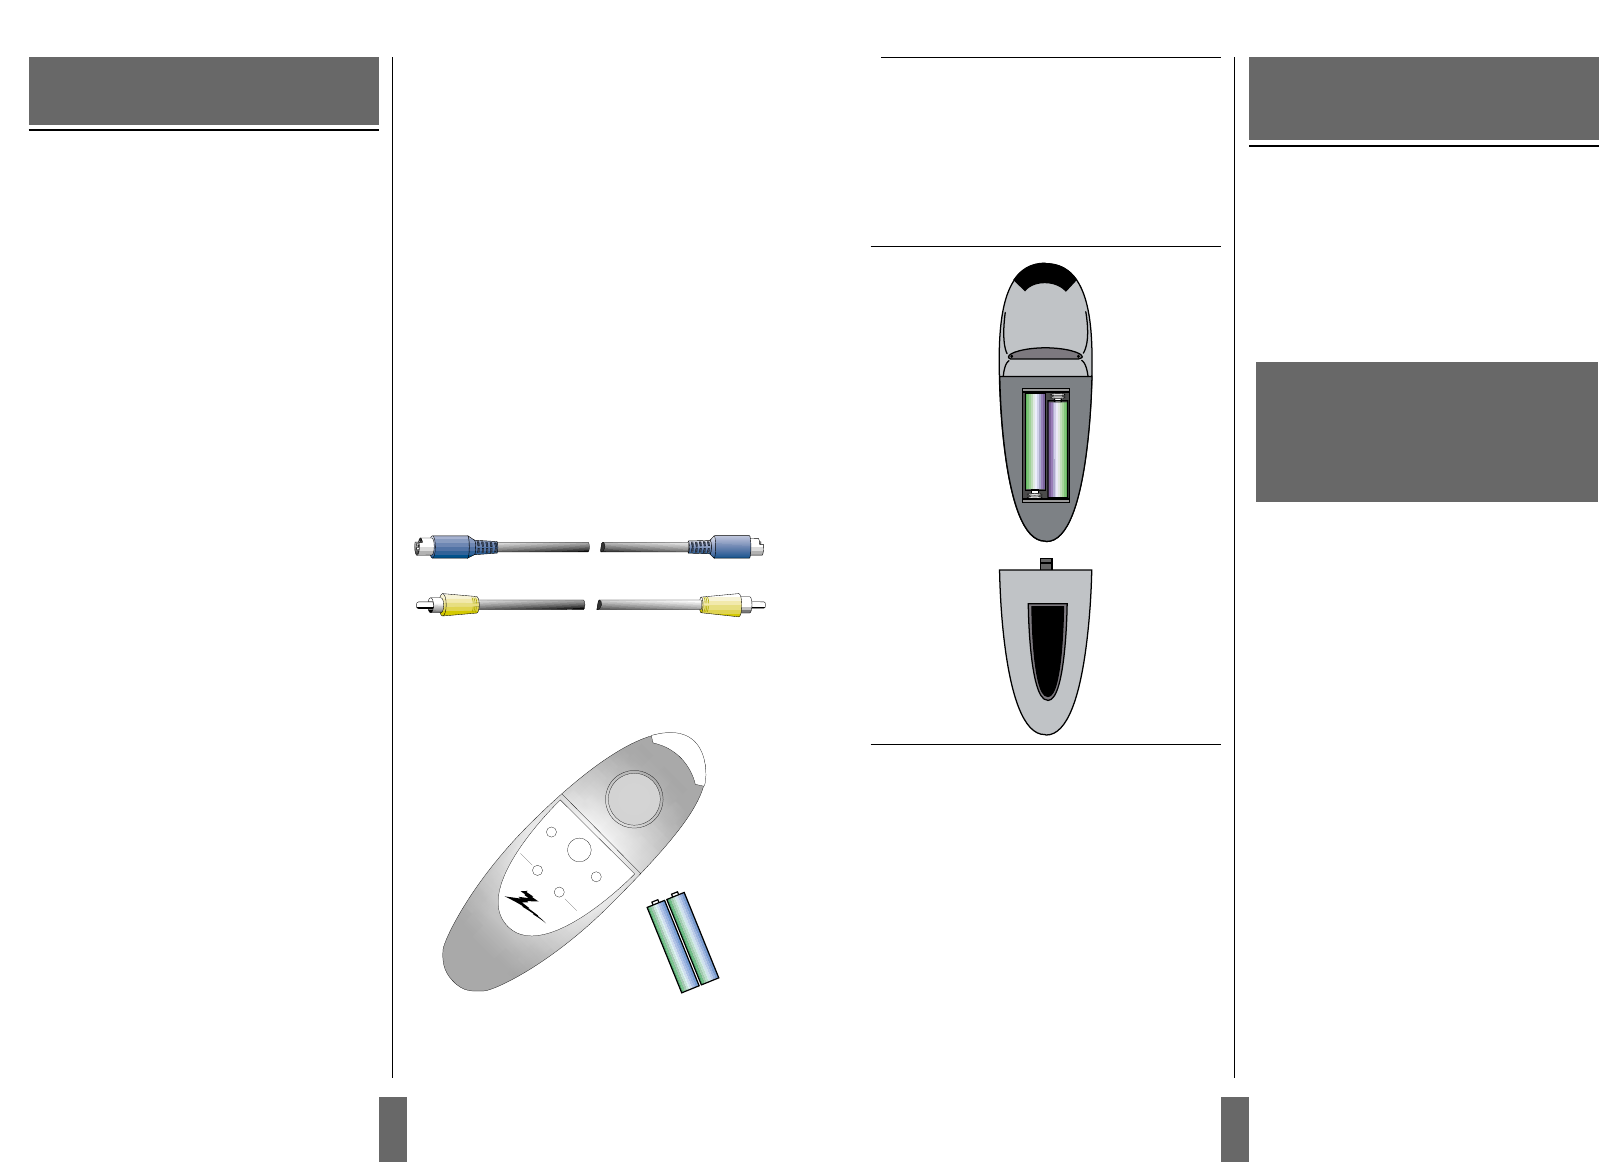
1.2.1 Video accessories
• Super-video cable
• Composite video cable
1.2.2 Other cables/accessories
• Power cable
• Remote control including batteries (type
AAA/LR03)
1.2.3 Optional accessories
• Ceiling mount kit
8
MENU
QUICK
ON
ZAP 1
OFF
ZAP 2
9