


5.4 Adjusting the height and
angle of the projector
You can adjust the height and angle of the
projector by adjusting the four small feet
underneath the product.
Note!
The projector should never be left with an
angle of more than 15 degrees over a long
period of time. Doing so will shorten the
lifetime of the lamp.
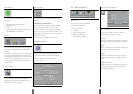
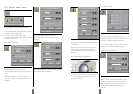
5.5 Aspect Ratio Selection
Aspect Ratio selection.
In this menu you can select the aspect
ratio of 4:3 or 16:9.
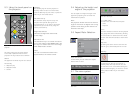
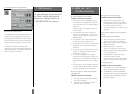
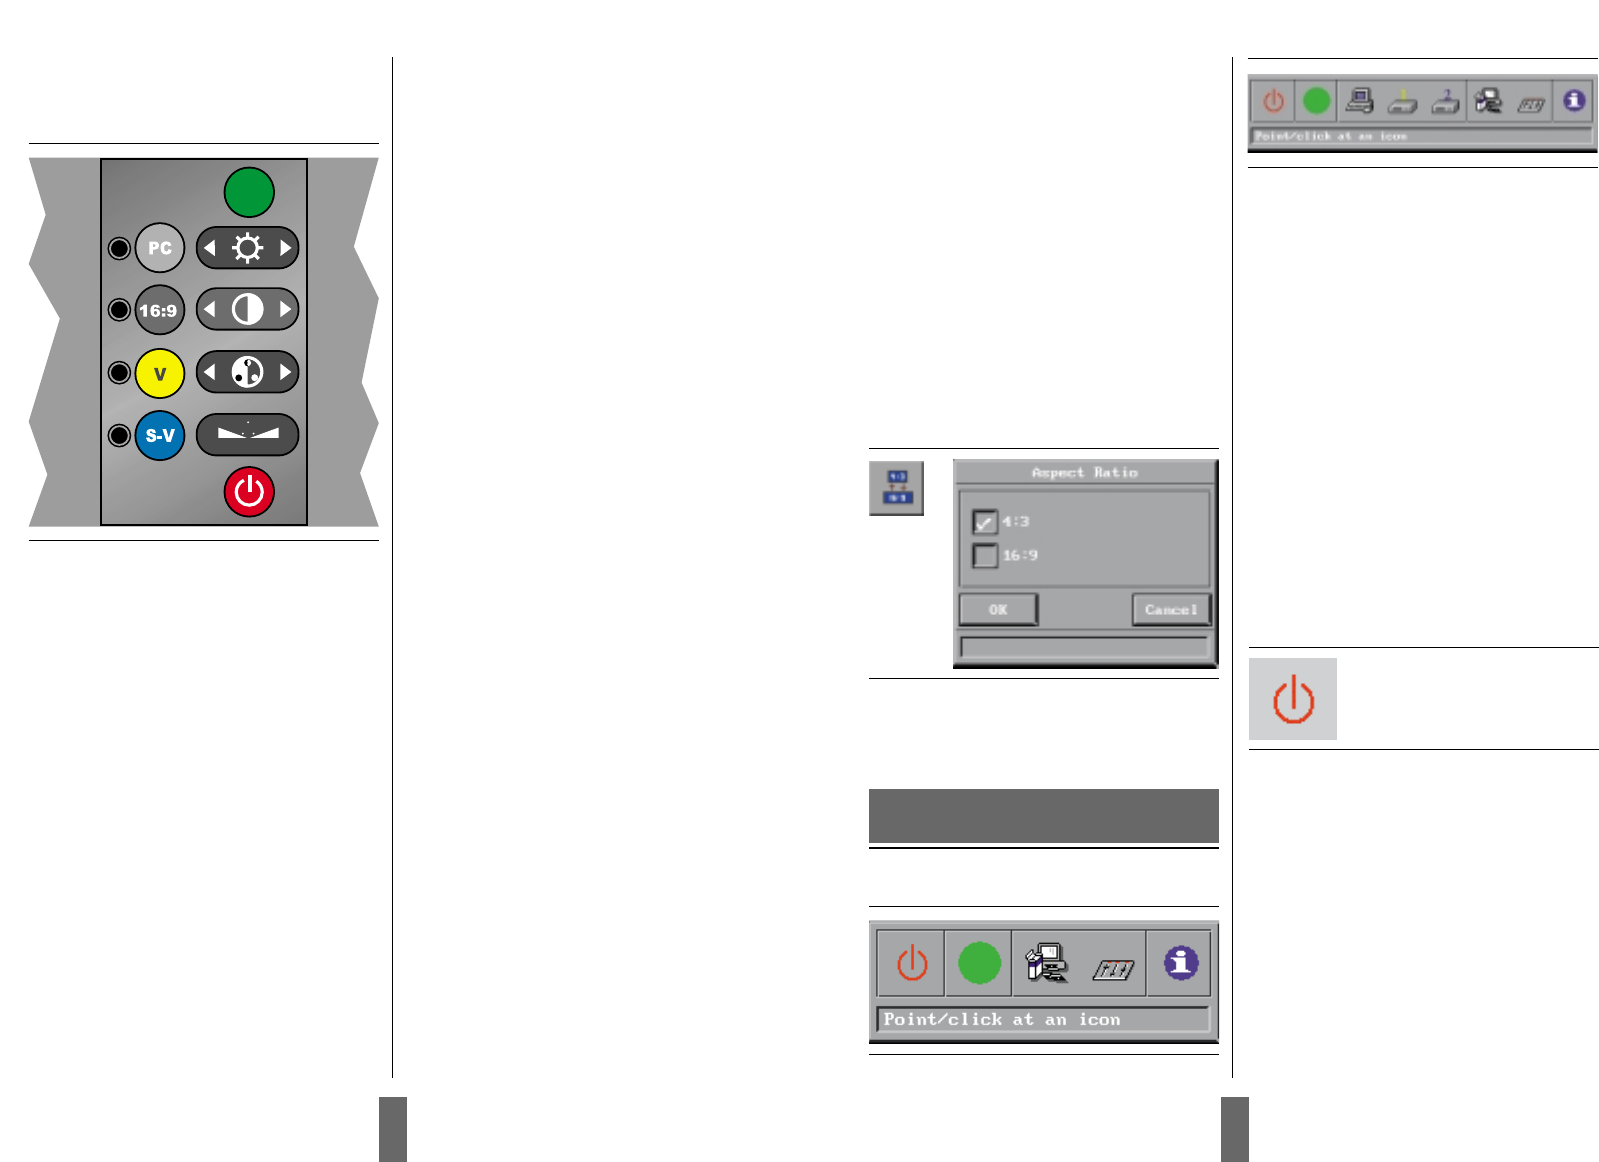
6.1 The menu system
Main menu.
Menu with video input.
6.1.1 Main menu
The main menu is divided into two parts:
• Icons
• Help text
Icons
The icons illustrate a function and are grouped
into groups with similar functionality. Clicking
an icon activates it. Some icons have a direct
function and some will activate a second level
menu.
Help text
By moving the cursor over the icons the text
area will give a short description of the icon.
Stand-by
The stand-by key will set the projector in
stand-by mode. The lamp will turn off, and
the fans will run for a little while cooling the
projector before stopping. To return to normal
mode, press the Menu key on the remote
control.
6. Using the menus
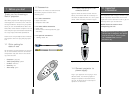
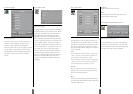
5.3 Using the touch panel on
the projector
The touch panel gives you direct access
to the most important functions of the
projector. The key functions are as follows:
Source
The projector has direct keys for four sources:
Functionality
• Computer (PC)
• Composite video
• S-video
Stand by
The stand by key will set the projector in
stand by mode. To return to normal mode,
press the Stand by key once more, or press the
Menu key on the remote control.
Automatic set-up
The automatic set-up key will set up the
projector with optimal settings for the
connected source. If you want to do manual
adjustments you can do this by using the
menus (see section 6).
Brightness/Contrast
Controls the brightness and contrast
of the image.
Saturation/Tint
The saturation key is to control the satura-
tion of the image in PAL/SECAM mode. The
tint key is to control the tint of the image
when NTSC mode is chosen.
Note!
You can not access the screen menu
system without the remote control.
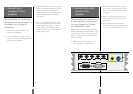
Figure 10: The keys on the touch panel on the
projector
14 15