System Power Supply Crestron C2N-SPWS300
14 • System Power Supply: C2N-SPWS300 Operations Guide - DOC. 8190
Programming Software
Have a comment about
Crestron software?
Direct software related
suggestions and/or complaints
to Crestron via email
(software@crestron.com). Do
not forward any queries to this
address. Instead refer to
“Further Inquiries” on page 26
or assistance.
Setup is easy thanks to Crestron’s Windows
-based programming software.
Following are the minimum software requirements for the PC:
• SIMPL Windows version 2.04.11 or later.
Requires SIMPL+ Cross Compiler version 1.1.
• Crestron Database is required by SIMPL Windows, but no special version is
needed for the C2N-SPWS300.
NOTE: The following are acceptable file extensions for programs that include a
C2N-SPWS300, developed for specific control system types:
.smw projectname.smw (source file)
.spz projectname.spz (compiled file for 2-series)
.bin projectname.bin (compiled file for CNX generation)
.csz projectname.csz (compiled file for CNX generation with SIMPL+)
.ush projectname.ush (compiled file for CNX generation with SIMPL+
header file)
.usp projectname.usp (source code module for SIMPL+)
SIMPL (Symbol Intensive Master Programming Language) Windows is Crestron's
software for programming Crestron control systems. It provides a well-designed
graphical environment with a number of workspaces (i.e., windows) in which a
programmer can select, configure, program, test, and monitor a Crestron control
system. The objects that are used in SIMPL are called symbols. SIMPL Windows
offers drag and drop functionality in a familiar Windows
®
environment.
NOTE: The following assumes that the reader has knowledge of SIMPL Windows.
If not, refer to the extensive help information provided with the software.
NOTE: In the following description, the PRO2 control system is used.
This section describes a sample SIMPL Windows program that includes a
C2N-SPWS300 power supply.
Configuration Manager is where programmers “build” a Crestron control system by
selecting hardware from the Device Library. In Configuration Manager, drag the
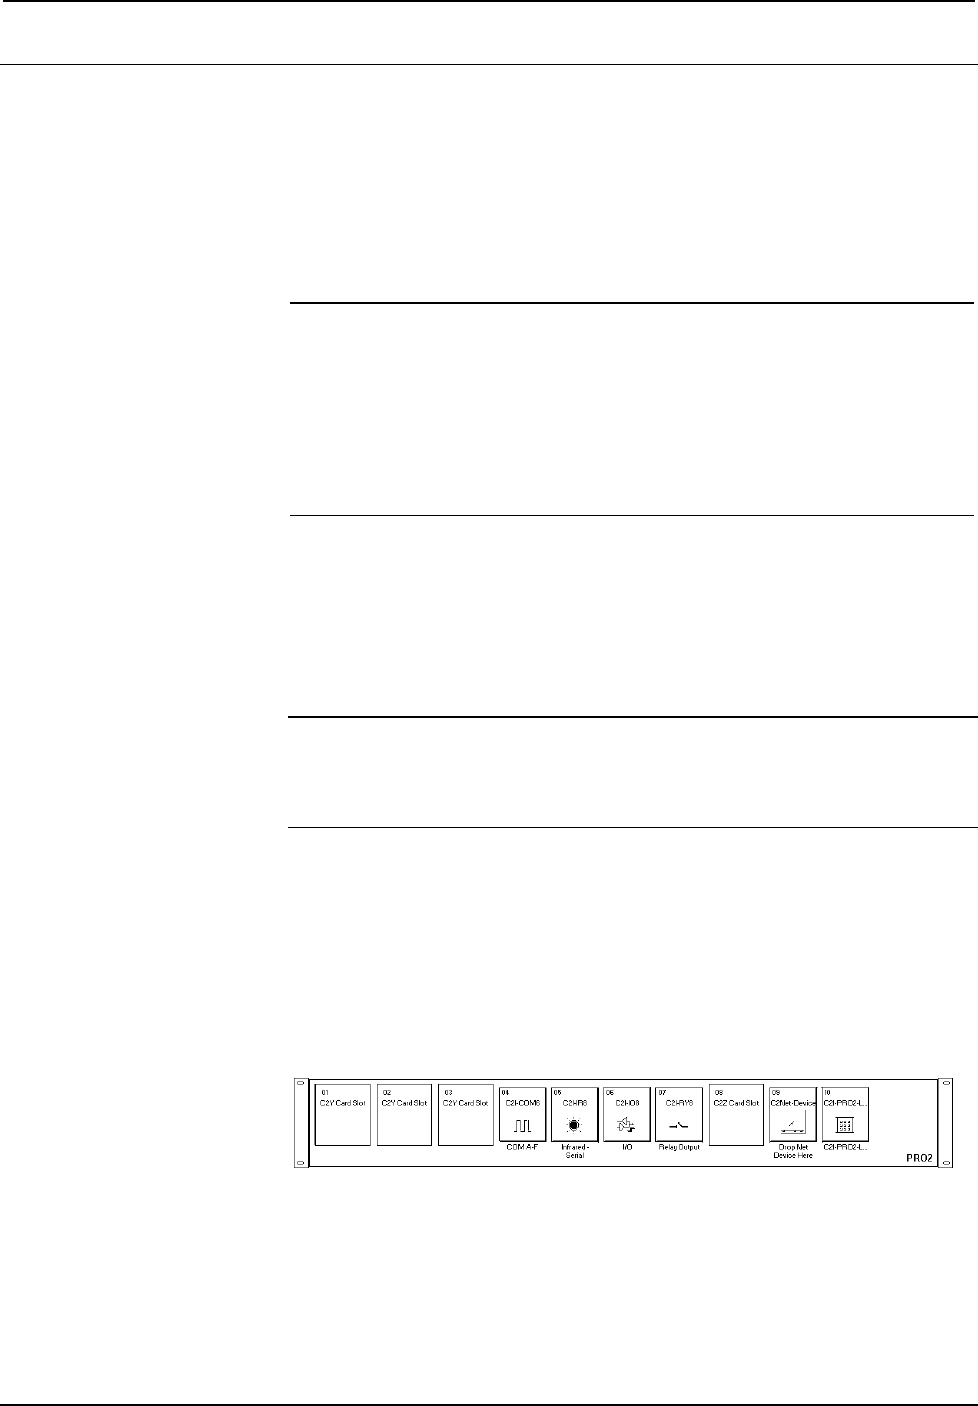
PRO2 from the Control Systems folder of the Device Library and drop it in the upper
pane of the System Views. The PRO2 with its associated communication ports is
displayed in the System Views upper pane.
PRO2 System View
