37
3. Conducting a Remote Session
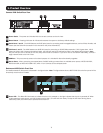
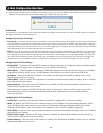
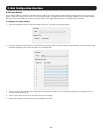
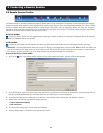
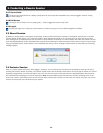
3.2 Remote Session Toolbar
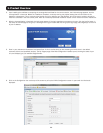
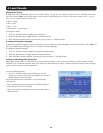
TheNetCommanderIPprovidesatoolbarthatallowsaremotesessiontobemanipulated.Thefeaturesonthetoolbarallowyoutotoggle
betweenaccessibleports,adjustthevideosettingsoftheremotesession,alignthelocalandremotemousepointers,etc..Whenaremote
session is initiated, the toolbar is displayed briefly in the top-center of the screen, and then collapses to display only a thin bar. To expand
the toolbar, simply move the mouse pointer over the blue bar at the top-center of the screen. The following sections describe the features
available in the remote session toolbar, and how they are used.
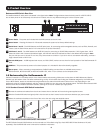
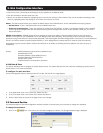
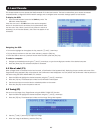
3.2.1 Pin Toolbar
– Clicking on the Pin Toolbar icon will toggle between displaying the toolbar constantly and allowing it to disappear after a few seconds.
By default, it disappears after a few seconds.
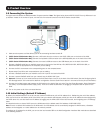
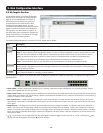
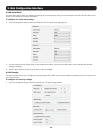
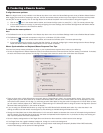
3.2.2 Session
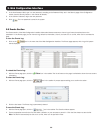
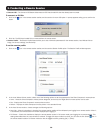
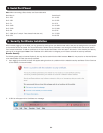
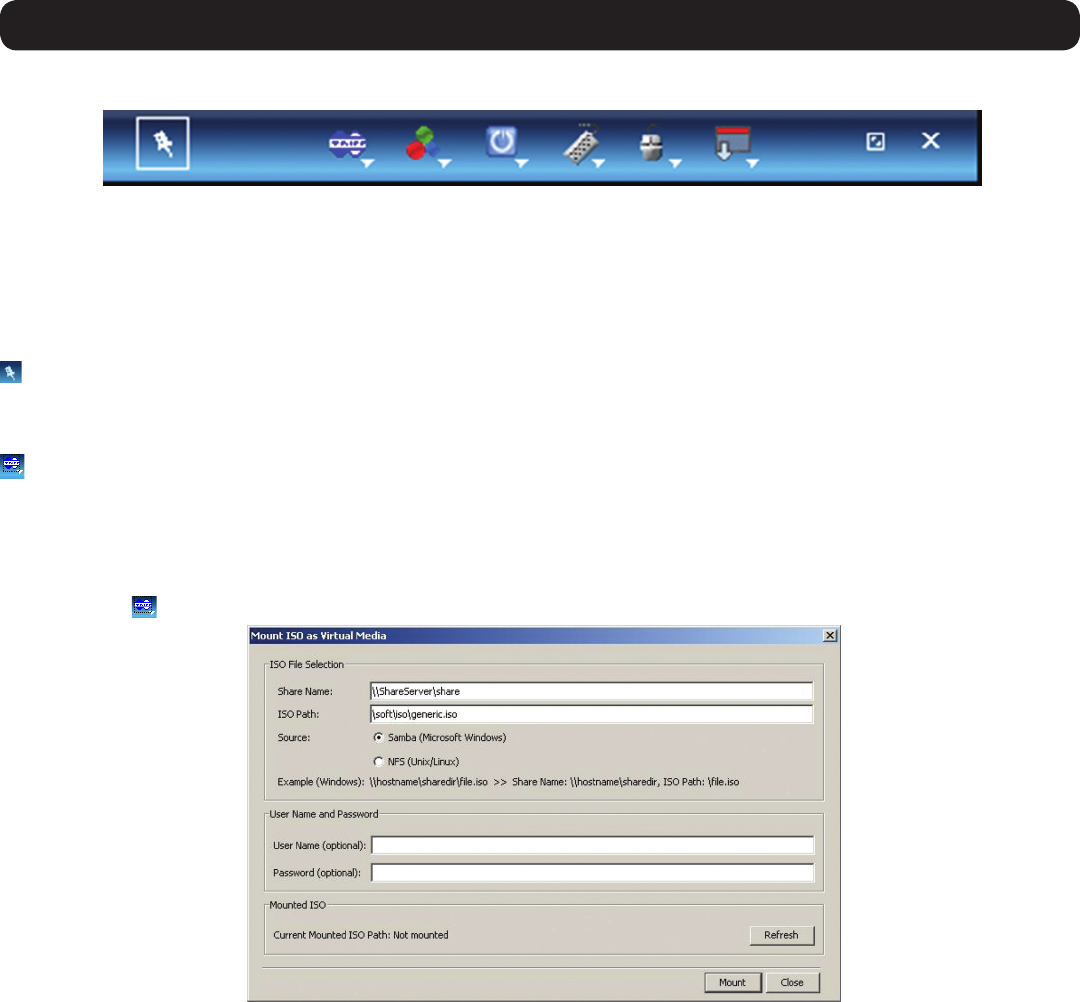
– Clicking on the Session iconwilldisplayadrop-downlistoffouroptions;Mount ISO, Unmount ISO, Session Profile, and About.
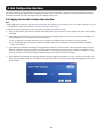
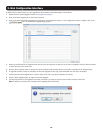
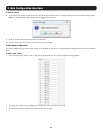
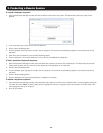
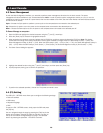
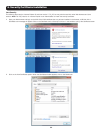
• Mount ISO – The Mount ISO feature allows you to mount an ISO file to the Target Server as virtual media. Note: A B078-101-USB-1 SIU
must be connected to the Target Server for virtual media to work. The ISO file that you are mounting must be located in a Shared Folder
of a Samba or NFS file server which is on the same network that the NetCommander IP is connected to.
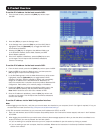
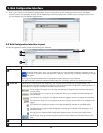
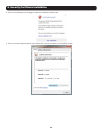
To mount the ISO as virtual media:
1. Click on the
icon in the remote session toolbar, and choose the Mount ISO option. The Mount ISO window appears.
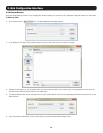
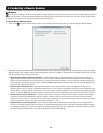
2. In the Share Name,typeinthesharenameoftheISOlefromyourSambaorNFSleserver.Forexample,ifthedesiredISOlehas
thepath\\hostname\sharedr\le.iso,theShareNamethatyoushouldtypeis:\\hostname\sharedr.
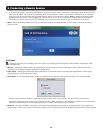
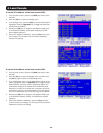
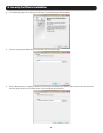
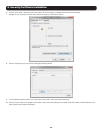
3. In the ISO Path field, type the direct path to the ISO file. In the example of the previous step, the ISO Path is \file.iso.
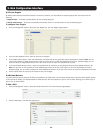
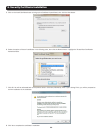
4. Selectoneofthefollowingsupportedlesharingmethods:
• Samba (Microsoft Windows)
• NFS (Unix/Linux)
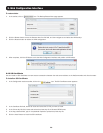
5. For secured file sharing type in a User Name and Password.
6. Click the Mount button. The ISO file is mounted onto the server.