


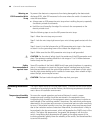
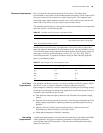

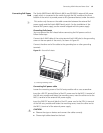

56 CHAPTER 4: SWITCH INSTALLATION
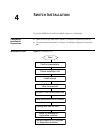
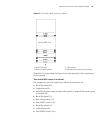
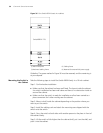
Figure 36 One Switch 8814 chassis in a cabinet
Guideline: The space marked in Figure 36 must be reserved, and the remaining is
at your disposal.
Mounting the Switch in
the Cabinet
Take the following steps to install the Switch 8800 Family in a 19-inch cabinet.
Step 1: Confirm before installation
■ Make sure that the cabinet has been well fixed. The layout inside the cabinet
for switch installation has been well done and there is no obstruction inside or
around the cabinet.
■ Make sure that the switch is ready for installation and has been carried to a
place convenient for further moving near the cabinet.
Step 2: Mount a shelf inside the cabinet depending on the position where you
want to put the switch.
Step 3: Install the cabling rack and attach the mounting ears shipped with the
switch onto the switch.
Step 4: Carry the switch at both sides with another person to the place in front of
the cabinet slowly.
Step 5: Lift the switch a little higher than the cabinet shelf, put it on the shelf, and
push it into the cabinet.
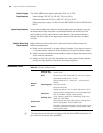
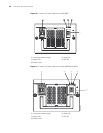
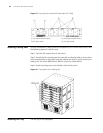
(1) Blank filler panel (2) Cabling frame
(3) Backward cabling frame (4) Reserved for external PoE power supply
Switch 8814 17U