


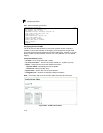

Configuring the Switch
3-122
3
Configuring Uplink and Downlink Ports
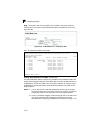
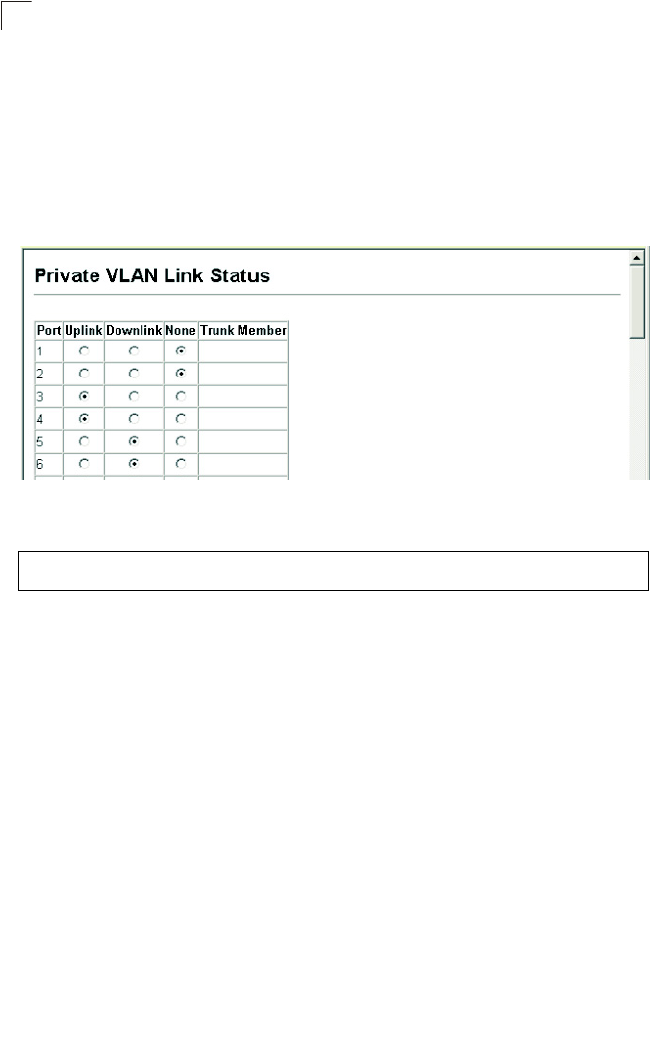
Use the Private VLAN Link Status page to set ports as downlink or uplink ports.
Ports designated as downlink ports can not communicate with any other ports on the
switch except for the uplink ports. Uplink ports can communicate with any other ports
on the switch and with any designated downlink ports.
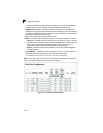
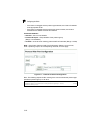
Web – Click VLAN, Private VLAN, Link Status. Mark the ports that will serve as
uplinks and downlinks for the private VLAN, then click Apply.
Figure 3-69. Private VLAN Link Status
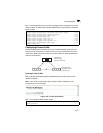
CLI – This configures ports 3 and 4 as uplinks and ports 5 and 6 as downlinks.
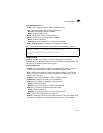
Configuring Protocol-Based VLANs
The network devices required to support multiple protocols cannot be easily grouped
into a common VLAN. This may require non-standard devices to pass traffic
between different VLANs in order to encompass all the devices participating in a
specific protocol. This kind of configuration deprives users of the basic benefits of
VLANs, including security and easy accessibility.
To avoid these problems, you can configure this switch with protocol-based VLANs
that divide the physical network into logical VLAN groups for each required protocol.
When a frame is received at a port, its VLAN membership can then be determined
based on the protocol type being used by the inbound packets.
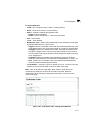
Command Usage
To configure protocol-based VLANs, follow these steps:
1. First configure VLAN groups for the protocols you want to use (page 3-115).
Although not mandatory, we suggest configuring a separate VLAN for each
major protocol running on your network. Do not add port members at this time.
2. Create a protocol group for each of the protocols you want to assign to a VLAN
using the Protocol VLAN Configuration page.
3. Then map the protocol for each interface to the appropriate VLAN using the
Protocol VLAN Port Configuration page.
Console(config)#pvlan uplink ethernet 1/3-4 downlink ethernet 1/5-6 4-182
Console(config)#