


81 TravelMate 240/ 250
Installing the RTC Battery
1. See “Installing the Speaker Set” on page 86.
2. See “Installing the DC Board” on page 86.
3. See “Installing the PCMCIA Slot” on page 86.
4. See “Installing the Main Board” on page 86.
5. See “Installing the HDD Bracket” on page 87.
6. See “Installing the ODD Module” on page 87.
7. See “Installing the CPU Heatsink Plate” on page 88.
8. See “Installing the VGA Heatsink Plate” on page 88.
9. See “Installing the Floppy Disk Drive Module” on page 88.
10. See “Installing the Touchpad Cable” on page 89.
11. See “Installing the Touchpad Board” on page 89.
12. See “Installing the Upper Case Assembly” on page 90.
13. See “Installing the Processor” on page 91.
14. See “Installing the Thermal Module” on page 91.
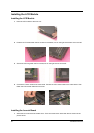
15. See “Installing the MiniPCI Card Plate” on page 92.
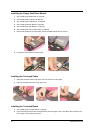
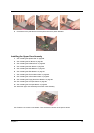
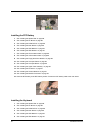
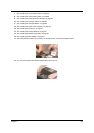
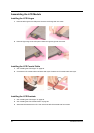
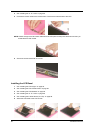
16. Place the RTC battery to the RTC battery holder. Connect the RTC battery cable to the main board.
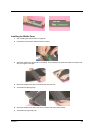
Installing the Keyboard
1. See “Installing the Speaker Set” on page 86.
2. See “Installing the DC Board” on page 86.
3. See “Installing the PCMCIA Slot” on page 86.
4. See “Installing the Main Board” on page 86.
5. See “Installing the HDD Bracket” on page 87.
6. See “Installing the ODD Module” on page 87.