


59
Upgrading the processor
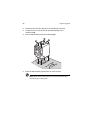
This section includes instructions for installing and removing a
processor and heat sink fan (HSF) assembly.
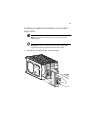
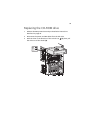
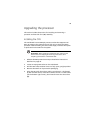
Installing the CPU
The mainboard has two 604-pin processor socket that support Intel
Xeon processors. The system ships out with only a single Intel Xeon
processor installed leaving one CPU socket empty. You have the option
to purchase an extra CPU for the system.
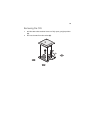
Important: When installing an additional CPU, make sure the
CPU has the same stepping and running values at the same
frequency specifications as the default CPU.
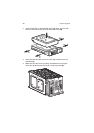
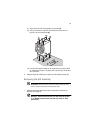
1 Observe the ESD precautions and pre-installation instructions
described on page 35.
2 Locate an empty CPU socket on the mainboard.
3 Pull the CPU socket retainer lever to a fully open, upright position.
4 Remove the CPU from its protective packaging.
5 Align the CPU with the socket, making sure that pin 1 (indicated
by the notched corner) of the CPU connects to hole 1 of the socket
(on the bottom right corner), then insert the CPU into the socket
(1).