


3 System upgrade
68
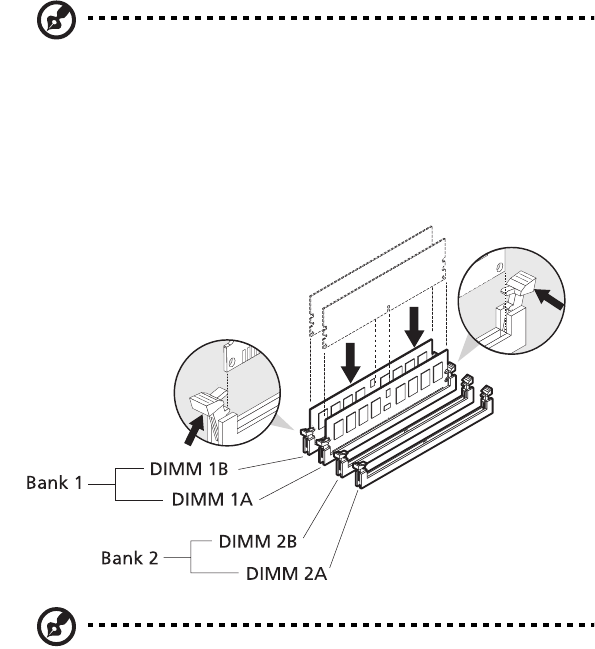
Installing a DIMM
1 Observe the ESD precautions and pre-installation instructions
described on page 35.
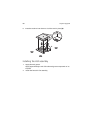
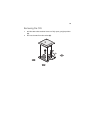
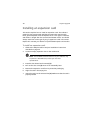
2 Locate the DIMM sockets on the mainboard.
Note: DIMM modules must be installed in matched pairs,
following the socket sequence: DIMM 1B and 1A first, then DIMM
2B and 2A.
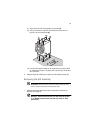
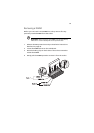
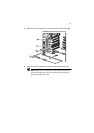
3 Open the clips on the socket.
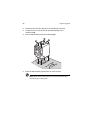
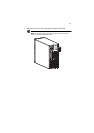
4 Align then insert the DIMM into the socket.
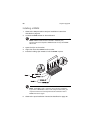
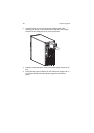
5 Press the holding clips inward to lock the DIMM in place.
Note: The DIMM socket is slotted to ensure proper installation.
If you insert a DIMM but it does not fit easily into the socket, you
may have inserted it incorrectly. Reverse the orientation of the
DIMM and insert it again.
6 Observe the post-installation instructions described on page 36.