


P1166 / P1266 / P1266i / P1166P / P1266P
Condential
5-7
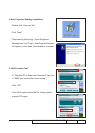
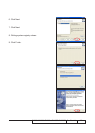
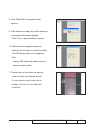
8. Click "Reset Bus" to erase the ash
memory.
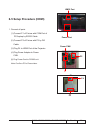
9. If the rmware is ready, click start download
to process the rmware upgrade.
- Click "Yes" to erase the ash memory.
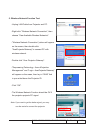
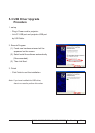
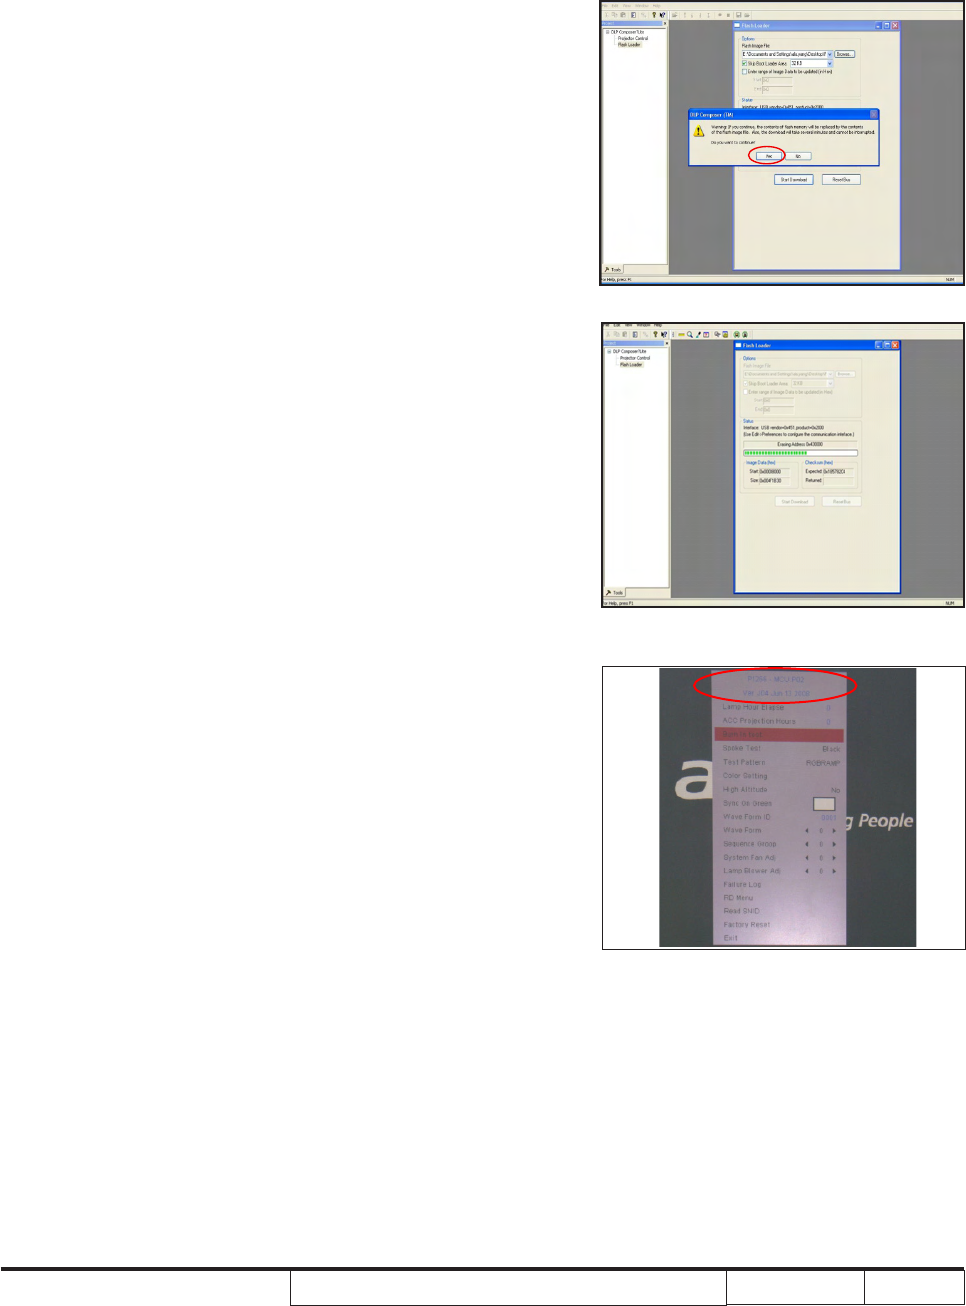
10. When rmware upgrade process is
nished, the unit return to stand-by status.
The LED power lights on and appears
Red.
- Unplug USB cable and power cord and
replug in power cable.
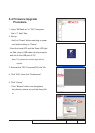
11. Restart the unit and enter the service
mode to check the rmware version.
(To enter service mode, please refer to
Chapter 4 Function Test and Alignment
Procedure)