


8
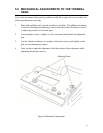
4.0 ADJUSTMENTS
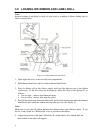
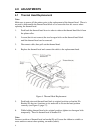
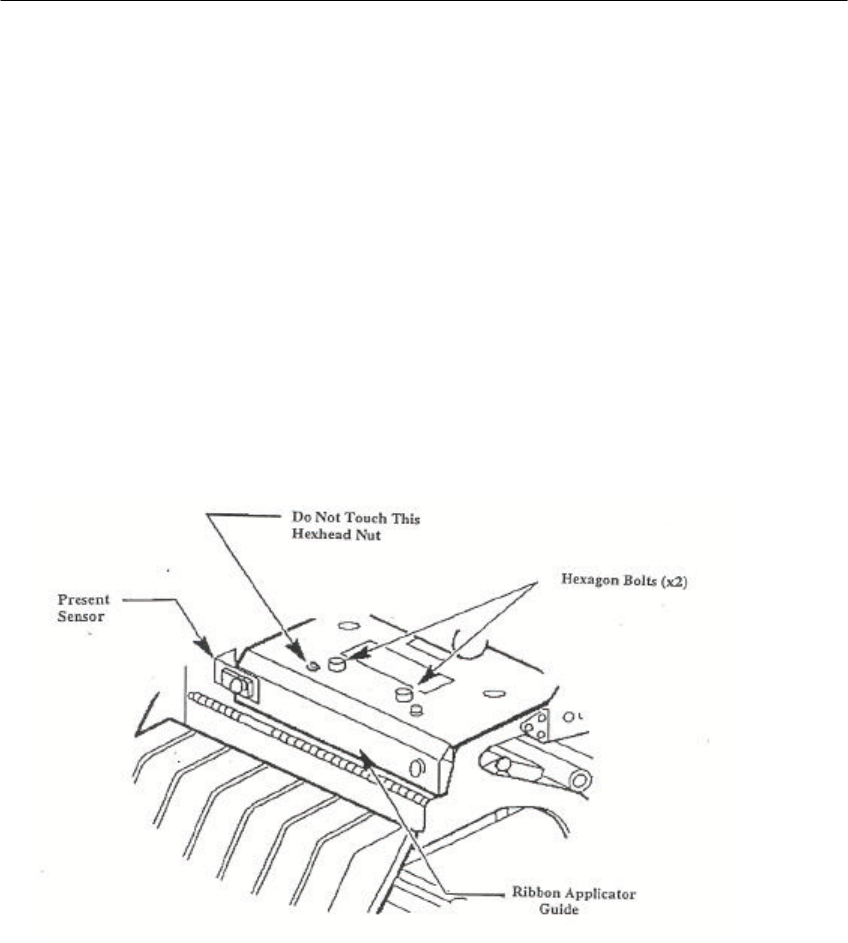
4.1 Thermal Head Replacement
Note:
Make sure to power off the printer prior to the replacement of the thermal head. There is
no need to disassemble the thermal head block or to loosen the four h/s screws when
replacing the thermal head.
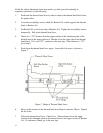
1. Push back the thermal head lever in order to release the thermal head block from
the platen roller.
2. Loosen (but do not remove) the two hexagon bolts on the thermal head block
until the thermal head can be removed.
3. Disconnect cable, then pull out the thermal head.
4. Replace the thermal head and connect the cable to the replacement head.
Figure 4. Thermal Head Replacement
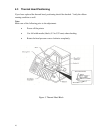
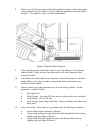
5. Push both wires and thermal head back to original position on bracket EA.
Bracket EA has two locations on its underside to locate the head position
correctly (see Figure 9, page 17).
6. While holding thermal head at its original position, tighten two hexagon bolts
temporarily. Then fix thermal head to bracket EA.
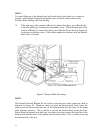
Note:
Incorrect position of thermal head on bracket EA will cause the ribbon to wrinkle or
cause uneven contrast when printing on media (labels).