


19
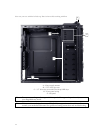
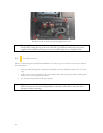
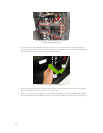
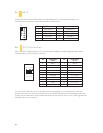
A – Fleet-Swap™ SATA and power connectors
B – Fleet-Swap™ bay screws
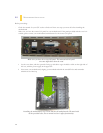
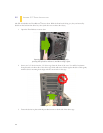
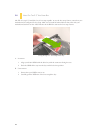
2. You may wish to move the Fleet-Swap bays. There are two screws securing each Fleet-Swap bay to
the drive cage. To move or remove the Fleet-Swap bay, remove these screws, slide the Fleet-Swap bay
towards the side opposite the screws, and carefully remove it.
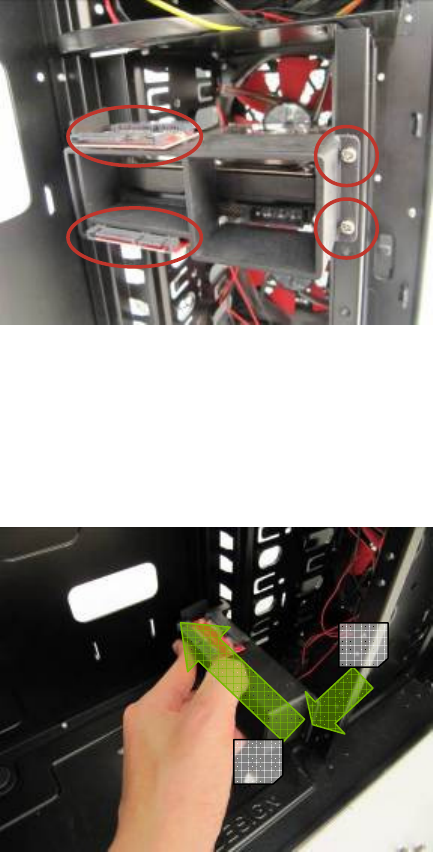
Moving or removing a Fleet-Swap™ bay
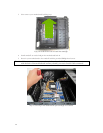
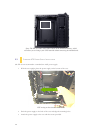
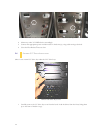
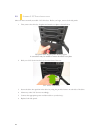
3. Now move the Fleet-Swap bay to the desired location, secure it in place and screw it in. Fleet-Swap
bays can be relocated to anywhere in the 3.5” drive cage.
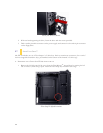
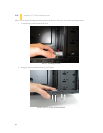
4. Before you can use the hot-swap feature of the Fleet-Swap™ bays, you must install all related drivers
for your motherboard and enable the “AHCI” function in the BIOS to activate the hot swap feature.
A
A
B
B
1
2