


Take Apart Analog Board, Original Version - 82
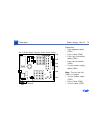
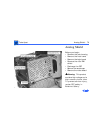
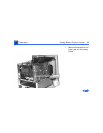
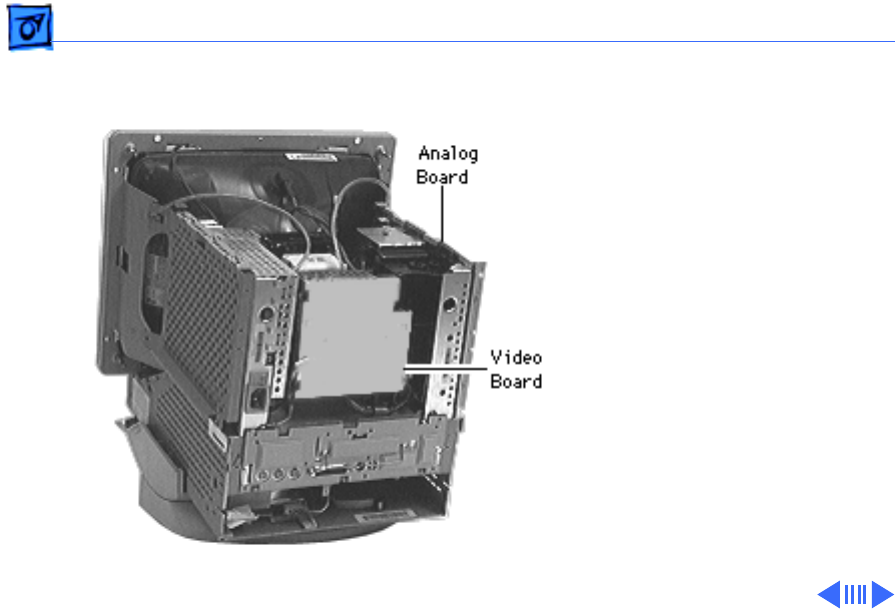
Analog Board,
Original Version
Before you begin,
• Remove the front bezel
• Remove the I/O door
• Remove the rear housing
• Remove the logic board
• Remove the rear EMI
shield
• Discharge the CRT
• Remove the anode cap
• Remove the video board
• Remove the analog shield