26 AP100 Hardware Reference Guide
II. System Components
II. Components
Power Supply
II. Components
Power Supply
This server has a standard power supply with specifications to meet this
server’s motherboard requirements. A clearly marked label gives detailed
specifications of the power supply. A power switch is provided to shut off
all voltages, including the standby power. Not all ATX power supplies pro-
vide a power switch and therefore it is normal practice to remove the power
cord before opening the side panel. With the power cord removed, you can
ensure there are no voltages which can cause shorts while installing or re-
moving internal components.
CAUTION: Before turning on your server for the first time, set the power
supply’s voltage. Some products may have auto voltage switching to ac-
commodate 220V-240V or 110-120V but this power supply must be set
manually. The factory default should be on 230V to accommodate the higher
voltage but it is safer to visually inspect the switch yourself in case it is not.
IMPORTANT: For countries using 110V-120V, you must slide the switch
to 115V or else power up is not possible (but no damage will occur).
Power Supply On and Off
Normal powering On and powering Off of the ATX power supply is done
using the momentary ATX power switch located on the front panel which is
connected to the motherboard, unlike AT power supplies which uses a per-
manent switch on the power supply or chassis. The power supply’s main
power switch must be turned on before the ATX power switch on the front
panel will work.
Power Supply Mounting
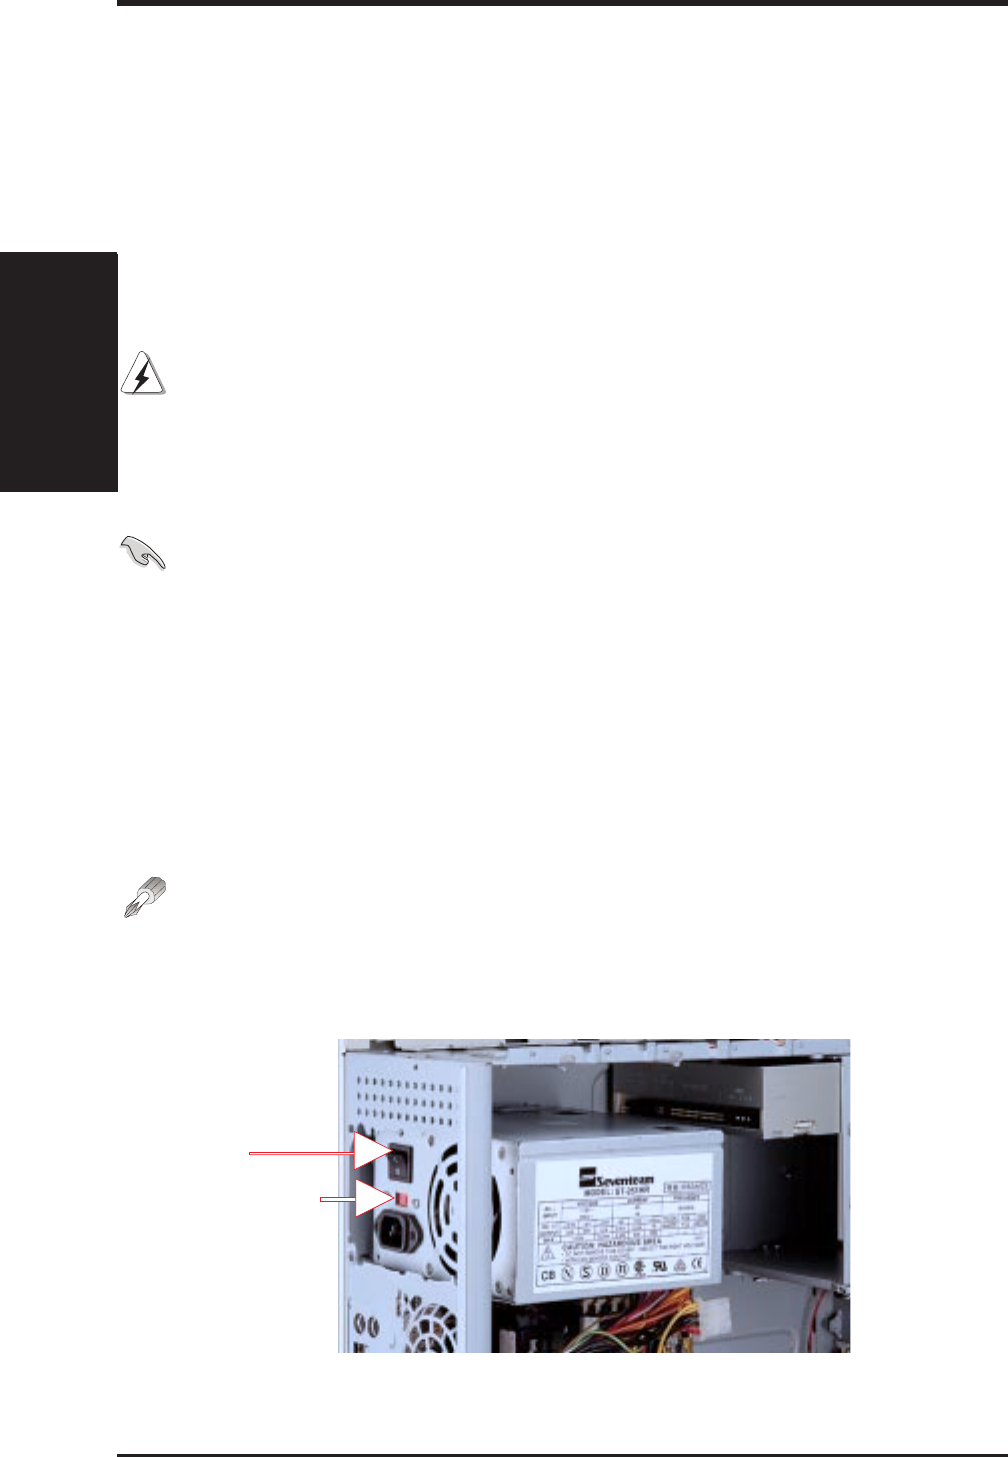
Mounting and unmounting the power supply must be done from the inside
as shown below. Four screws are used to secure the power supply to the
chassis back side.
Power supply unmounted
Voltage switch
Main Power
switch


