


Avaya P333R-LB User’s Guide 19
Chapter 4
Installation
This chapter describes the basic hardware Installation procedures for the Avaya
P330.
Required Tools
Make sure you have the following tools at hand before undertaking the Installation
procedures:
• Philips (cross-blade) screwdriver
Site Preparation
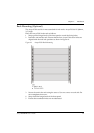
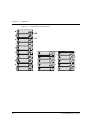
Avaya P330 can be mounted alone or in a stack in a standard 19-inch equipment
rack in a wiring closet or equipment room. Up to 10 units can be stacked in this way.
When deciding where to position the unit, ensure that:
• It is accessible and cables can be connected easily and according to the
configuration rule.
• Cabling is away from sources of electrical noise such as radio transmitters,
broadcast amplifiers, power lines and fluorescent lighting fixtures.
• Water or moisture cannot enter the case of the unit.
• There is a free flow of air around the unit and that the vents in the sides of the
case are not blocked.
Note: Use Octaplane cables to interconnect with other switches.
• The environmental conditions match the requirements listed below:
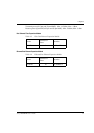
Table 4.1 Environmental Prerequisites
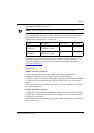
• The power source matches the specifications listed below:
Table 4.2 Power Requirements
– AC
Operating Temp. -5 to 50°C (23 to 122°F)
Relative Humidity 5% to 95% non-condensing
Input voltage 100 to 240 VAC, 50/60 Hz