User Manual Model 676 LOKPRINT® Control Panel Operation •
••
• 25
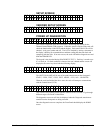
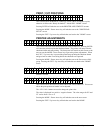
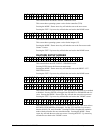
PRINT / CUT POSITIONS
P
R
E
S
S
E
N
T
E
R
F
O
R
P
R
I N
T
/ C
U
T
P
O
S
I T
I O
N
S
This screen follows the Batch ID / Batch Qty screen if there are batches to print,
otherwise it follows the “Ready for batches” / Model DPI “HOME” screen.
Pressing ENTER will take the user to the PRINTER ADJUSTMENTS screens.
Pressing the MODE / Down Arrow key will take the user to the "PRINTHEAD
SETUP" screen.
Pressing the EXIT / Up Arrow key will take the user back to the "HOME" screen.
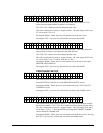
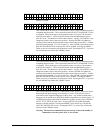
PRINTER ADJUSTMENTS
P
R
E
S
S
E
N
T
E
R
T
O
P
R
I N
T
C
H
E
C
K
O
U
T
F
O
R
M
A
T
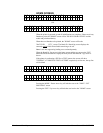
This screen is the first screen under PRINTER ADJUSTMENTS. Pressing ENTER
will cause the printer to print the checkout format. The printer will setup to do the
checkout format and start printing. The front panel will remain on this screen so the
user can use the MODE / Down Arrow key to get to the printer adjustments. When
the EXIT / Up Arrow key is pressed the printer stops printing the checkout format
and goes back to what it was doing before the checkout was requested.
Pressing the MODE / Down Arrow key will take the user to the first screen of this
group. Pressing the EXIT / Up Arrow key will take the user back to the "HOME"
screen.
P
R
I N
T
P
O
S
I T
I O
N
S
T
A
T
I O
N
1
V
A
L
U
E
:
±
X
X
N
E
W
V
A
L
U
E
:
±
Y
Y
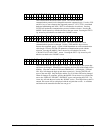
Station 1 not used.
P
R
I N
T
P
O
S
I T
I O
N
S
T
A
T
I O
N
2
V
A
L
U
E
:
±
X
X
N
E
W
V
A
L
U
E
:
±
Y
Y
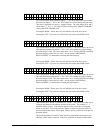
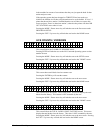
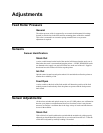
This screen follows the first screen under PRINTER ADJUSTMENTS. This screen
allows the print position of station 2 to be adjusted.
The <YES / NO> buttons are used to change the print value.
The value is displayed in a positive / negative format. The value ranges for XX and
YY can be from a -9 to a +9
Pressing the MODE / Down Arrow key will take the user to the next screen.
Pressing the EXIT / Up Arrow key will take the user back to the HOME .


