


22
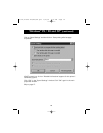
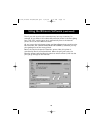
Removing and Adding the Bitronics Switch Icon from the
System Tray
• To remove the icon, simply right click on it, and answer “Yes” to
the prompt.
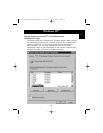
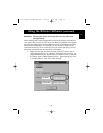
• To reload the icon back into the system tray, click on “Start”, select
“Programs”, select “Belkin Bitronics Switch”, and select
“AutoSwitch-Multi PCs”.
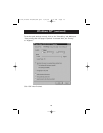
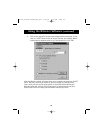
ADVANCED USER TIP:
If you are using devices with pass-through ports (like Zip
®
Drives and
scanners), you can connect a printer to the pass-through port and use the
other device port on the Bitronics switch to connect to another device. Just be
sure that the printer driver has its Port set to the correct device port. For
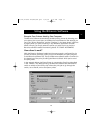
example, if you wish to use 2 printers, 1 Zip
®
Drive and 1 scanner, connect the
Zip
®
Drive to Port A, the Scanner to Port B, the first printer to the pass-
through of the Zip
®
Drive, and the second printer to the pass-through of the
scanner. In the Bitronics software, set “Port A” to “Mass Storage Device”, and
“Port B” to “Scanner”. Then in the “Printer Properties/details”, set the “Print
to the following Port” to “LPx1- PA (auto switch)” for the first printer, and
“LPx1- PB (auto switch)” for the second printer. In general, only printers can
be connected to pass-through ports.
Using the Bitronics Software (continued)
P73121/F1U126-KIT/EU/man.qxd 4/28/00 1:06 PM Page 22