Introduction12
13. Indicator light
Flashes or lights red when any key on the
remote control is pressed.
14. MODE
Depending upon which input signal is
selected, selects an available picture mode.
See "Selecting a picture mode" on page 37
for details.
15. FREEZE
Freezes the projected image. See "Freezing
the image" on page 43 for details.
16. MUTE
Toggles projector audio between on and
off.
17. AUTO
Automatically determines the best picture
timings for the displayed image. See "Auto-
adjusting the image" on page 33 for details.
18. Right/
Locks the buttons on the projector. See
"Locking control keys" on page 44 for
details.
When the On-Screen Display (OSD) menu
is activated, the #4, #6 and #18 buttons are
used as directional arrows to select the
desired menu items and to make
adjustments. See "Using the menus" on
page 28 for details.
19. SOURCE
Displays the source selection bar. See
"Switching input signal" on page 32 for
details.
20. LASER
Emits visible laser pointer light for
presentation purposes. See "Operating the
LASER pointer" on the right for details.
21. PAGE
/
Operates your display software program
(on a connected PC) which responds to
page up/down commands (like Microsoft
PowerPoint). See "Remote paging
operations" on page 42 for details.
22. D. ZOOM (+, -)
Magnifies or reduces the projected image
size. See "Magnifying and searching for
details on the projected picture" on page 34
for details.
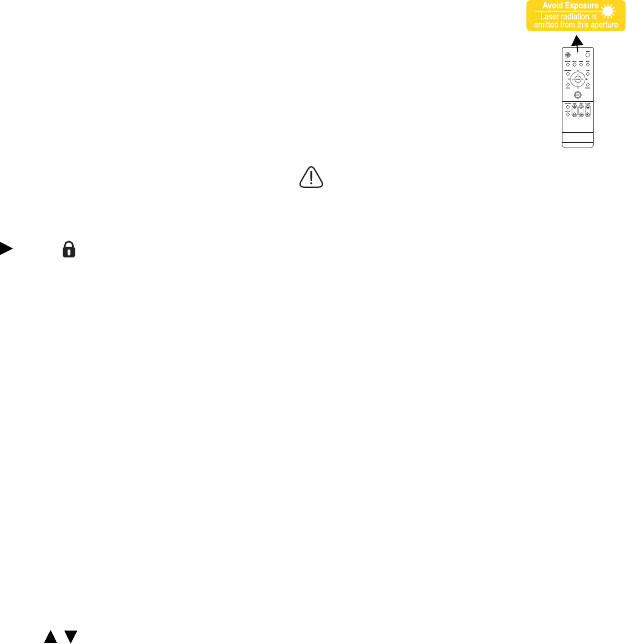
Operating the LASER pointer
The LASER Pointer is a
presentation aid for
professionals. It emits red
colored light when you press it
and the indicator lights up red.
The laser beam is visible. It is
necessary to press and hold
LASER for continuous output.
Do not look into the laser light window or
shine the laser light beam on yourself or
others. See the warning messages on the
back of the remote control and the enclosed
''User Information'' prior to using it.
The laser pointer is not a toy. Parents should be
mindful of the dangers of laser energy and keep
this remote control out of the reach of children.


