Operation 35
3. Press repeatedly to magnify the picture to a desired size.
4. To navigate the picture, press Mode/enter to switch to the paning mode and press the
directional arrows ( , , , ) on the projector or remote control to navigate the
picture.
5. To reduce size of the picture, press Mode/enter to switch back to the zoom in/out
function, and press AUTO to restore the picture to its original size. You can also press
repeatedly until it is restored to the original size.
Selecting the aspect ratio
The 'aspect ratio' is the ratio of the image width to the image height. Most analog TV and
computers are in 4:3 ratio, and digital TV and DVDs are usually in 16:9 ratio.
With the advent of digital signal processing, digital display devices like this projector can
dynamically stretch and scale the image output to a different aspect than that of the image
input source.
To change the projected picture ratio (no matter what aspect the source is):
•Using the remote control
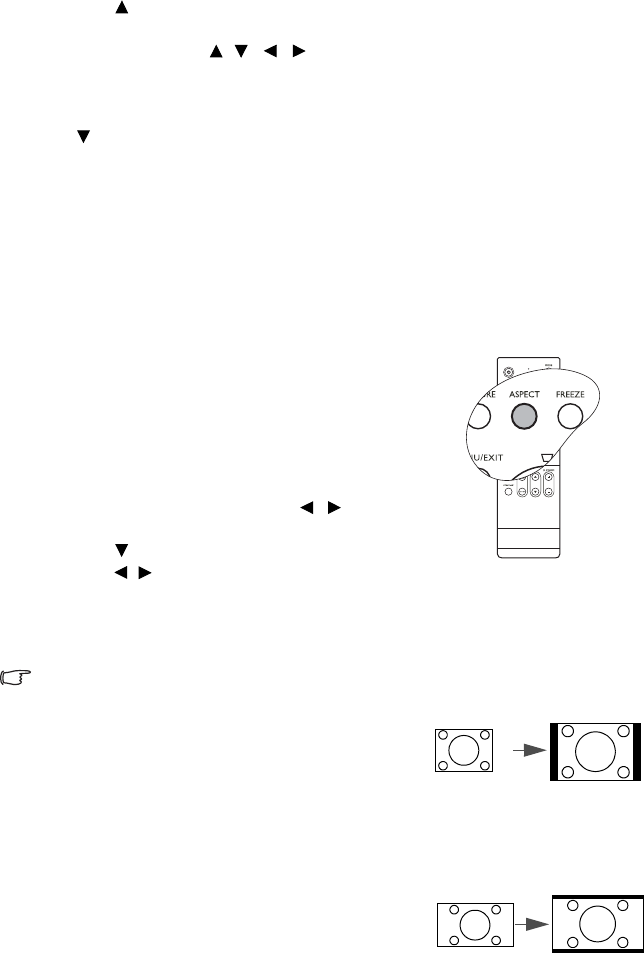
1. Press ASPECT to show the current setting.
2. Press ASPECT repeatedly to select an aspect ratio to
suit the format of the video signal and your display
requirements.
•Using the OSD menu
1.
Press MENU/EXIT and then press / until the
DISPLAY menu is highlighted.
2. Press to highlight Aspect Ratio.
3. Press / to select an aspect ratio to suit the
format of the video signal and your display
requirements.
About the aspect ratio
In the pictures below, the black portions are inactive areas and the white portions are active
areas.
1. 4:3: Scales an image so that it is displayed in the
center of the screen with a 4:3 aspect ratio. This is
most suitable for 4:3 images like computer
monitors, standard definition TV and 4:3 aspect
DVD movies, as it displays them without aspect
alteration.
2. 16:9: Scales an image so that it is displayed in the
center of the screen with a 16:9 aspect ratio. This is
most suitable for images which are already in a
16:9 aspect, like high definition TV, as it displays
them without aspect alteration.
4:3 picture
16:9 picture


