Configuring your machine for a wireless network
11
3
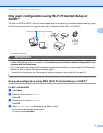
Wireless configuration temporarily using a USB cable 3
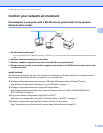
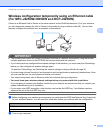
It is recommended that you use a PC wirelessly connected to your network for this method.
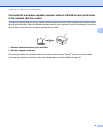
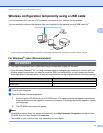
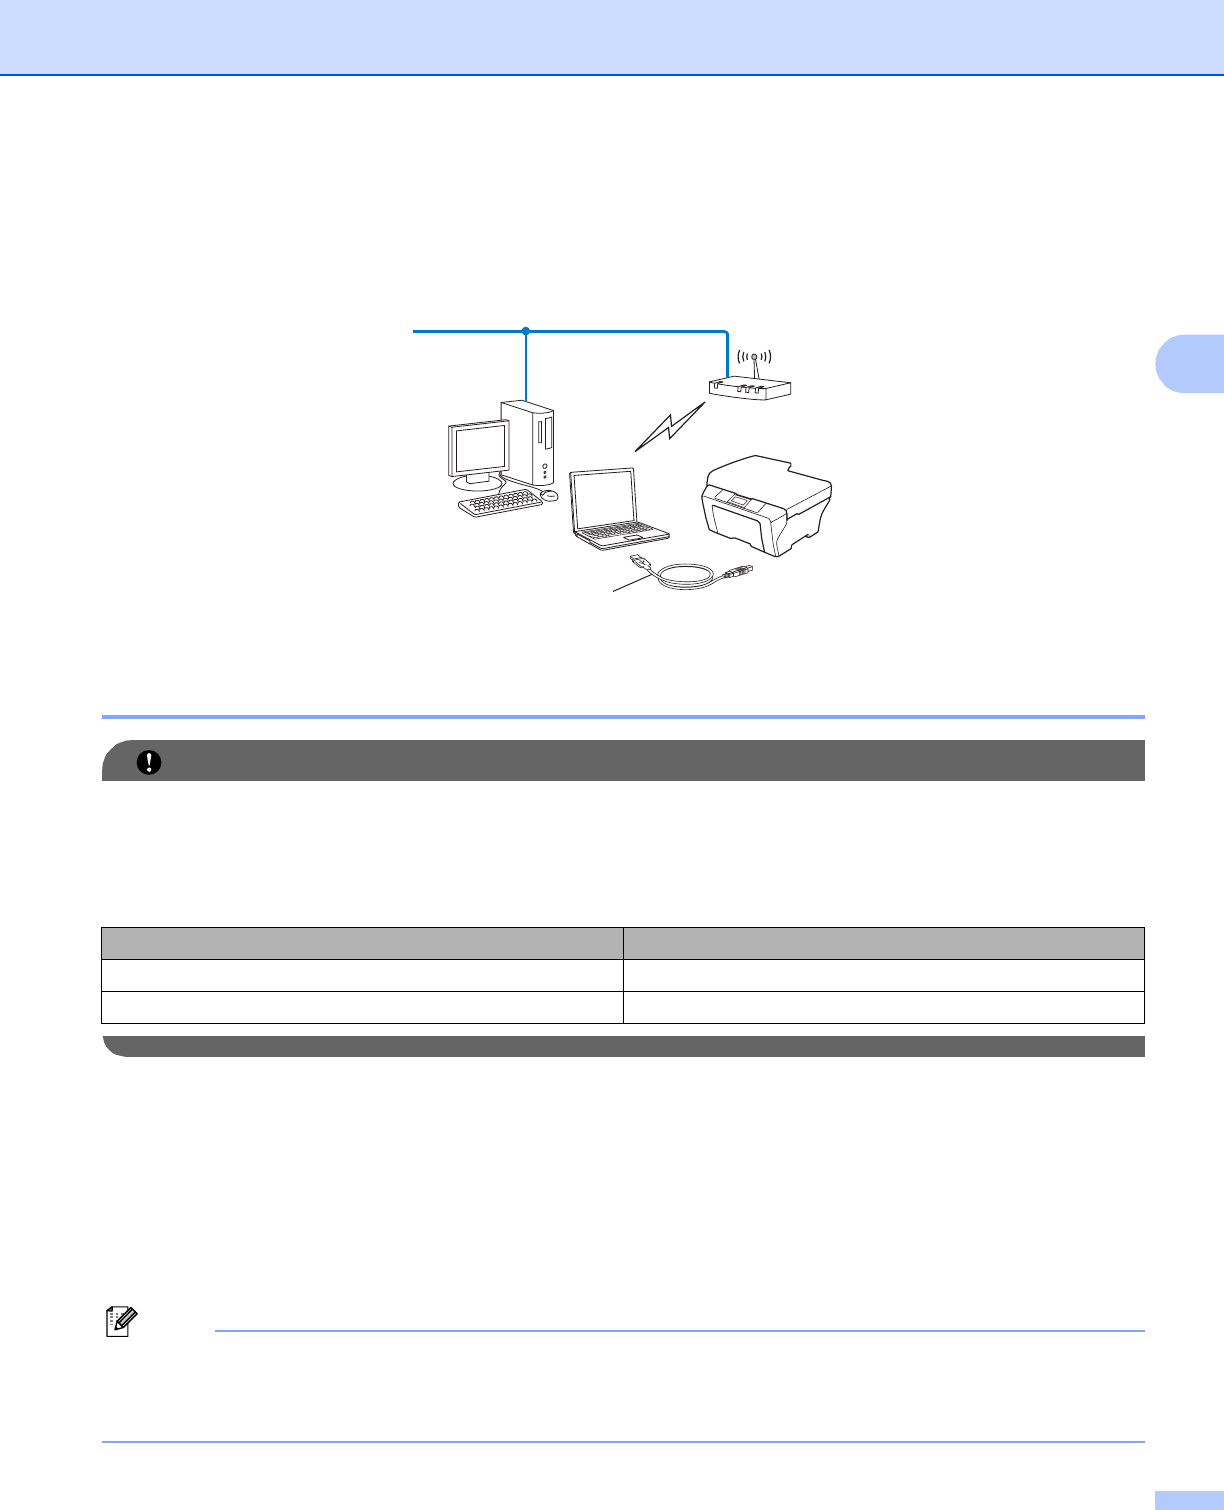
You can remotely configure the machine from the computer on the network using a USB cable (A)
1
.
1
You can configure the wireless settings of the machine using a USB cable temporarily connected to a wired or wireless computer.
For Windows
®
users (Recommended) 3
IMPORTANT
• You need to temporarily use a USB cable during configuration (cable not included).
• If you are using Windows
®
XP, or using a network cable to configure your machine to connect with your
wireless access point/router, you need to know the SSID and Network Key of your access point/router.
Write them down in the area below, as they are required when configuring the machine’s wireless settings.
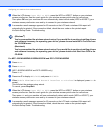
a Turn on your computer.
b Start the Brother installer application.
1 Put the supplied CD-ROM into your CD-ROM drive. The opening screen will appear automatically.
If the model name screen appears, choose your machine. If the language screen appears, choose
your language.
2 The CD-ROM main menu will appear.
Note
• If the Brother screen does not appear automatically, go to My Computer (Computer), double-click the
CD-ROM icon, and then double-click start.exe.
• The screen on your machine may vary depending on your region.
Item Record the current wireless network settings
SSID (Network Name):
Network Key
A


