For WindowsFor MAC
13
STEP
1
STEP
2
STEP
3
STEP
4
Getting started
Maintenance and
Troubleshooting
Connecting to your PC
Creating a label
Introduction
4
Enter your user name and company
name, then click [Next].
The Choose the Destination Location screen is
displayed.
5
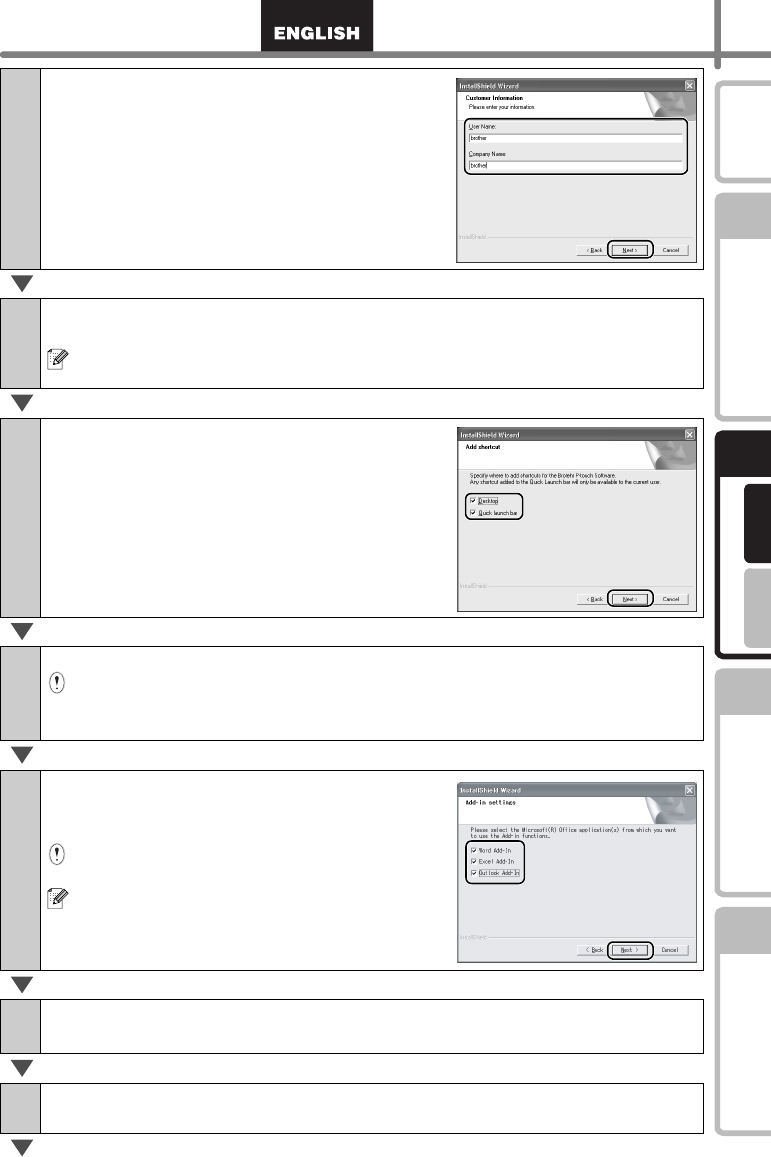
Click [Next].
The Add shortcut screen is displayed.
To instaIl to a different folder click [Browse] and select another folder.
6
Check the locations where you want the
installer to add the program shortcuts
and click [Next].
The Start Copying Files screen is displayed.
7
If you are happy with your settings, click [Next].
• It may take some time to display this screen.
• If it is not set correctly, click [Back] and set it again.
The Add-In settings screen is displayed.
8
Check the box for each Microsoft
®
Office
®
application that you want to
install the Add-in for, then click [Next].
Make sure that you have closed all Microsoft
®
Office
®
applications.
For details on the Add-in setting, see the
"Software User's Guide (PDF Manual)".
The Driver Setup (Brother P-touch) screen is
displayed.
9
Click [OK] on the Driver Setup (Brother P-touch) screen to start the
installation.
10
Click [Next].
The installation of the driver is complete, the User Registration screen is displayed.


