17
For WindowsFor MAC
STEP
1
STEP
2
STEP
3
STEP
4
Getting started
Maintenance and
Troubleshooting
Connecting to your PC
Creating a label
Introduction
13
Click [Install].
The screen in which the name and password of the administrator is now displayed.
Input the "Name" and the "Password" of the administrator and click
[OK].
The screen to check the installation is displayed.
When continuing the installation, click [Continue Installation].
The installation starts.
14
When the installation is completed and the message "The software
was successfully installed" is displayed, click [Restart].
Your Mac
®
will restart.
The installation of the printer driver is now complete.
15
After rebooting, connect the USB
cable and power cord to the
printer.
Remove the caution label before
connecting the USB cable.
16
Connect the USB cable to the USB port of the Mac
®
.
Press the ON/OFF button ( ) on the printer to turn on the power.
If you are using a USB hub and your Mac
®
has problems recognizing the
printer, try connecting the printer directly to your Mac
®
.
17
Double click the drive where Mac OS
®
X is installed, and click in
order [Applications]-[Utilities]-[Printer Setup Utility (Print Center)].
The Printer List screen is displayed.
When the Printer List screen is displayed, click [Add].
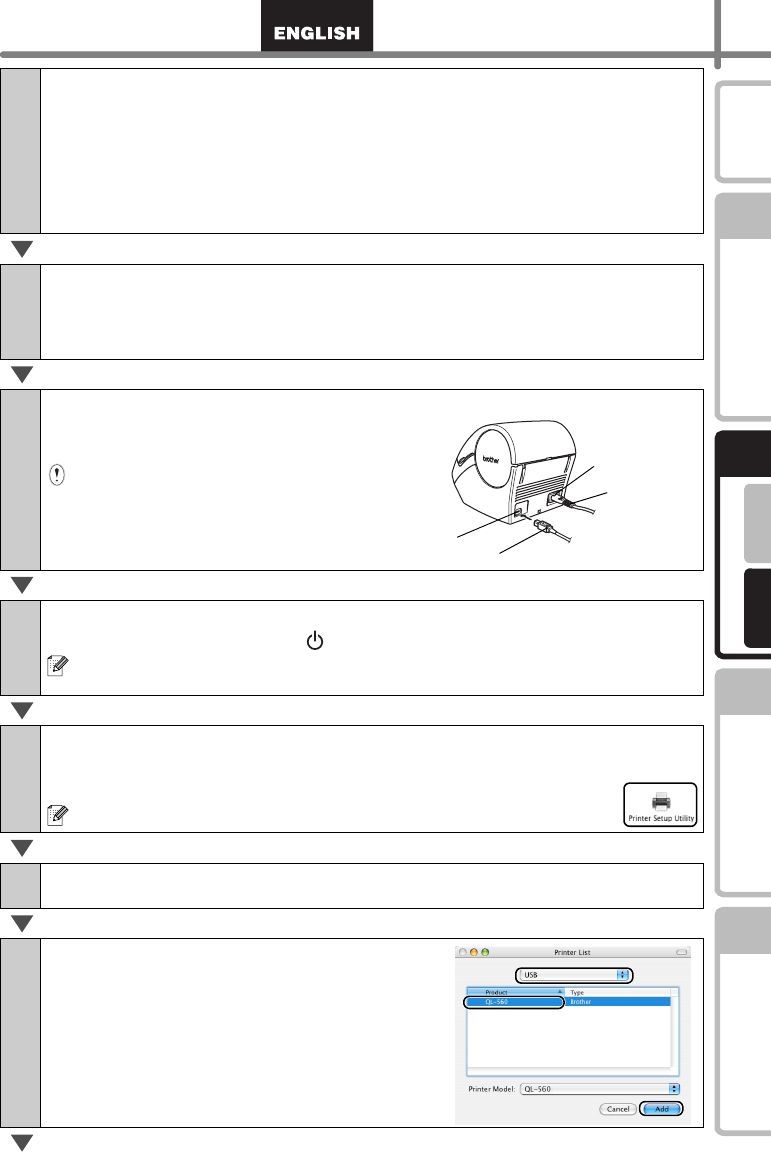
18
Click [Add] (Add Printer).
19
Click [USB], "QL-560", and [Add].
The screen returns to Printer List screen.
USB cable
Power cord
USB port
Power cord slot


