


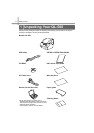

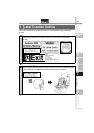


Connecting to your PC
16
6
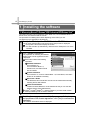
Select the location where you want to
create the alias, and click [Next].
The Pre-Installation Summary screen is
displayed.
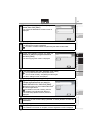
7
Click [Install].
The installation starts.
When the installation is complete, click [Done].
The software installation is now complete.
Next, install the printer driver.
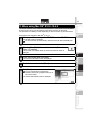
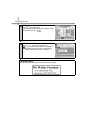
8
Double click [QL-560 Driver.pkg] in the [Mac OS X] folder.
The Driver Installer starts up and the Driver Setup screen is displayed.
9
Click [Continue].
The Important Information screen is displayed.
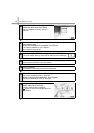
10
Click [Continue].
The Software License Agreement screen is displayed.
11
Check the content and click [Continue].
The License agreement screen is displayed.
When continuing the installation, click [Agree].
The Select a Destination screen is displayed.
12
Select the destination you want to
install, and click [Continue].
The Easy Install screen is displayed.
Select the drive where the Mac OS
®
X is
installed.