


33
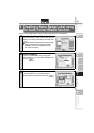
STEP
1
STEP
2
STEP
3
For WindowsFor MAC
STEP
4
Getting started
Maintenance and
Troubleshooting
Creating a label
Introduction
Connecting to your PC
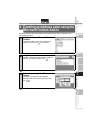
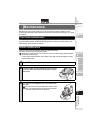
Eventually the cutting blade on the cutter unit will become dull (blunt) and need to be
replaced. At the appropriate time, purchase a new replacement cutter unit and install it
according to the following procedure.
1
Check that the cutter unit is located in the home position.
2
Turn OFF the power to the printer and pull out the power cord from
the wall outlet.
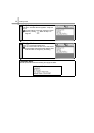
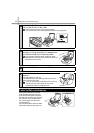
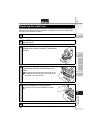
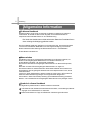
3
Open the DK Roll cover and pull the roll
release lever to the up position. Remove the
DK Roll.
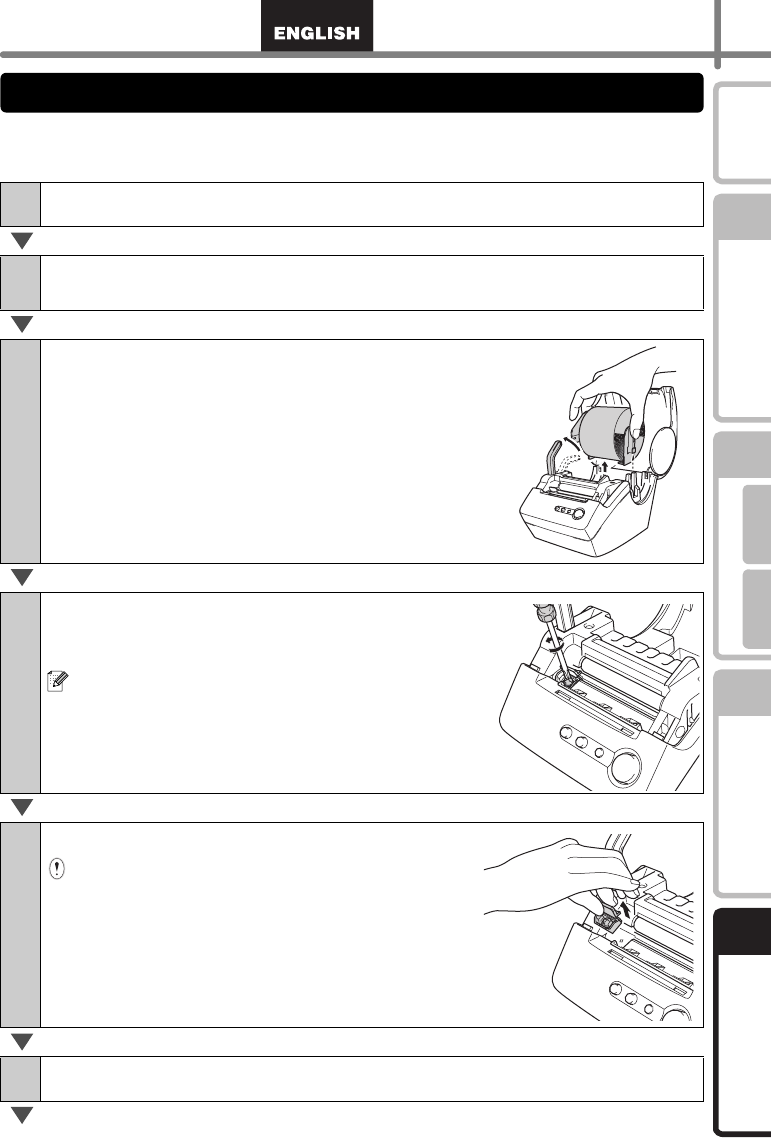
4
Using a cross-head screwdriver, loosen the
screw which holds the cutter blade unit in-
place.
The screw securing the cutter unit should not be
completely removed. Simply loosen it to remove
the cutter unit from the printer.
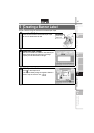
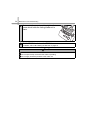
5
Grip the tab and lift out the cutter unit.
Take care not to touch the blade of the cutter.
6
Set the new cutter unit in the correct position.
Replacing the cutter unit