


Photo 9
P
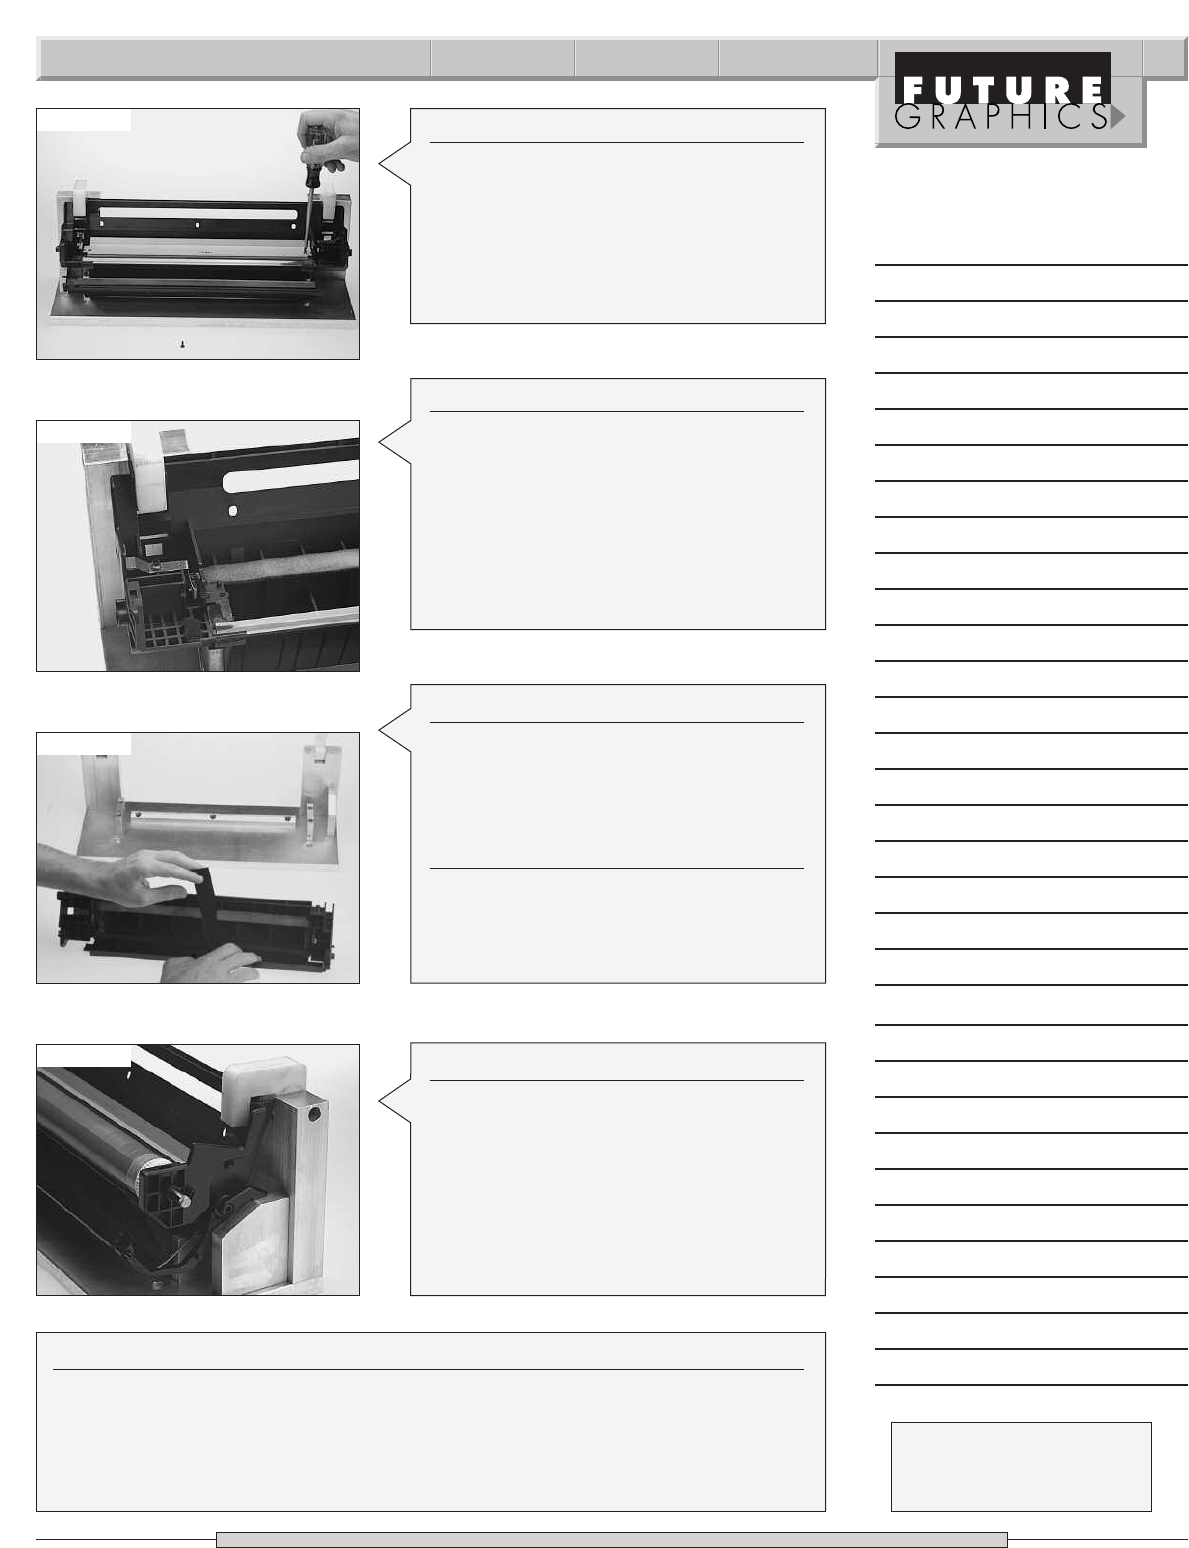
hoto 12
Step 12
Apply padding powder to the OPC drum
and install. The big helical gear will go on
the right side of the waste hopper. Install
the drum axle only far enough to hold the
drum against the wiper blade. Rotate
drum so the wiper blade wipes the
padding powder off the drum.
(See Photo12)
N
eed help with a particular remanu-
facturing problem?
Call the Technical Resource Center from
8am - 5pm PST: 800 394.9900
WX Technical Instructions 3
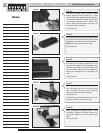
Photo 8
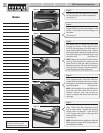
S
tep 8
Remove the two Phillips head screws hold-
ing the wiper blade and remove the blade.
Be careful not to break the plastic position-
ing posts.
(See Photo 8)
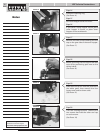
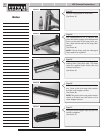
Step 9
Empty out the waste toner and clean felts
and foam with a vacuum or compressed
air.
(See Photo 9)
NOTE: Be careful not to damage felts,
foam or the mylar recovery blade, as this
can cause leaks. If the felts or foam are
damaged or worn, replace.
Step 13
Once again, remove the drum axle and the drum. Reinstall the primary charge roller
then reinstall the drum and drum axle.
NOTE: When reinstalling the drum axle, the axle slides through the drum from the
left side. Make sure you install the axle in the right way. The notched end of the axle
goes on the large gear end.
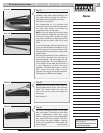
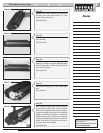
Photo 10
Step 10
Apply OPC protector felt to the drum
shutter door. You will need to remove the
cartridge from the fixture.
(See Photo10)
Step 11
Apply padding powder on wiper blade
and reinstall.
NOTE: If you are going to use a new after-
market drum, always replace wiper blade.
Notes