32
Computer Input Source Selection
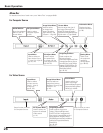
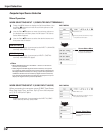
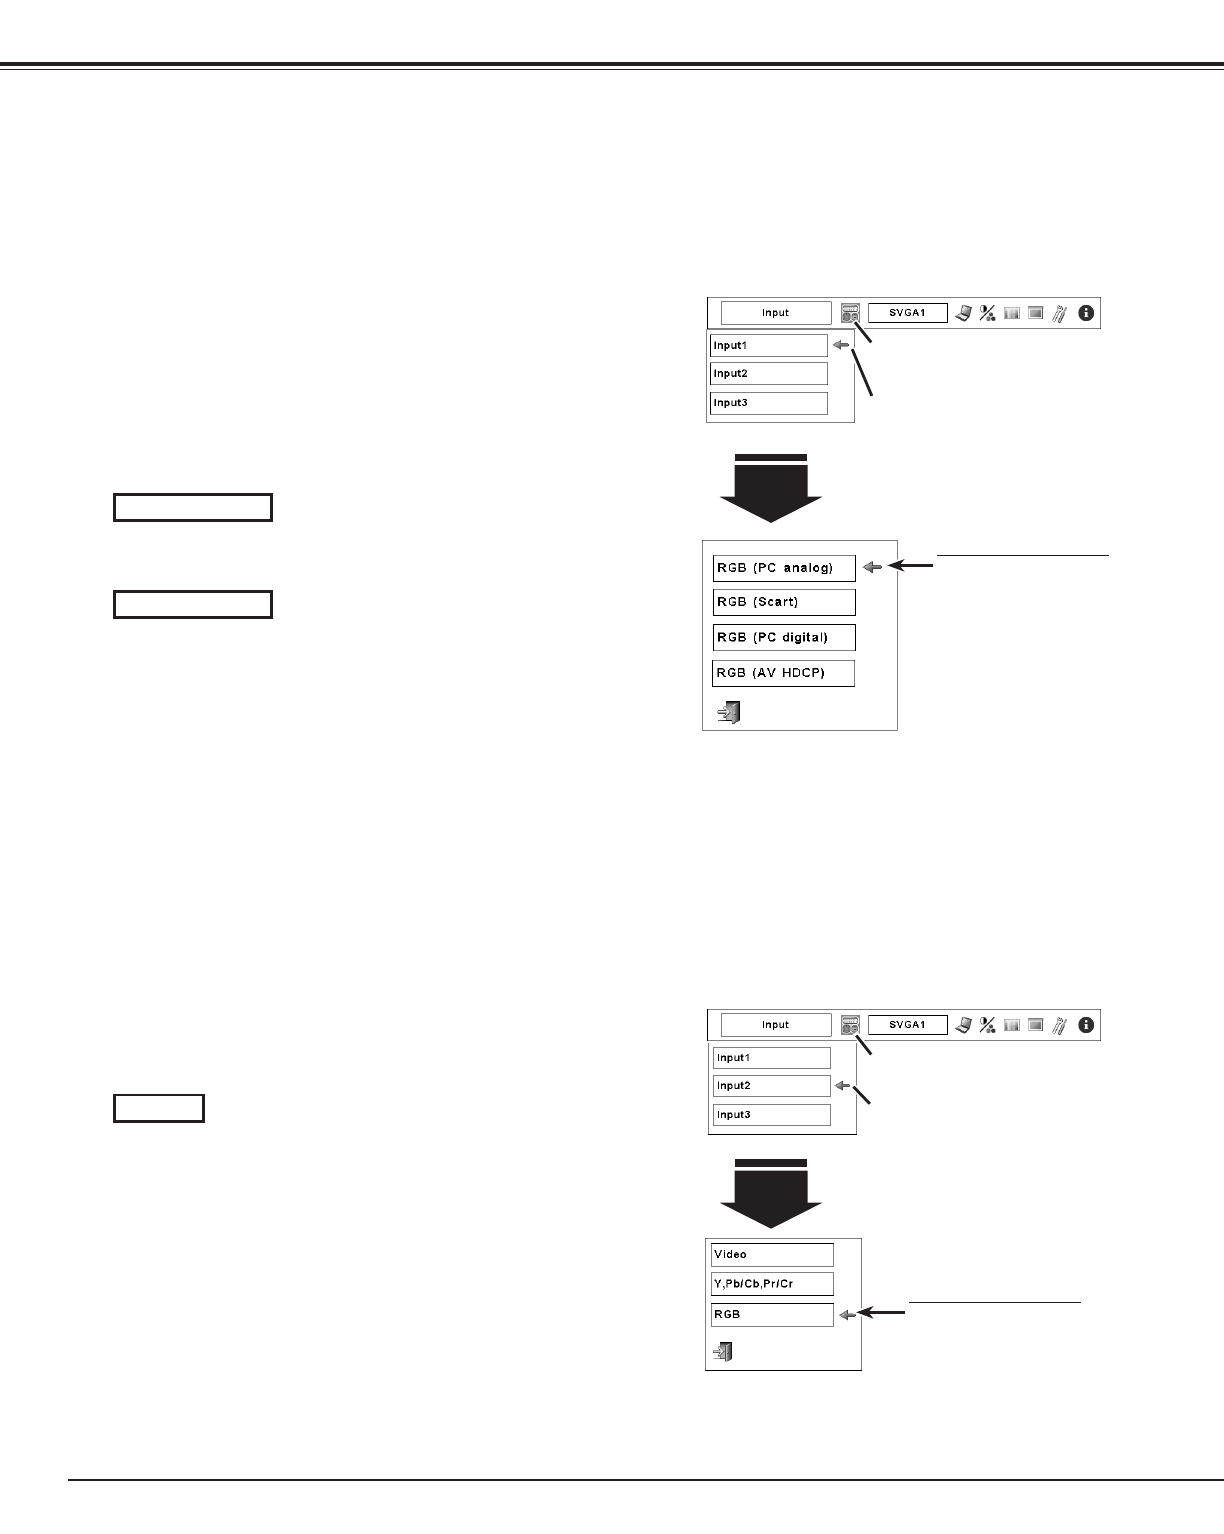
WHEN SELECTING INPUT 1 (COMPUTER INPUT TERMINALS )
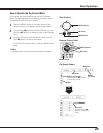
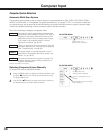
Press the MENU button to display the On-Screen Menu. Use
the Point 7 8 buttons to move the red frame pointer to the
INPUT Menu icon.
Use the Point ed buttons to move the red arrow pointer to
the desired input and then press the OK button. The Source
Select Menu appears.
1
2
Input 1
INPUT MENU
Use the Point ed buttons to select the desired source and
then press the OK button.
3
When your computer is connected to INPUT 1 (DIGITAL)
terminal, select RGB (PC digital).
When your computer is connected to the INPUT 1 (ANALOG)
terminal, select RGB (PC analog).
Move the pointer (red
arrow) to the desired source
and press the OK button.
Source Select Menu
RGB (PC digital)
RGB (PC analog)
✔Note:
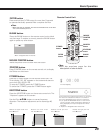
• INPUT SOURCE changes if the INPUT 1 button on the remote
control unit is pressed.
• HDCP (High-bandwidth Digital Content Protection) is a system
for protecting digital entertainment content which is delivered by
DVI (Digital Visual Interface) from being copied. The specification
of HDCP is decided and controlled by Digital Content Protection,
LLC. Should the specification be changed, this projector may not
display the digital content protected by HDCP.
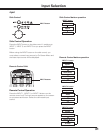
Menu Operation
Input Menu icon
Move the pointer (red arrow) to Input
1 and press the OK button.
When connecting the computer output [5 BNC Type (Green,
Blue, Red, Horiz. Sync, and Vert. Sync.)] from the computer
to G, B, R, H/HV, and V jacks:
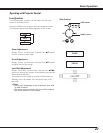
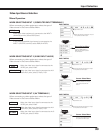
WHEN SELECTING INPUT 2 (5 BNC INPUT JACKS )
INPUT MENU
INPUT Menu icon
Move the pointer (red arrow) to Input
2 and press the OK button.
Input 2
Move the pointer (red
arrow) to RGB and press the
OK button.
Source Select Menu
Input Selection
When your computer is connected to the INPUT 2 (5 BNC
INPUT JACKS) terminal, select RGB.
RGB


