15
SOFT HARD
RED BLUE
MANUAL
POWER
INPUT
SELECT
DETAIL
AUTO
WHITE BALANCE
NEGA
B/W
L
O
C
A
L
C
O
N
T
R
O
L
D
IS
A
B
L
E
D
RS232C
CONTROL
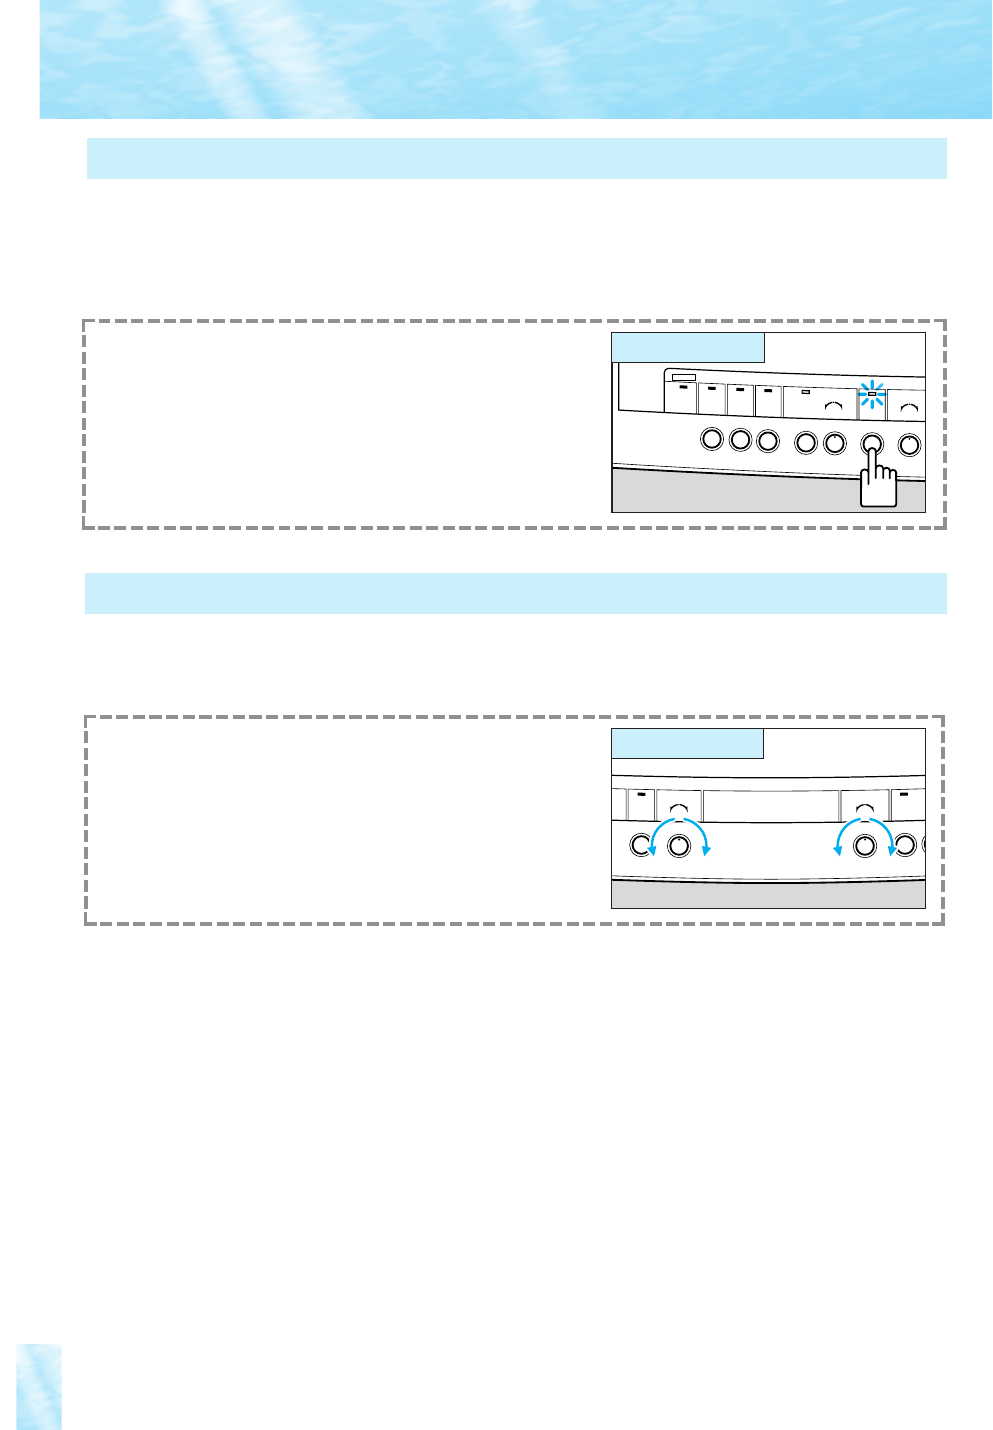
To project black-and-white documents, press the B/W button.
During black-and-white mode, the B/W indicator will light.
To return to normal mode, press the B/W button again.
■
Character size when projecting a 13" x 10" size document
To fully display on the monitor a 13" x 10" size document with clear characters, refer to the samples shown
below for size and thickness. The character samples are in actual scale (equivalent to 20 point photoset
letters, and when outputting from the S-VIDEO OUT).
To project clearer black-and-white documents, press the B/W button. This setting also allows color
documents to be displayed in black-and-white. Switching between color and black-and-white modes is
possible only when projecting pictures via the camera head. Therefore, color pictures via external input
equipment cannot be switched to black-and-white (see page 17). And also, color pictures of a RGB monitor
cannot be switched to black-and-white.
Projecting Black-and-White Documents
SOFT HARD
B/W
DETAIL
-+
AUTO
-
EXPOSURE
FOC
To adjust brightness, use the EXPOSURE knob. Turn the knob
towards the “+” side to brighten the picture. Turn the knob toward
the “-” side to darken the picture.
Use the DETAIL knob to adjust picture quality. Turn the knob
toward the HARD side to emphasize the outline of an object. Turn
the knob towards the SOFT side for a softer outline.
The brightness of the picture can be controlled by the EXPOSURE knob. When the document is dark, has
low contrast, or is small and dim against brighter background, use the EXPOSURE knob to make the image
clearer.
Adjusting Brightness and Picture Quality
Operation panel
Operation panel
Canon Video Visualizer
Vidéo Visualiseur Canon


