


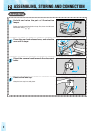
E
8
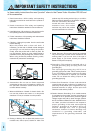
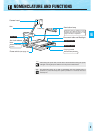
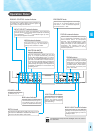
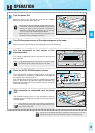
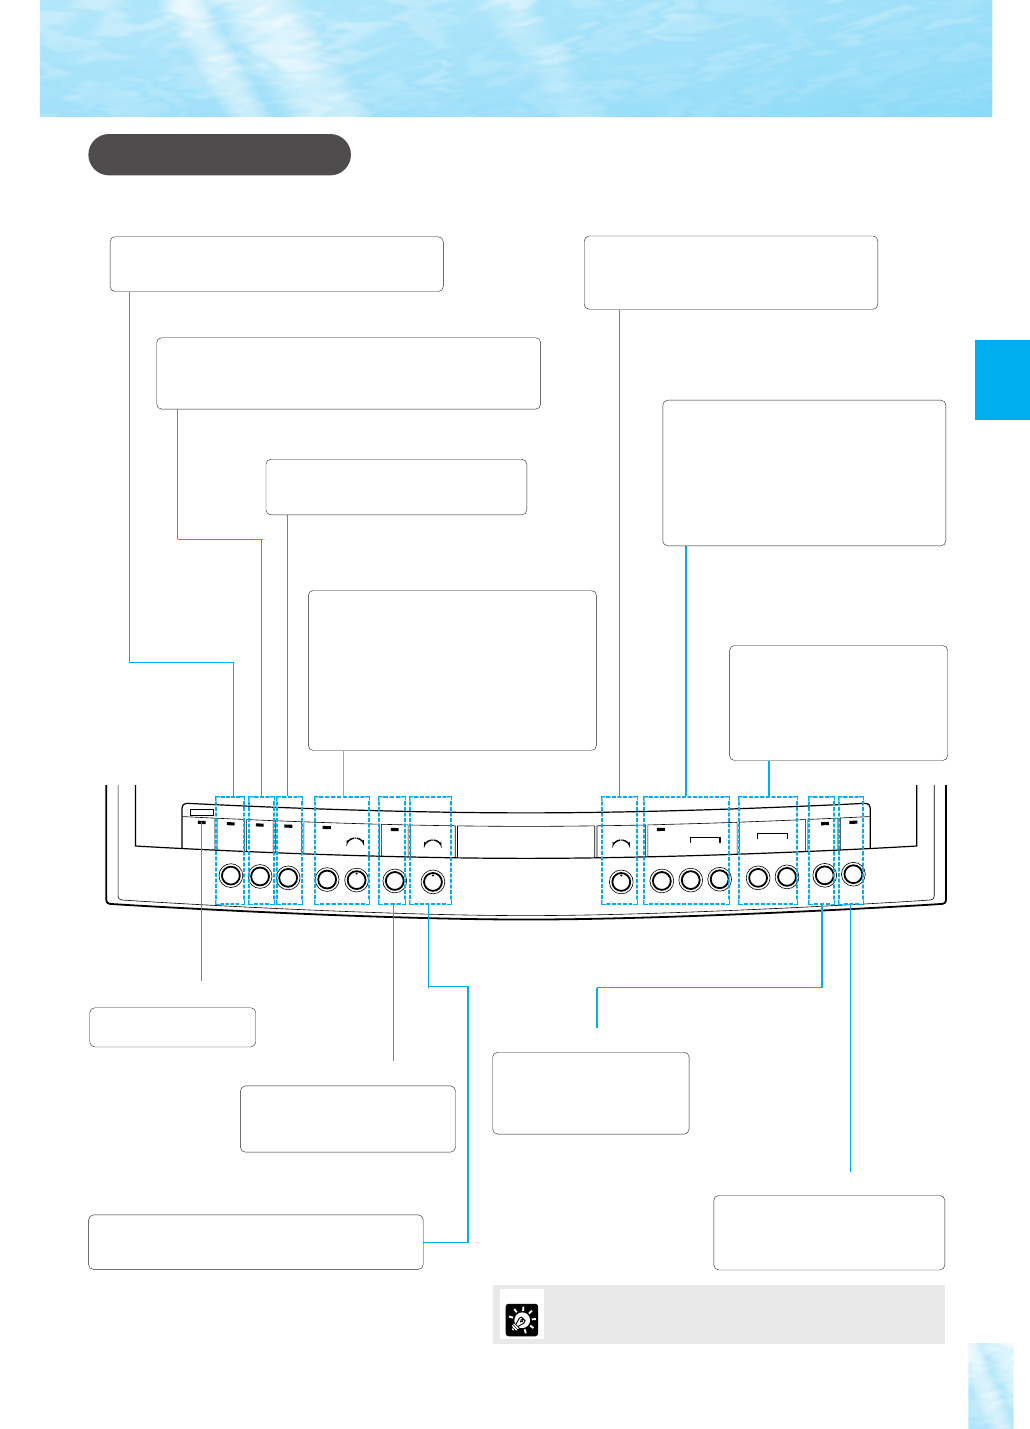
Operation Panel
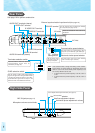
SOFT HARD
RED BLUE
MANUALAUTO
POWER
INPUT
SELECT
NEGA
WHITE BALANCE
B/W
DETAIL
-+
WIDE TELE
NEAR FAR
MANUAL
AUTO
-
EXPOSURE
FOCUS
ZOOM
LIGHTS
BACK
LIGHT
L
O
C
A
L
C
O
N
T
R
O
L
D
IS
A
B
L
E
D
RS232C
CONTROL
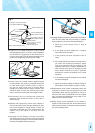
RS232C CONTROL button/indicator
Use this button to switch between online and offline to
a computer. The indicator flashes when the system is
set to online, and stays lit while online.
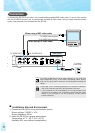
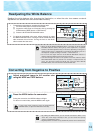
INPUT SELECT button/indicator
Use this button to select input equipment, when switching
between pictures via the camera head and pictures via external
input equipment
(see page 17)
. The indicator lights up when
external input equipment is selected.
NEGA button/indicator
Use this button for negative/positive
conversion
(see page 14).
The indicator
lights up when conversion is made.
WHITE BALANCE
button/indicator/knob
Use this button/knob to adjust color tone
(see
page 14)
. To adjust automatically, press the
AUTO WHITE BALANCE button. To adjust
manually, use the WHITE BALANCE knob. Turn
the knob to the RED side to increase red tone.
Turn the knob to the BLUE side to increase blue
tone. The AUTO WHITE BALANCE indicator
flashes initially, then lights up when adjustment is
completed. If adjustment is unsuccessful, the
indicator goes off.
FOCUS buttons/indicator
Use this button to compensate focus
(see page
13)
. To compensate automatically, press the
AUTO FOCUS button. To compensate
manually, press the NEAR button or FAR
button. The AUTO FOCUS indicator flashes
initially, then lights up when compensation is
completed. The indicator goes off if
compensation is unsuccessful, or during
manual compensation.
EXPOSURE knob
Use this knob to adjust brightness of the image
(see page 15).
To increase brightness, turn the
knob to the “+” side. To decrease brightness,
turn the knob to the “-” side.
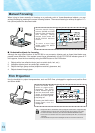
ZOOM buttons
Press the WIDE button to change
the picture to wide angle. Press the
TELE button to change the picture
to telephoto angle. Keep pressing
the WIDE button or TELE button,
the functions will initially work
slowly, then faster.
POWER indicator
Lights up when the power
is ON
(see page 12).
B/W button/indicator
DETAIL knob
Use this knob to adjust picture quality
(see page 15)
. Turn
the knob to the HARD side to emphasize the outline.Turn
the knob to the SOFT side for softer outline.
BACK LIGHT button/indicator
Use this button to turn ON the
backlight fortransparencies
(seepage
13).
The indicator lights up when the
backlight is used.
LIGHTS button/indicator
Use this button to turn ON the
illumination lamps for reflection
copies. The indicator flashes
during preheating, and stays lit
after preheating.
The illumination lamps and the backlight cannot be used at
the same time.
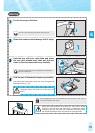
MEMO
Use this button to project black-
and-whitedocuments
(see page15)
.
The indicator lights up when the
system is in black-and-whitemode.